Jan 252016
 

Hi there!

Valentine’s Day is just around the corner, and we always need a last minute inexpensive, but thoughtful gift for friends, neighbors, Sunday School members, etc.

My Project of the Week for Repeat Impressions is quick, easy, and so much fun for the recipient! For some of you paper crafters that have been around a long time, this is not a new idea. For some of you that are newer to this creative corner of our world, you’ll enjoy this!!!

Today, I’ll be using these Repeat Impressions Stamps:

1210-K Tumbling Hearts

1134-E Valentine’s

Let’s get started - we are making a Can of Kisses…
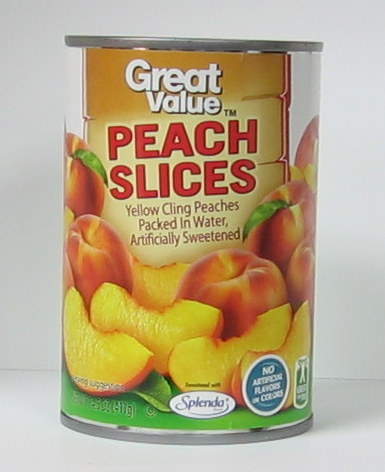
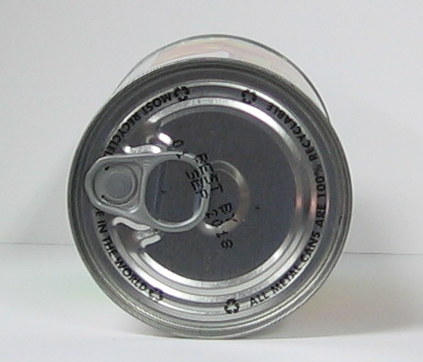
Start with a can of fruit, veggies, etc., that has a pop top like the one pictured above.

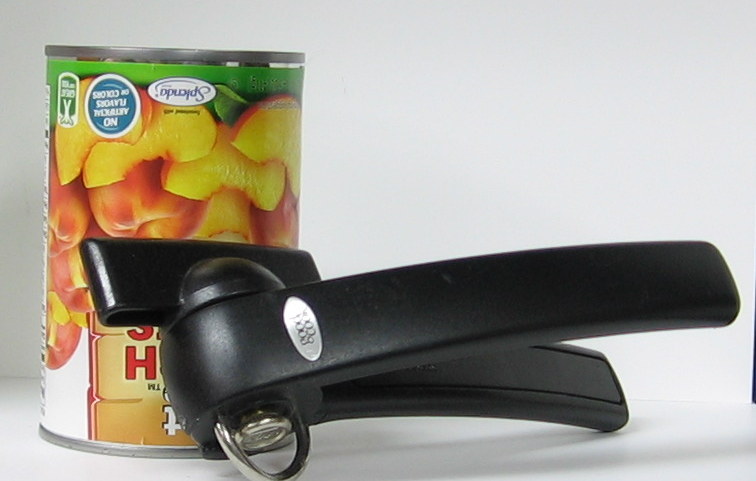
Using a can opener designed to remove lids safely, with smooth edges, remove the BOTTOM of your can.
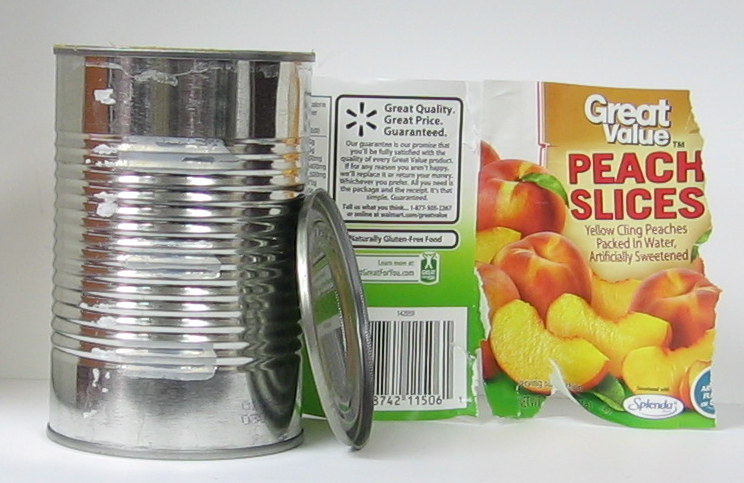
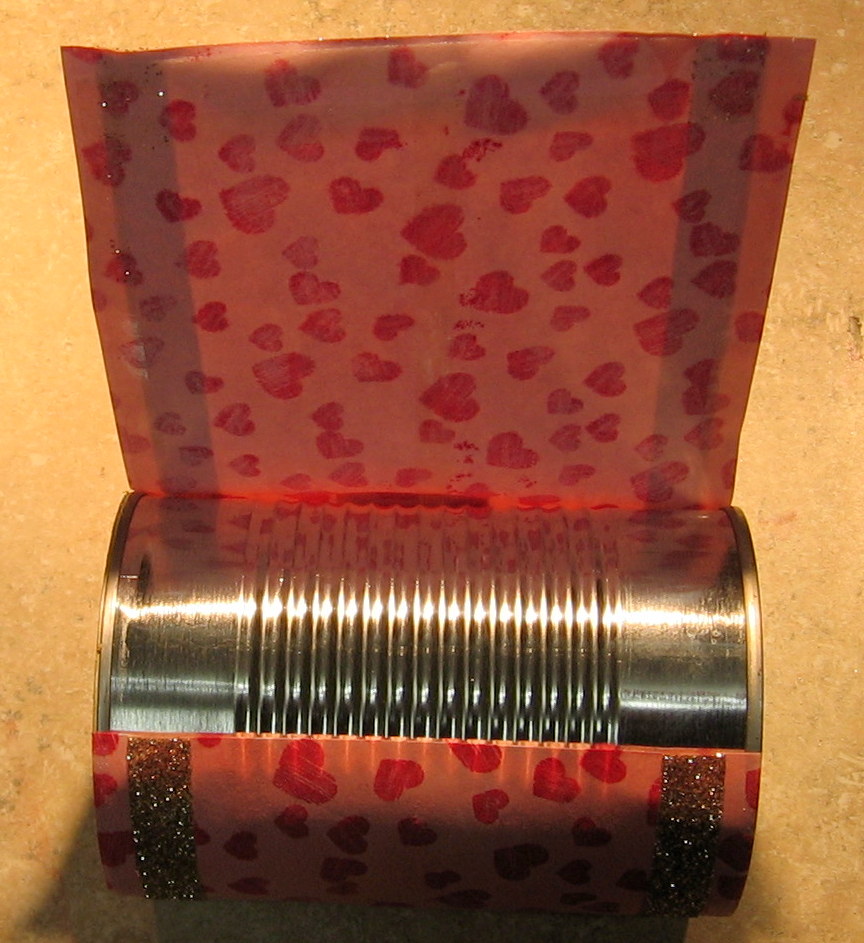
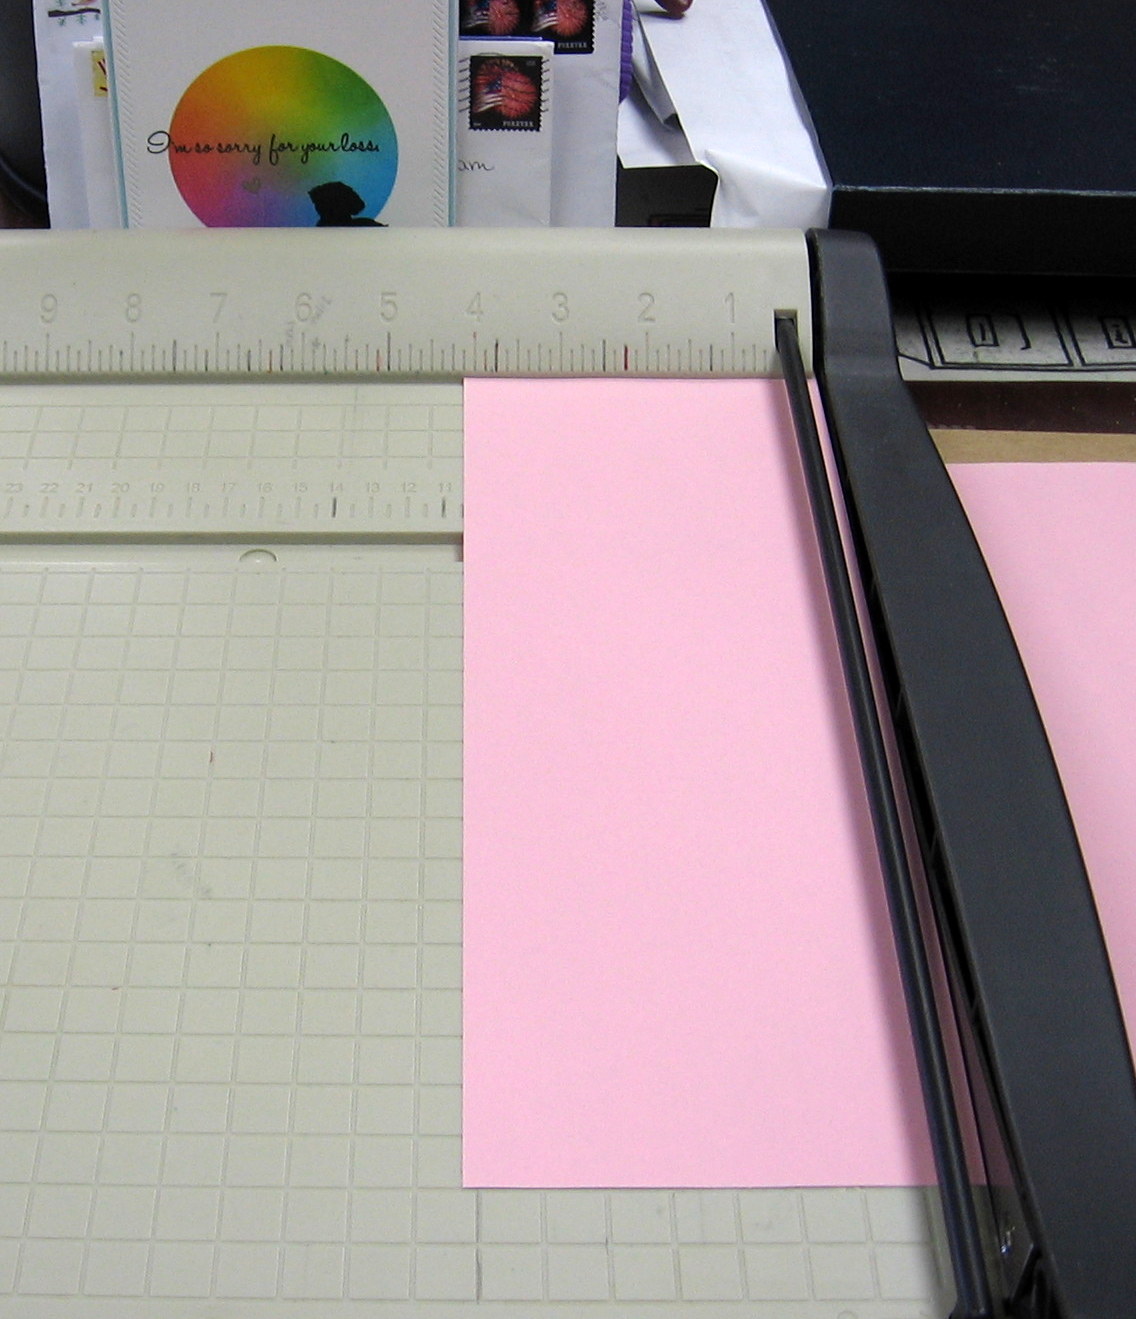
Take the label off, and measure it to see what size paper you’ll need to replace it.

For this can, I used a 4 1/8″ x 10″ piece of plain pink copy paper.
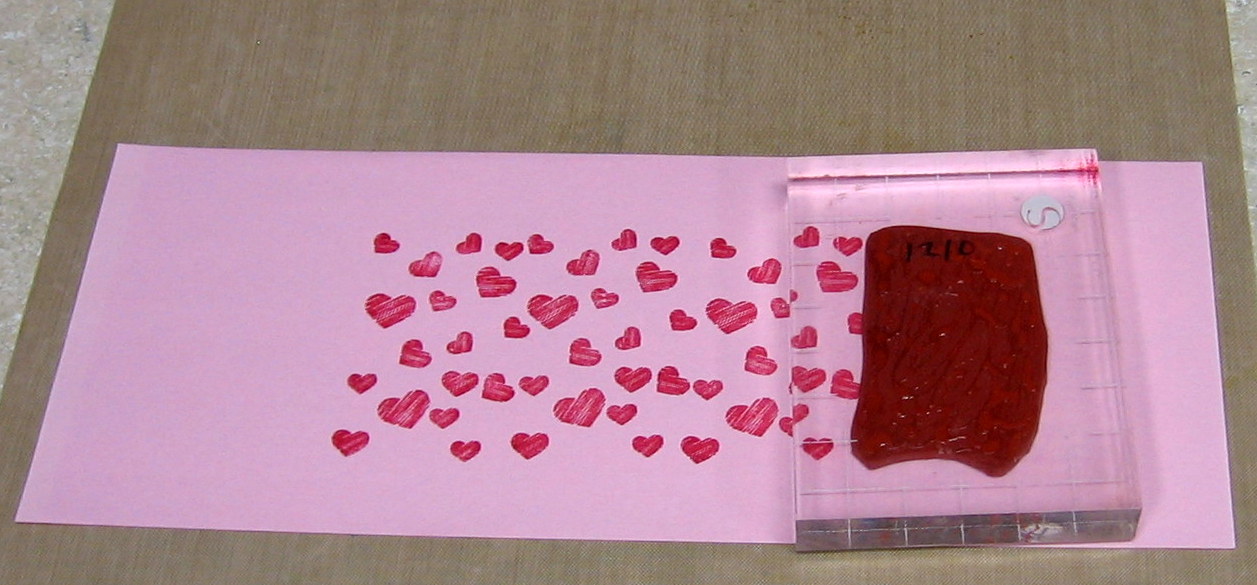
Using the Tumbling Hearts, I stamped randomly all over my pink paper with red ink.
I then took a glitter pen, and glittered the whole sheet.

I stamped the sentiment, mounted and adhered it to the panel, and

added some glitter tape to each end for further sparkle.
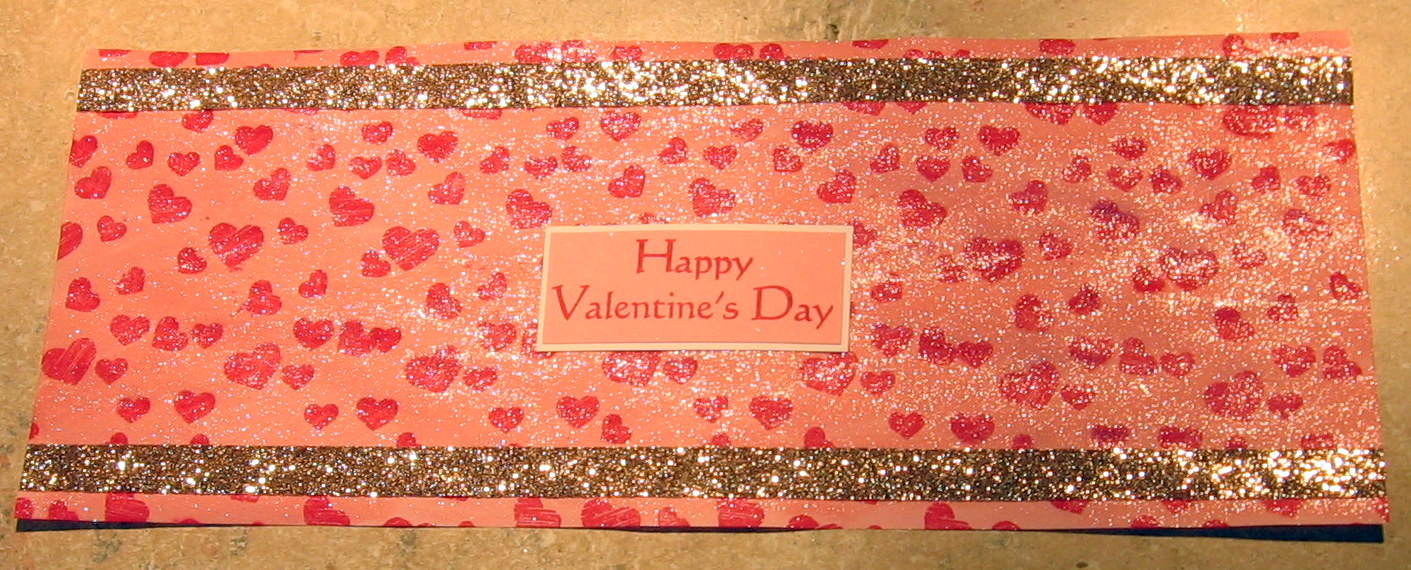
The next step is to add some adhesive (wet or dry) to the back side of the panel.
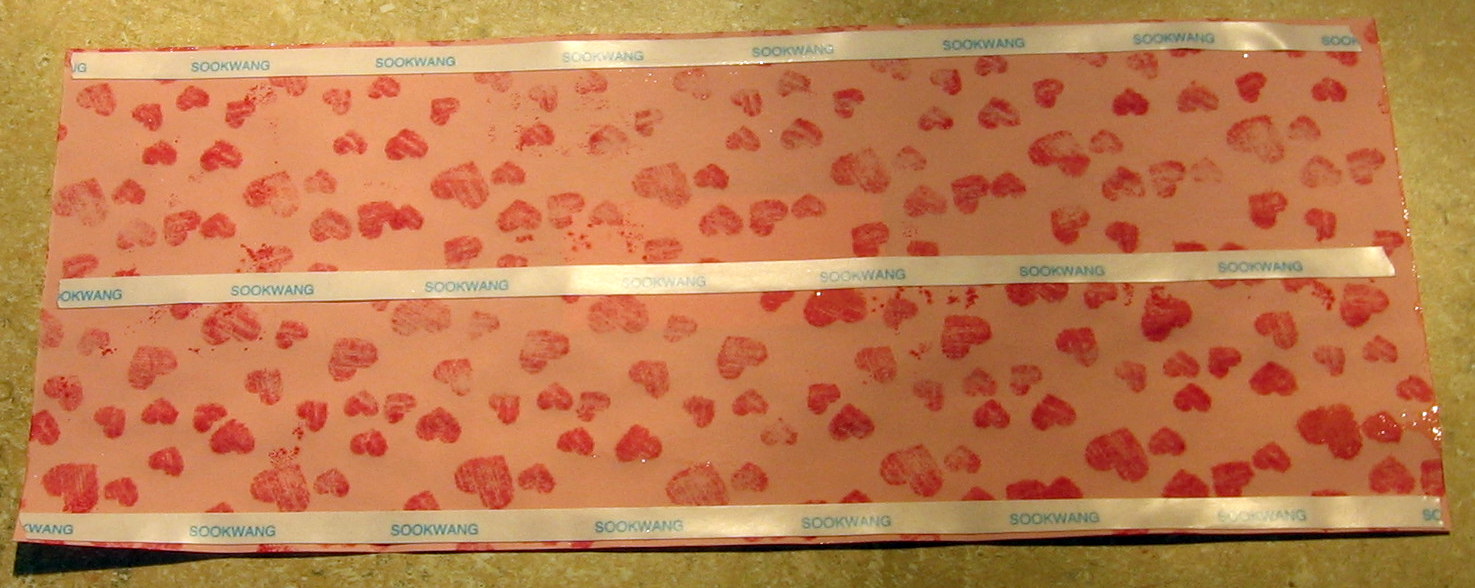
Decide which will be your ‘outside’ edge, and add a bit of adhesive to that end.
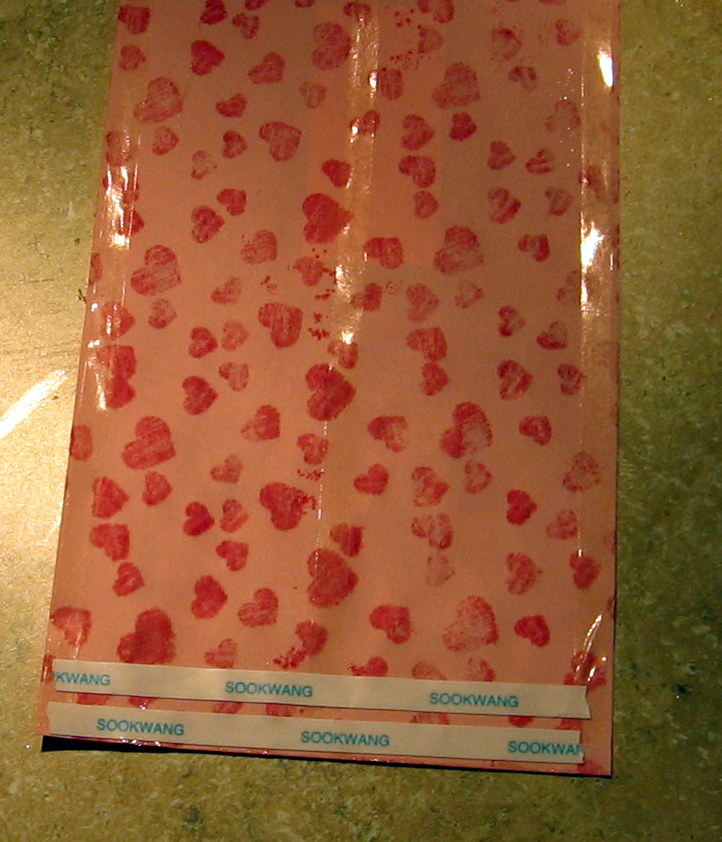
Begin rolling your panel around your can, being sure that you adhere your design with the pattern facing the TOP of the can, not the bottom. (don’t ask me how I discovered this :)

Fill can with items of choice - candy, money, jewelry, scarf, rubber stamps from Repeat Impressions Stamps, etc….
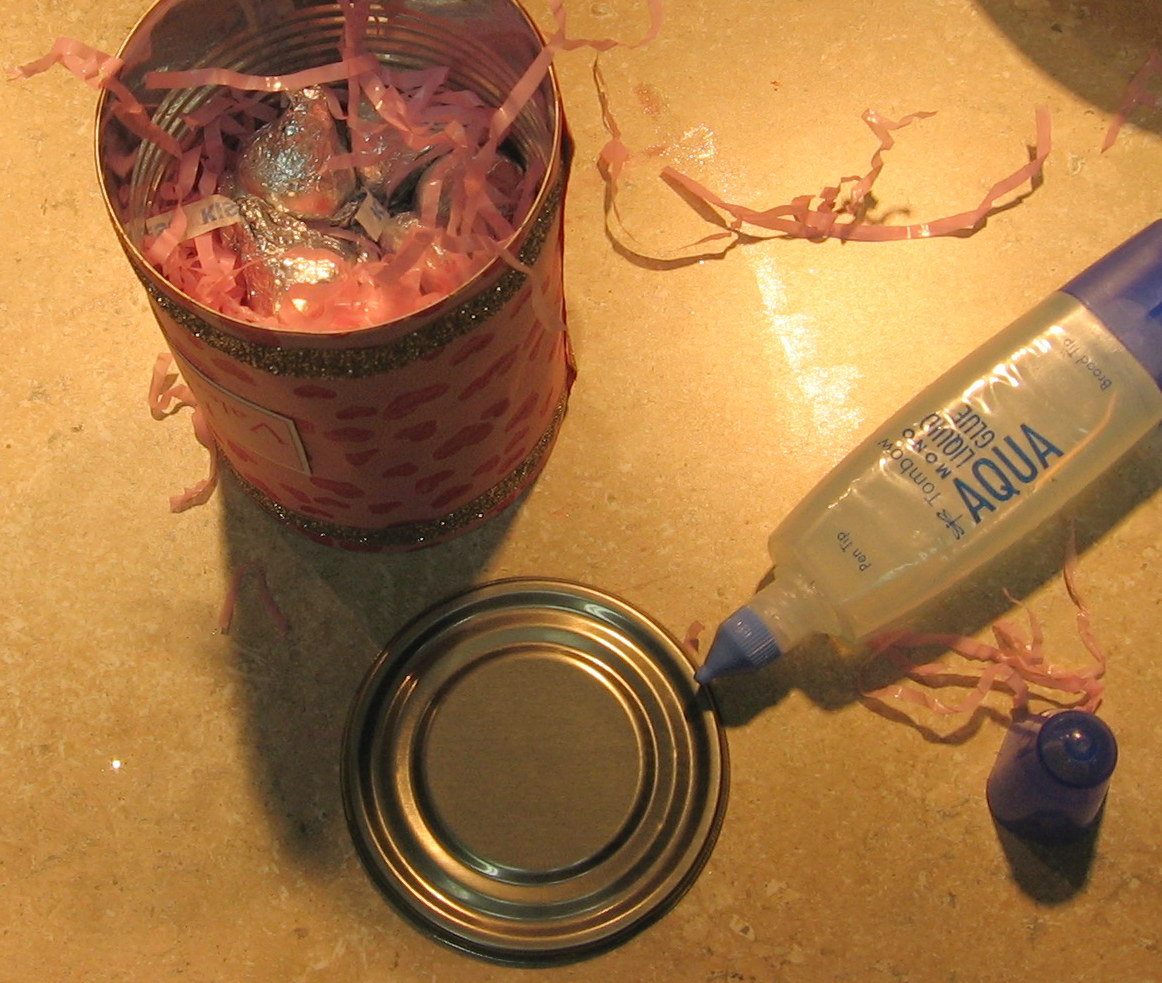
Add a bit of glue around the outer edge of your lid, and place it back on can.

Allow to dry for handling.
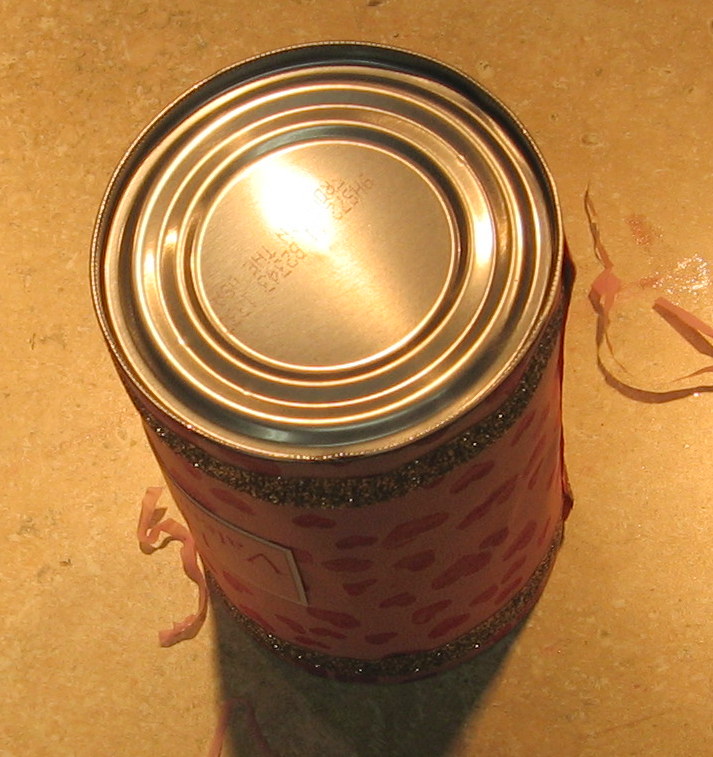
Decorate the top of your can as frilly…
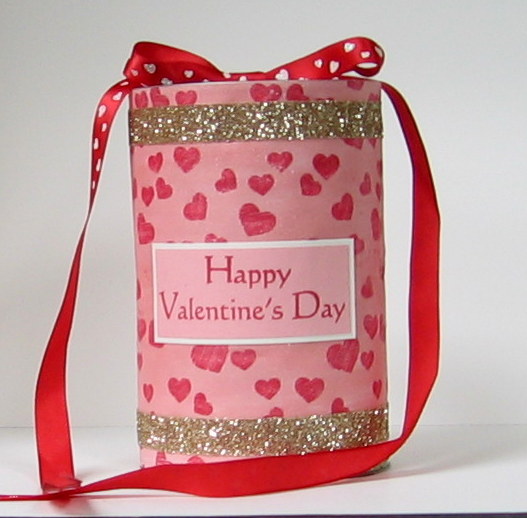
…or as simple as you like!

I kept this project uber-simple design-wise.
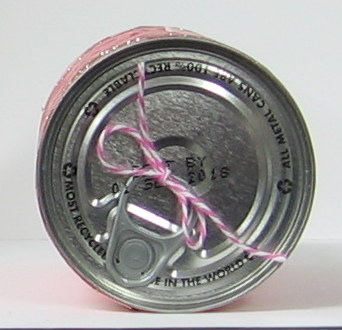
Give it a try! If you do, stop by and let us know, so we can come see your beautiful creation! Thanks for stopping by today!
Hugs,
Patti J.
Jan 182016
 

Hi!  Today is my day to post a Project of The Week on The House That Stamps Built.  I’m going to show you how to add a plank look to your card.  I wanted a weathered wood look, so I started with a gray piece of card stock that measures 4 in X 5 1/4 in.  You can use whatever color card stock you want and whatever size as long as it is slightly smaller than your card base.  I’m making an A2 sized card and that’s why I used the measurements I did.  I used my scor-pal and laid my card stock on it with the long side at the top: 

I scored at each 1/2 inch mark all along the length of my paper.

Then I turned my paper a quarter turn so one of the short ends was at the top:  For the next step, you can score at whatever intervals you want, just make sure they are far enough apart so they look like planks.  On my top row, I scored at 1 in and 3 in.  Make sure you only score between the top of your card stock and your first horizontal line.

In each of the following “planks” you want to stagger the vertical score lines.  My second row was at the 2 in mark.  After the first row, it gets a little tricky to find the grooves, so just go gently until you are sure you are in the groove.  My third row is scored at 1/2 in and 3 1/2 inches.  Continue staggering your score lines until you have scored all the rows.

Using the direct to paper technique and a tan ink pad (I used Creamy Caramel from SU!), drag your ink pad across the paper in the direction of your planks.  Repeat until you are happy with the look.


Using the same technique and a white ink pad (I used white craft ink from SU!), repeat the previous step.

This step isn’t necessary, but I think it adds a bit more interest.  I used a fine point black Sharpie to add two “nails” to each side of the vertical score lines.  And if you think it needs more weathering, keep dragging the ink pads across the paper until you are happy with it.

It’s been cold here and we even had snow this week (not much), so I felt like a spring card was in order.  Here’s my finished card:

I used the Out of the Box technique to die cut my branch image and masked my sentiment so I could fit it in the planks.  I was even able to use up an item from my bits and pieces stash: the hot pink zig zag piece.  Yeay!  Here’s a close up this gorgeous Repeat Impressions stamp.  I colored the eggs to look like robin eggs complete with little gray speckles.  : )


Thanks for hanging in there!  I hope you’ll give this a try.  I created another card with this technique a couple weeks ago.  If you want to see it, you can find it here.


Supplies:

Stamps: Repeat Impressions “1703-J Bird’s Nest Branch” and “9717-C Happy Hello”

Dies: Spellbinders “Classic circles, large”, “Classic Ovals, large” and “Scalloped Ovals, large”


~ Heather

Jan 112016
 

Hello stampers! The Crafty Nurse here with some creative play for The House that Stamps Built Project of the Week. I have always been drawn to pattern paper and when I found the “Herringbone” technique back when I first joined Club Scrap, I fell in love. So today, I’d like to bring you a post on how to make your own Herringbone card.

Let’s get started!

For this project the supplies I used are:

Paper Trimmer
Black Ink (I used Black Onyx Versafine)
Red Ink (I used Simon Says Stamp Schoolhouse Red)
An acrylic block
Bone Folder
Sand Paper Tool
Carpet Tape (Amazon) You can also use any type of double sided adhesive but I find the Carpet Tape is cheaper and lasts FOREVER.
Designer Paper (I used Glitz “Black & White”)
Repeat Impressions Stamps of your choice, I used: Silhouette Heart, Large 5118-H and Sentiment plate “You 10100.”

To start, apply the double sided Carpet Tape to your card base and set aside.

Cut design paper in 1/4 inch strips. You can also do this with any size of paper strips or even vary the sizes of paper on the same project. It all looks great.

I chose four (4) different patterns for variety. You want to chose a large print, a small print and a more open print.

Take your bone folder and burnish down the carpet tape in preparation for adding paper.

Peel off the backing of your carpet tape to expose the adhesive.

Begin to place your paper strips by placing the 1st one diagonally across the card, then applying a strip to each side of center. If you are using 6 x 6 paper like I did, your 1st piece won’t be big enough. Simply place another piece to extend across the diagonal of the card. It also doesn’t matter where you place the side pieces as long as you have the basic start like my picture.

Continue to apply strips of paper alternatively. I tend to use the same pattern on the left and right of center.

Continue placing the strips down alternatively in a pleasing pattern.

Once you finish your back and forth placement of paper you will have a lot of strips hanging over the edge.

Turn over the card and trim the strips off.

Once you’ve trimmed it up, this is your end result.

I like to smooth out my cutting with the Tim Holtz sanding tool.

Stamp the Repeat Impressions Silhouette Heart using red ink on a circle die.

Stamp the “love” sentiment from “you 10100” in the center of the heart with black ink.

Apply your heart to the Herringbone background and you now have a finished card! I just love the way this technique looks.

I hope you enjoyed learning more about the Herringbone technique. Beginning Wednesday, January 13th, I am hosting the Designer’s Choice Challenge with the theme of “Winter Wonderland”.

I’d love to see your herringbone backgrounds in the challenge at The House That Stamps Built where you will have a chance to win a $25.00 gift certificate for our randomly chosen winner.

I wish you a wonderful rest of the week!

The Crafty Nurse

Jan 042016
 

Karen here, and today is my turn at the Repeat Impressions blog to share a Project of the Week. Last summer I watched a demonstration of the Deep Impressions technique by Fran Seiford of Stampendous and was fascinated with the texture achieved with embossing powders and rubber stamps. Since then I have played with this technique many times and I am sharing what I have learned here with you today. We start with a shape cut out of chipboard. You can use dies to cut a shape, but I have used Repeat Impressions stamps instead. The key is to pick a die or stamp that is not too intricate. I chose RI’s large butterfly, hot air balloon, large and small balloon silhouettes and the Metro Map stamps.

You will need a teflon hot sheet (I used one from Ranger), extra thick clear embossing powder (from Ranger or Stampendous), various colored embossing powders, an electric griddle, rubber stamps and some utensils. Once you have used the griddle and utinsels for this technique, they should not be used again for any food preparation.

Place the cut out chipboard piece on a teflon hot sheet on an electric griddle pre-heated to 300 degrees. Cover the piece with a layer of extra thick clear embossing powder (Ranger or Stampendous) and let it melt. You can cover it with a glass cover to speed the melting. Once melted, sprinkle on your choice of colorful or aged embossing powders or enamels. I chose Aged Scarlet, Aged Black and Gold Glitter embossing powders from Stampendous for the butterfly on the card above, but in the picture I used Aged Teal, Turquoise and Steel Blue Glass Glitter from Stampendous. Let those embossing powders completely melt.

Move the completely melted piece over on the teflon mat to get rid of some of the excess melted embossing powder and then remove the teflon sheet with the chipboard piece from the electric griddle with a large spatula. Immediately stamp the molten piece with a rubber stamp. That is what creates the beautiful texture and deep embossing of the piece and does not harm the rubber stamp. In just a few seconds, you can remove the stamp and your piece is done. Here are some more pictures of the process with RI’s hot air balloon using Aged Hunter and Fresh Green Crushed Glass Glitter from Stampendous:

After the deeply embossed pieces have cooled, you can make cards or mixed media or art with them.

On my first card, I created a background with Repeat Impression’s Metro Map stamp on a rectangle chipboard piece using Shabby Blue embossing powder from Stampendous and a blue sparkly embossing powder from Recollections. I heated them following the directions above and then stamped RI’s Metro Map resulting in the great texture above. I created the butterfly as described above and added some black gems before attaching to the card. The sentiments on both cards are from the Big Boys Toys collections.

On my second card, I masked the sides of a white card base with temporary tape and sponged the strip with light blue dye ink. Then I stamped Repeat Impression’s Postcard background stamp before removing the masks. I created the hot air balloon as described above and stamped it with the same stamp while the embossing powders were molten. The large and small balloon silhouette stamps from Repeat Impressions do not have any detail as they are silhouette stamps. So I stamped them on chipboard, cut out, and applied several layers of beautiful colored embossing powders to them. While molten, I stamped each of them with the Metro Map stamp. Here is a close-up picture showing the great dimension of each of them:

I had so much fun going deep with this fun technique and Repeat Impressions stamps. I hope you give it a try.