Jan 212019
 

Today is my day to share my Pick of the Week here at The House That Stamps Built. As it is the start of the new year, I thought I would go through and pick my favorite cards I made for The House challenges during 2018. There were way too many to pick so I am going to do a feminine version today and you can stay tuned for a masculine version later in the year.

If you’ve been around my blog you know I LOVE Repeat Impressions’ “Flower Power Separates” stamps, so here are the cards I created using them during 2018: (to see the details of any of them clink on the month link above the picture to be taken to the original blog post)

January:

Above using: 10313-H Daisy Outline Large, 10302-E Daisy Outline Small, 10309-C Leaf Outline Small, 10321-H Stem Outline, 4803-M Clock Face #3, and 8606-E Happy Birthday
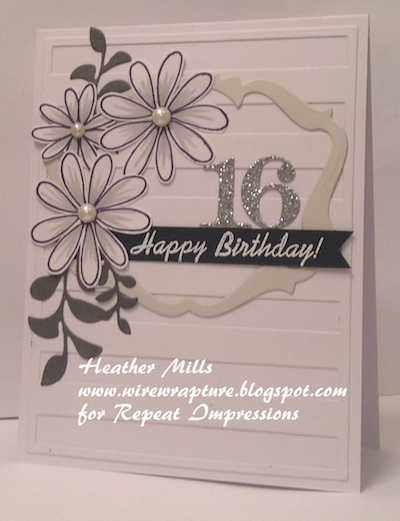
January:

Above using: 10313-H Daisy Outline Large, 10302-E Daisy Outline Small, 
and 8606-E Happy Birthday
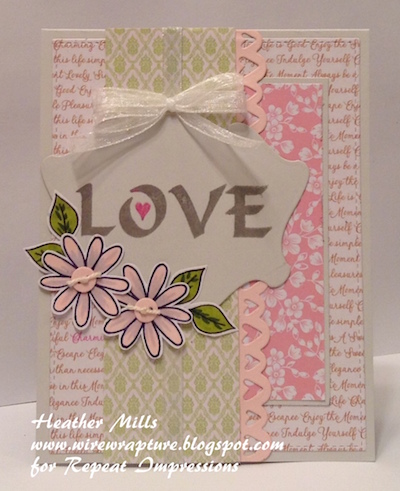
February:

Above using: 10302-E Daisy Outline Small, 10309-C Leaf Outline Small, and 1204-I Love
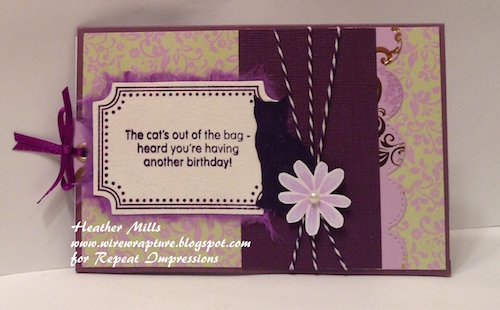
March:

Above using: 10306-E Daisy Solid Small, 5116-I Cat Sitting Sil., 2516-G The cat’s out…, 
and 10404-M Marquee Frame Sm.
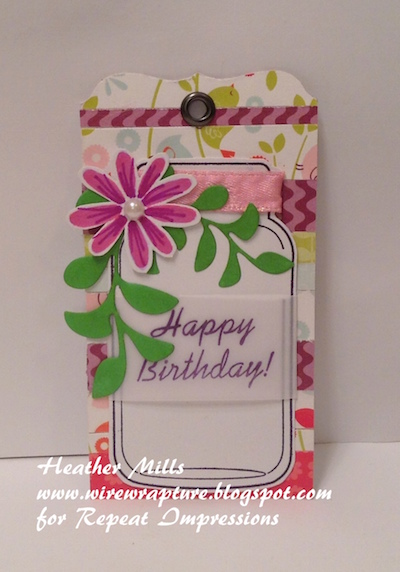
March:

Above using: 10306-E Daisy Solid Small, 8606-E Happy Birthday, and 9705-M Jar
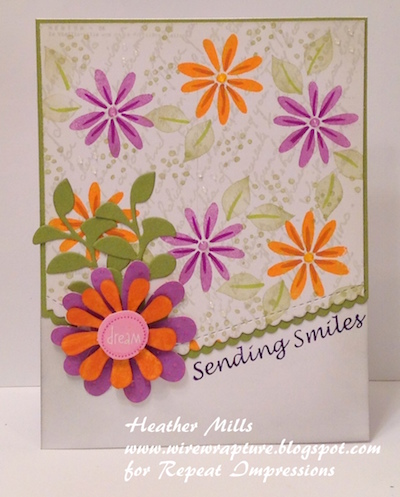
April:

Above using: 10306-E Daisy Solid Small, 10311-C Leaf Solid Small, 3404-C Random Dots,
5015-P Postcard, and 9106-G Sending Smiles
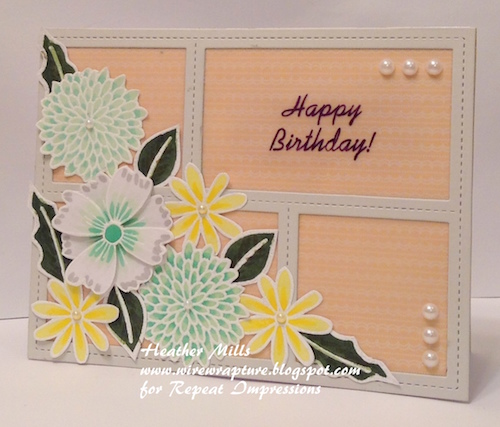
June:

Above using: 10302-E Daisy Outline Small, 10307-H Patti’s Flower Outline, 10304-H Mum Outline, 10309-C Leaf Outline Small, 10315-E Leaf Outline Wavy, and 8606-E Happy Birthday

Thanks for stopping by!

~ Heather

For this week only (Jan. 21-27, 2019), get 20% Off the stamps used in Heather’s creations above when you use the coupon code POTW12119
Nov 262018
 

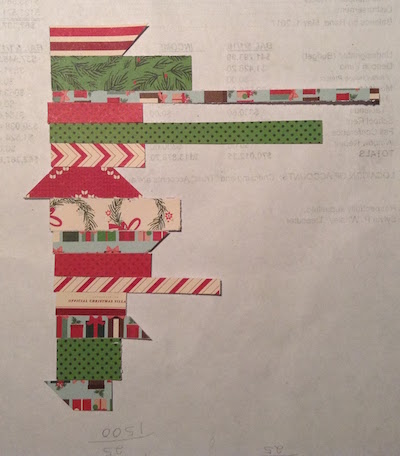
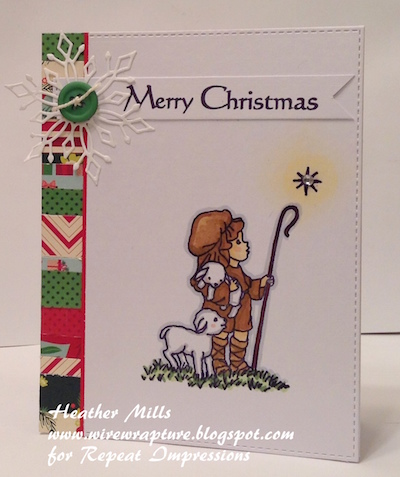
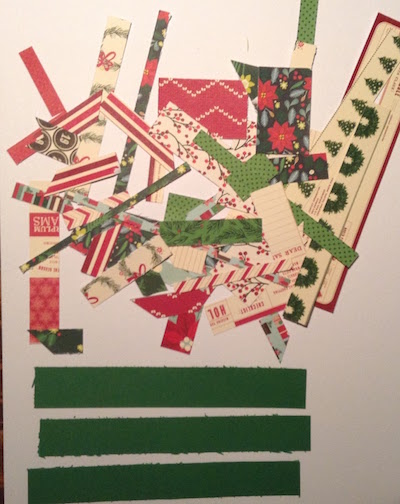
It’s my turn to post a Pick of the Week project for The House That Stamps Built. I’m always on the hunt to find different ways to use up my scraps and this is one of my favorite ways to use up little scraps. All you need are scraps, strips of scrap card stock (this is a good way to use up colors you don’t use often), scissors, and an adhesive (I use spray adhesive as it holds well and covers the entire area).

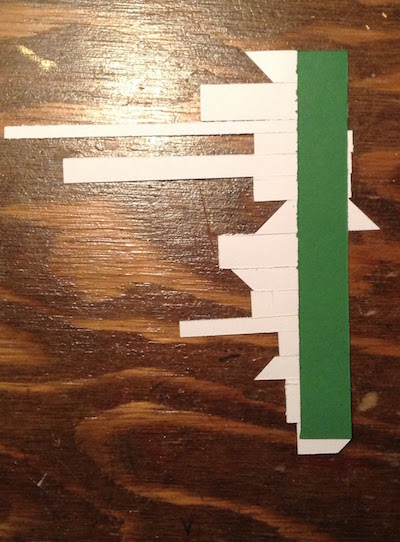
So, get your scraps together and a couple strips of scrap card stock. I like to cut my card stock just a bit longer then the length of an A2 card and about 1/2-3/4 of an inch wide.

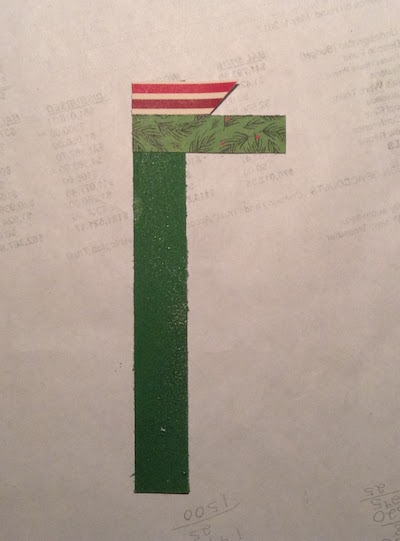
Put your adhesive on the card stock strip and begin sticking on your scraps edge to edge.

I like to use mixes of wide and narrow scraps and the length doesn’t matter as you will be trimming them off.

Flip the strip over and trim along the edges of the card stock.

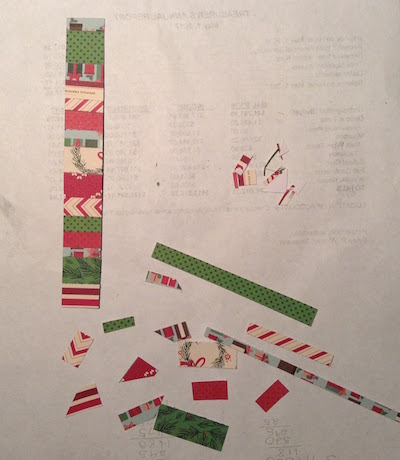
Here is my strip all trimmed. You can see the little tiny scraps that can finally be thrown away and the larger scraps that can be used to create another strip.

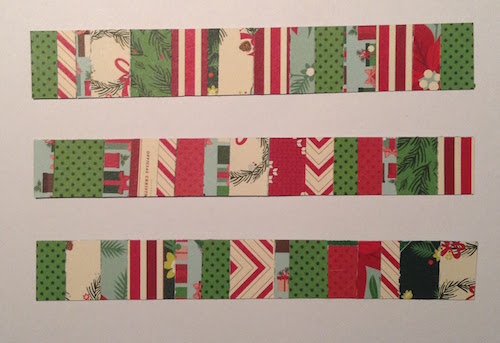
It’s really quite quick and easy and I finished 3 and still have plenty of scraps left to create more.

As for what you can do with them?? They are perfect for adding to the sides or bottoms of a CAS card. It adds interest without overwhelming. To finish this card, I used “2008-K, Shepherd Boy” and “1141-F, Christmas“.

~ Heather

For this week only (Nov. 26 - Dec. 2, 2018), get 20% Off the stamps used in Heather’s creation above when you use the coupon code POTW112618

Oct 012018
 

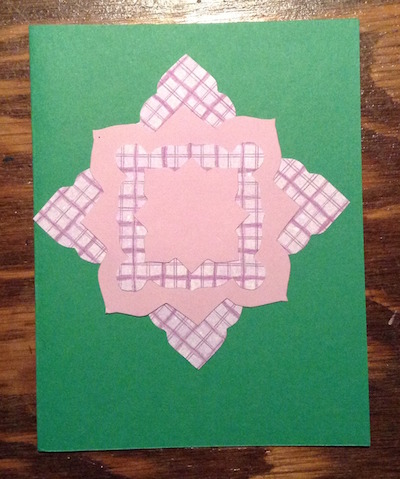
Today, it’s my day to share a Pick of the Week here at The House That Stamps Built blog. I have a small stack of card elements sitting beside my desk that I am trying to work at using up. A couple of them are cards that I made a long, long, long time ago and are in need of some work. But as I am adverse to throwing anything away that could be used for something, I’ve been holding onto them with the thought of remaking them. So, today is the day for one of these poor creations. This is probably one of the first cards I made way back when I started cardmaking. It’s rather plain, with a rather odd color combo, and really, quite boring:

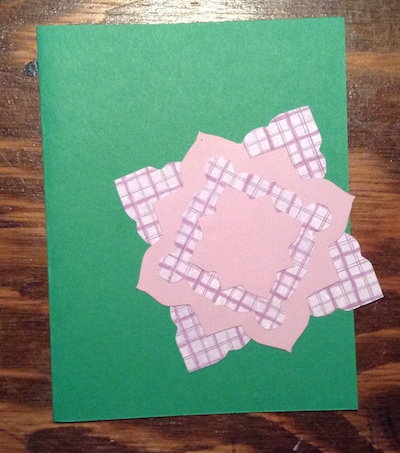
Plus, the adhesive had dried up and the focal element was no long stuck on, and the sentiment on the inside did not stamp completely.

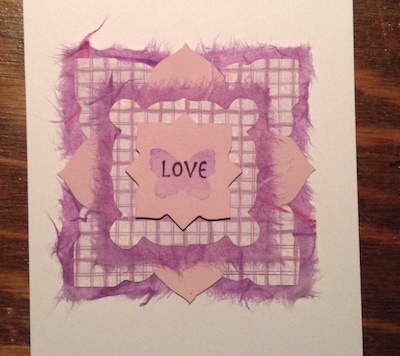
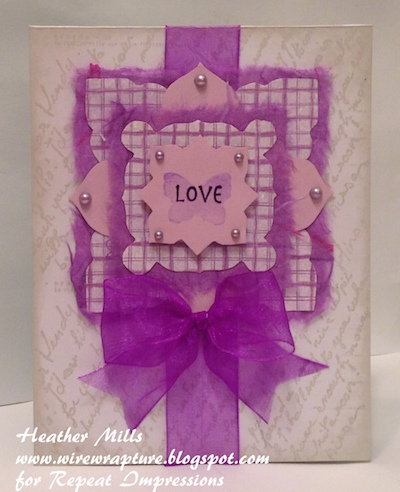
Well, I set about dressing up the focal element first, and it was a good thing as the layers pretty much fell apart as I was looking at them. Here is what it looks like with the addition of some mulberry paper and sentiment. Better already! I used Repeat Impressions’ “9009-F, Butterfly Sil (sm)” and “1222-G, Love Stencil” (I used only the word).

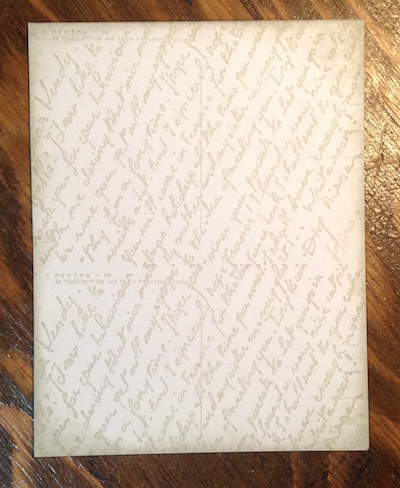
I created a panel for the front using the “5015-P, Postcard” stamp in a light gray and inking the edges of the panel with the same gray.

I added some ribbon and a bow that were made from ribbon salvaged from some other project and some pearls. And this is the end result:

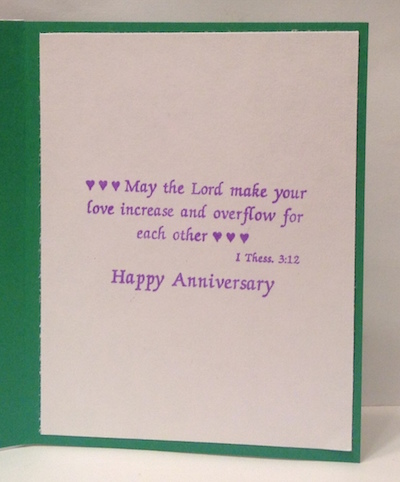
So much better! And I even salvaged the card base, adhering the new panel to the front and adding one on the inside with a new sentiment “1114-J, May the Lord . . .”

So, maybe you have some cards that have been sitting around forever and will never be mailed out due to the fact they are just not quite mail worthy? I hope this encourages you to go back and see if you can improve them, perhaps even using the same elements.

~ Heather

For this week only (October 1-7, 2018), get 20% Off the stamps used in Heather’s creation above when you use the coupon code POTW10118

Aug 062018
 

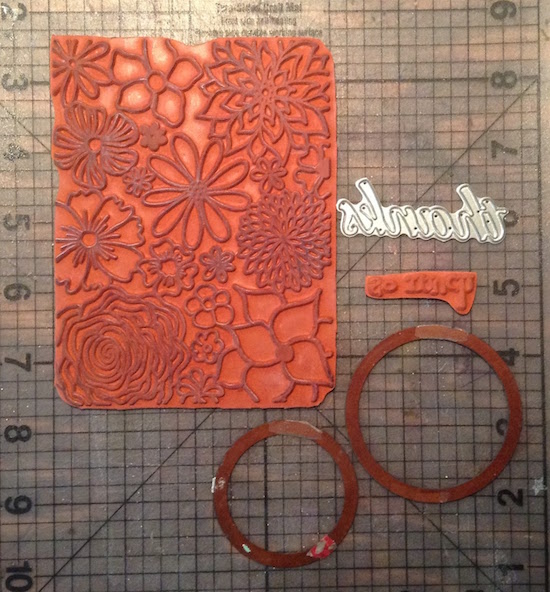
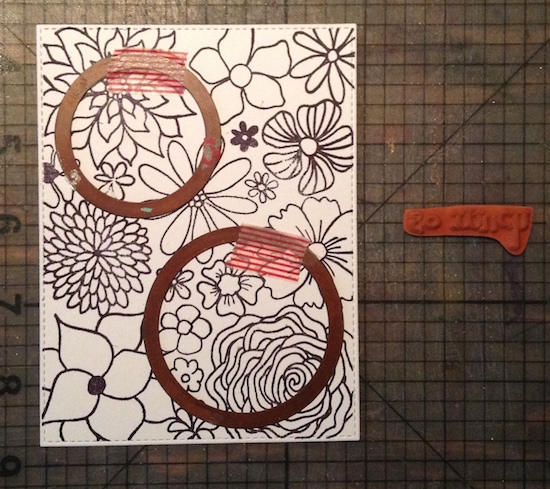
Today for my Pick of the Week, I have an old but good technique to share with you: spotlighting. It’s been around for a long time, but sometimes we need to be reminded of the older techniques. Spotlighting draws attention to specific areas of an image by coloring only those areas and leaving the rest of the image uncolored. Here’s what you need:
— a large image (I used the Flower Power Background)
— circle dies (smaller are better so you can highlight only small portions of the image)
— I also used a stitched rectangle die (not shown), a “thanks” die, and the “so much” sentiment from the “Thanks Cling Set”

Start by stamping your image (then I used the stitched rectangle die to trim it to size), and decide which area(s) you want to spotlight.

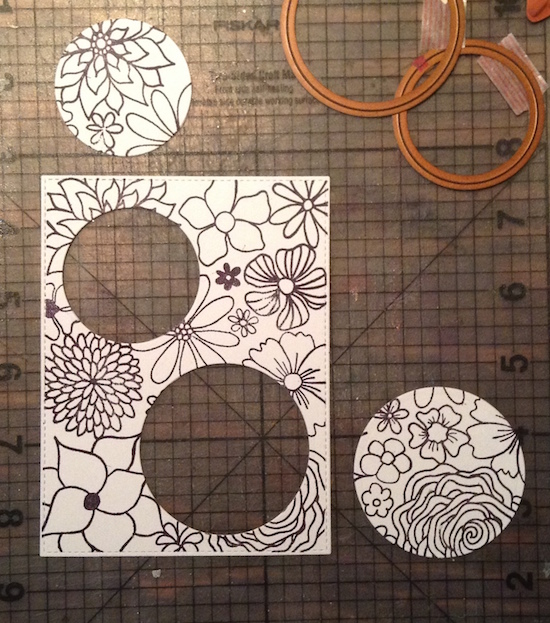
This is what it looks like after running it through the die cutting machine with the dies in place:

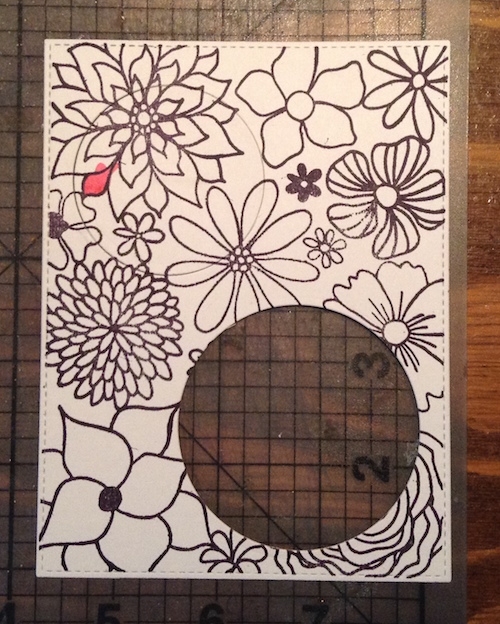
Then, all you have to do is color the part(s) you want to put in the spotlight. I find it helpful, every once in a while to stick the die cut back in place to make sure you are coloring all of it AND to make sure you don’t color something that could be part of the image but isn’t. As you can see in the photo below, I did this while coloring the upper left flower and am so glad I did because I thought the space right beside my first colored petal was another petal and it isn’t!

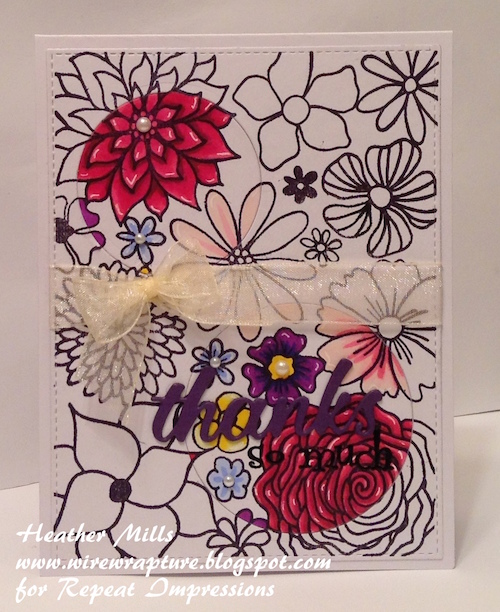
Once you’ve colored the part(s) you wanted to spotlight, adhere the main panel onto a card base and carefully line up and adhere the die cuts back into place.

To finish everything off, I added pearls only to the center of the flowers that were in my spotlighted areas.

~ Heather

For this week only (August 6-12, 2018), get 20% Off the stamps used in Heather’s creation above when you use the coupon code POTW8618