Nov 202017
 

Good morning!

I’m the Monday morning hostess at The House That Stamps Built. It’s my turn to share a ‘Project of the Week‘ with all of you. Today, I chose to share a tutorial for the easiest EVER treat box.

For this tutorial, I’m using this Repeat Impressions stamp:

2107 H Noel

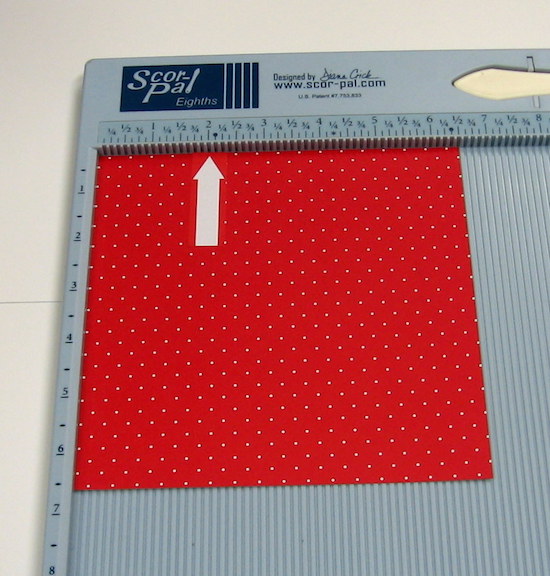
Cut a piece of card stock to 6.5″ x 6.5″.
Score at 2″ on each side.
potw112017-pg1

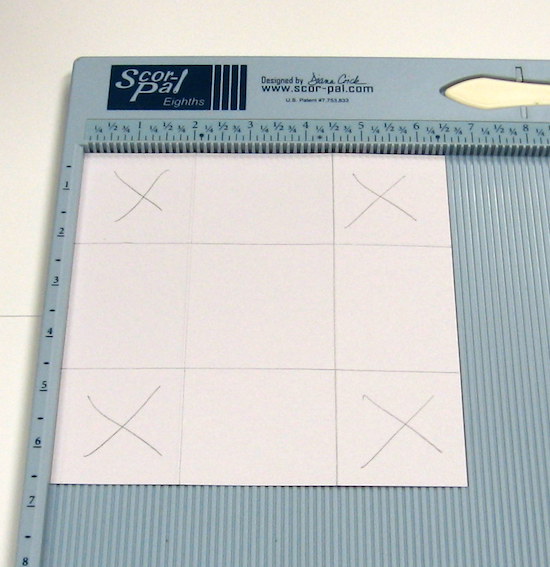
This is what your ‘box’ will look like:
potw112017-pg2

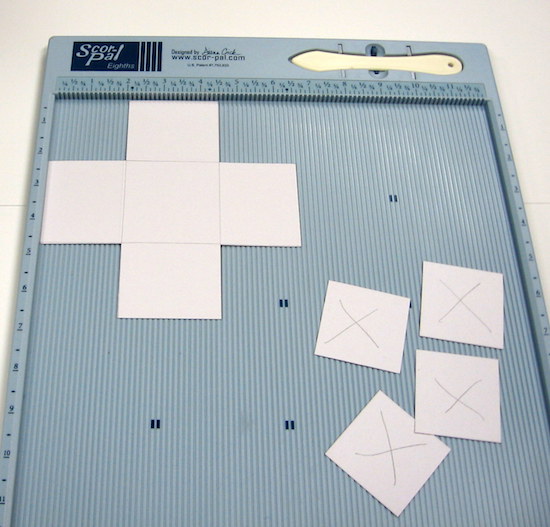
Cut off the 4 corners and burnish your score lines nice and crisp.
potw112017-pg3

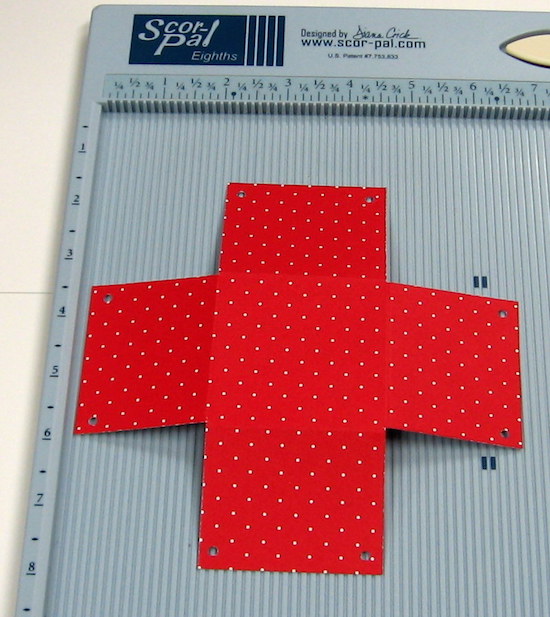
Take a small hole punch and punch each side of each flap.
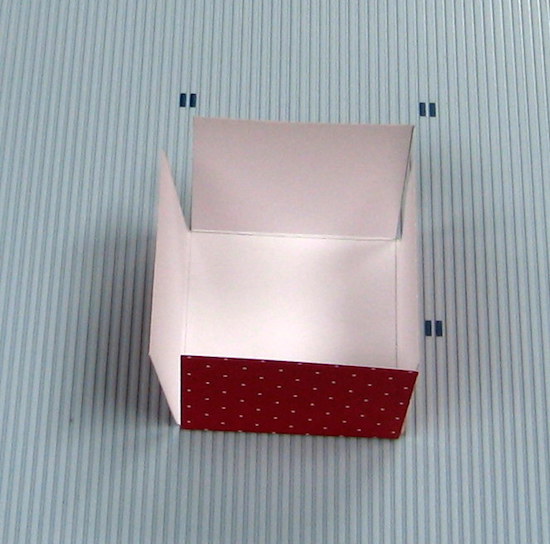
Now it looks like this.
potw112017-pg4

Burnish your fold lines one more time for grins…
potw112017-pg5

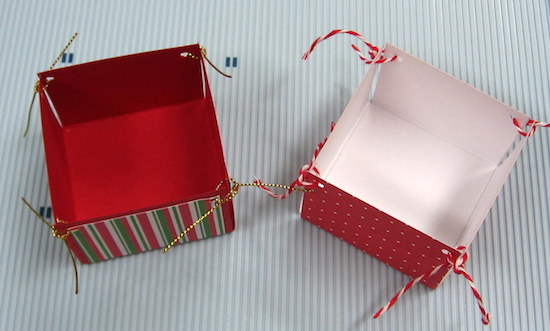
Take some Baker’s Twine or gold cording, and tie up your corners.
potw112017-pg6

Decorate as desired.

potw112017-pg7

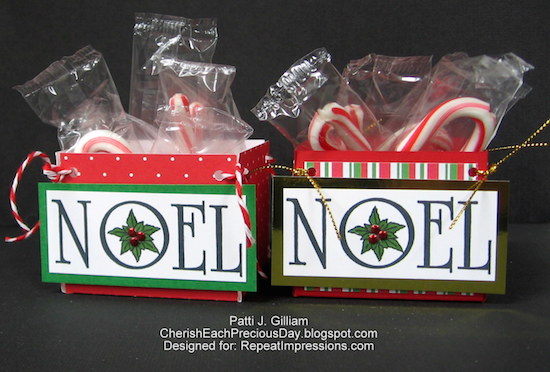
Fill boxes with something delightful!
That’s it - you’re done!
potw112017-pg8

Truly the easiest box ever, right?

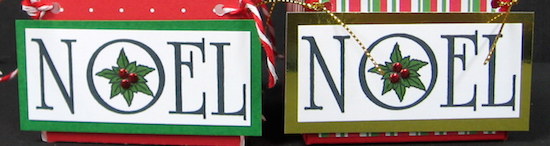
On the dotted box, there were no added panels, green card stock was used for matting, and Baker’s Twine was used for the ties.

On the striped box, I cut and adhered four panels that were 2.25″ x 1.75″, gold metallic card stock was used for matting, and Gold cording for the ties.

We hope that you will give this a try!
Come back and let us know if you do - we’d love to see your finished projects!!!

Thanks for stopping by,
Patti J.
Sep 252017
 
Good morning!
I’m the Monday morning hostess today here at The House That Stamps Built. It’s my turn to share a Project of the Week with all of you. Today, I chose to share a tutorial for an easy treat holder for my tutorial.


potw92517-pg1


For this tutorial, I’m using these Repeat Impressions stamps:

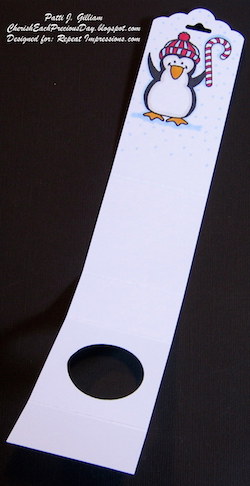
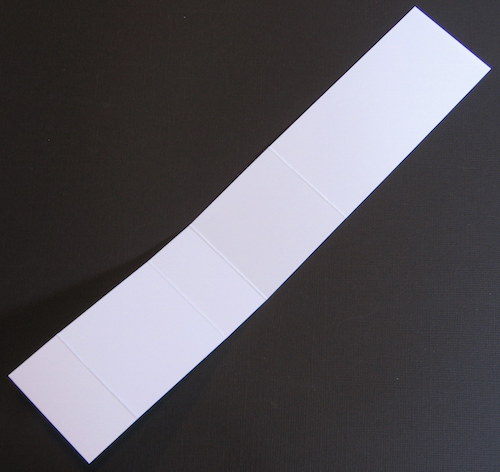
Cut a strip of cardstock to 1 15/16″ x 10″.

potw92517-pg2


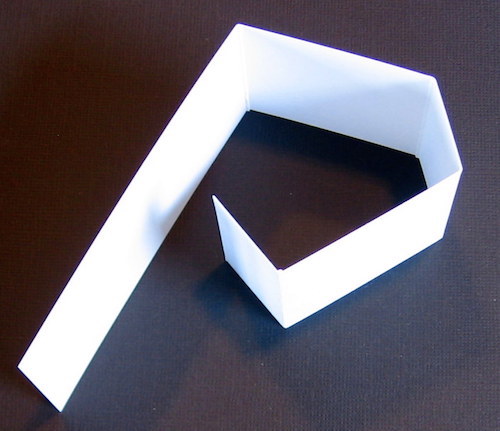
Score at 4″, 6″, 7″, and 9″
Burnish your score lines. Now your strip looks like this.

potw92517-pg3

Before I went any further, I took a decorative punch to the top of my strip. This step is optional.
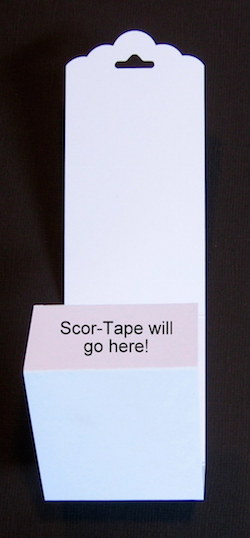
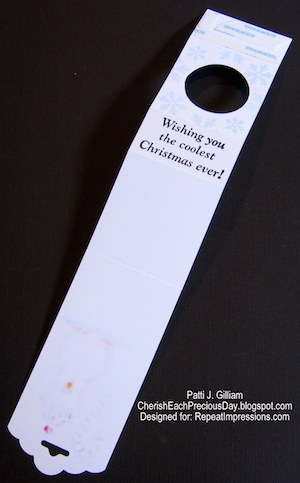
Add Scor-Tape, or adhesive of choice to the small tab, but do not remove the liner yet!

potw92517-pg4

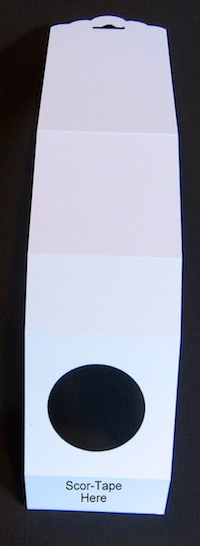
Punch a hole between the two score lines opposite the top of your strip.
I used a 1 1/4″ punch for this project.

potw92517-pg5

Begin decorating your strip. I stamped on what will be the ‘front’ side of my treat holder.

potw92517-pg6

If you wish to decorate the ‘holder’, you will need to flip your strip over, and stamp on the opposite side. Be sure that you are stamping on the side with the adhesive, with that end at the top.

If you look closely, you can see where the penguin was stamped - the Copics bled through a bit.

potw92517-pg7

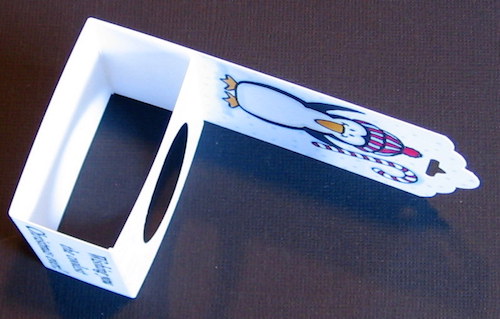
Now, just remove the adhesive liner, and attach the flap to the front of your treat holder.
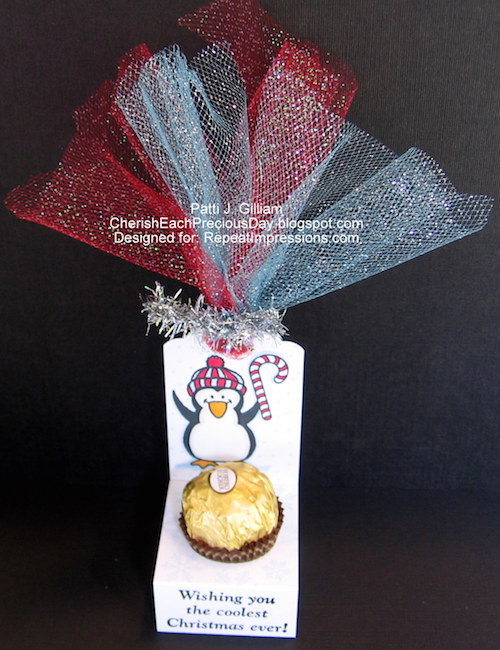
All that’s left to do is add candy and decorate!

potw92517-pg8

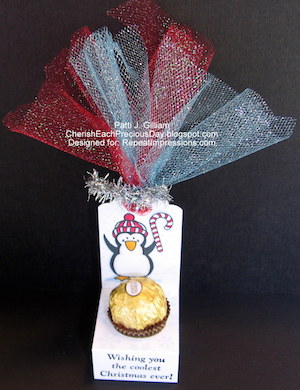
Here is the finished product.
You can change the dimensions of this holder, and add a votive candle, if you’d like!

potw92517-pg9

Here is your finished treat box - coolest ‘easy box’ ever, right?

We hope that you will give this a try!

Come back and let us know if you do - we’d love to see your finished projects!!!

Thanks for stopping by,
Patti J.
Jul 312017
 

Good morning!

I’m the Monday morning hostess at The House That Stamps Built. It’s my turn to share a Project of the Week with all of you. Today, I chose Inking with Finger Daubers for my tutorial.

For this tutorial, I’m using these Repeat Impressions stamps:
6201-L Triple Cats
8210-F No Ordinary Cats

First, gather your supplies. You will need a few inks, a few finger daubers, and a fun stamp.

Using a finger dauber, ink up the first cat, being sure not to ink up any of the other parts of the stamp.

Stamp the first image, and repeat the process on the second cat, using a different ink and dauber.

Here is what it looks like. As you can see, I got a bit of ink on the ‘framework’ of the stamp.
No worries!

Repeat the process using a third dauber and ink color.

At this point, the cats were ‘masked’ using some scraps of post it notes. Once all of the masks were in place, I daubed black ink on the frame.

Before stamping, careful and quickly remove the scaps of post it notes.
You can see in the image below, that only the frame has ink on it.

Here’s what it looks like with all Post-It’s removed.

Stamp the image.

Here is your finished image - pretty cool, right?

Now, all you have to do is finish your card! Voila!

Last, here is a close-up of the stamped image….

We hope that you will give this a try! Come back and let us know if you do - we’d love to see your finished projects!!!

Thanks for stopping by,
~ Patti J.

Jun 052017
 

Good morning!

I’m the Monday morning hostess at The House That Stamps Built. It’s my turn to share a ‘Project of the Week’ with all of you.

Today, I will show you how to use the Repeat Impressions ‘Stamp-A-Box’.
This is such a fun little box - it only measures about an inch wide, tall, and deep when finished - just perfectly sized for a Hershey’s kiss!

For today’s tutorial, I’m using this Repeat Impressions stamp: 3502 - Rose Stamp-A-Box

Let’s get started!

You will need your box stamp, some scissors, ink, and either markers or patterned papers.

You will need to stamp your image. I used a very faint ink color, as I didn’t want the
dotted lines to show through.

Here’s what the pattern looks like when stamped in black ink.

I took some Spectrum Noir markers, and just colored the whole thing.

I decided I didn’t like the roses that way, so I stamped just the upper portion of the image
again, on a designer paper.

Just the flowers were fussy cut, and glued onto the sloppily colored roses.

Here is what the box looks like now!
I put the box on my Scor-Pal, and scored on all of the fold lines,
then added Scor-Tape to the end flap, and one of the bottom flaps.
As you can see, there are cut lines on the roses. Cut those now, as well.

Adhere the small end flap to the other side of the box. It will then look like this.

Fold in two of the bottom flaps…then fold in the flap with the Scor-Tape on it.
Fold the last flap in, creating your box bottom.

Now for the fun part! It’s all beginning to come together!
Add a ‘kiss’, or whatever you’d like.

Fold in the two top flaps, and then ‘intersect’ the two cut lines on your roses.

Voila! Is this not the cutest little tiny box ever?

Thanks for taking time to visit today - hope you’ll try one of these cute boxes!

I hope that you will give this a try!
Come back and let us know if you do - we’d love to see your finished projects!!!

Thanks for stopping by,
Patti J.