Hi, everyone! It’s my turn to share a Project of the Week here at The House That Stamps Built and I’m going to show you how to create a bokeh background with stamped images. It creates such a soft look and it’s pretty fun, especially if you don’t mind doing a lot of sponging. Here are the things you will need:
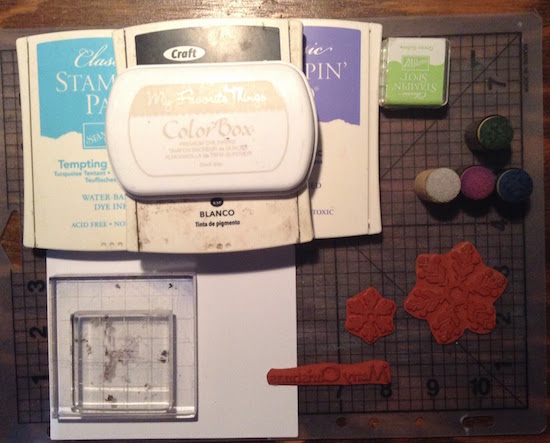
• several coordinated ink colors: I used SU! Tempting Turquoise, Lovely Lilac and Green Galore dye inks plus MFT Gray Grout for image stamping
• white ink: I used SU! white craft ink
• ink daubers or sponges
• white card stock panel
• stamps: I used Repeat Impressions’ 8912-I “Snowflake Solid (lg)”, 8914-E “Snowflake Solid (small)” and 1141-F “Christmas”
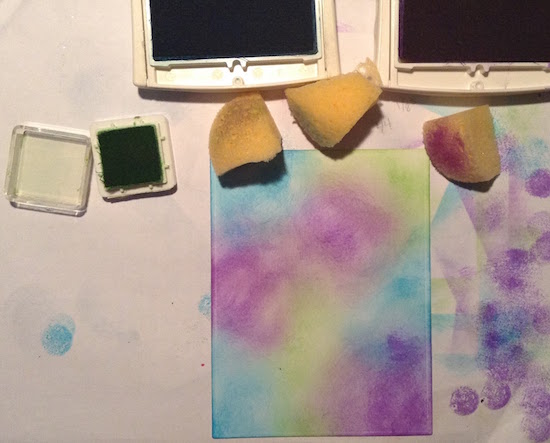
Start out with one of your ink colors; sponging it in several places on your panel. I chose Tempting Turquoise as it was my darkest color.
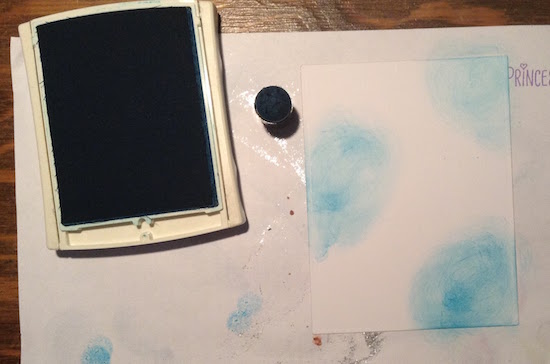
Sponge on your next color, overlapping in some areas.
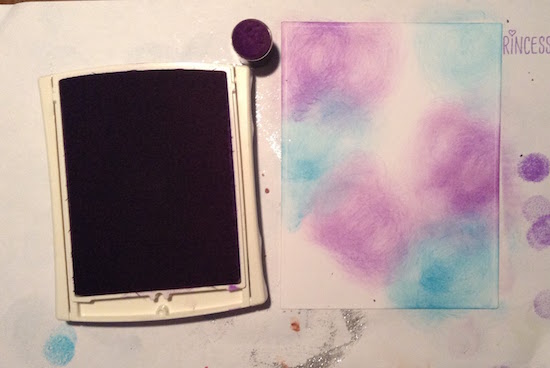
Sponge on your next color filling up the rest of the white space. It looks a little splotchy right now, due to the rough edges of my sponge daubers, but don’t worry, it will be fixed!
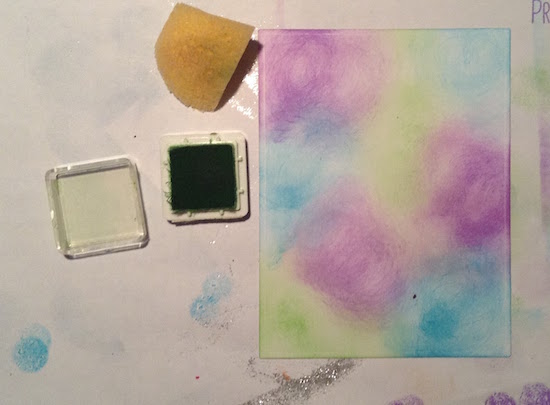
I switched to sponge pieces and continued to sponge on the ink colors, darkening them, smoothing the color and blending all the colors together better.
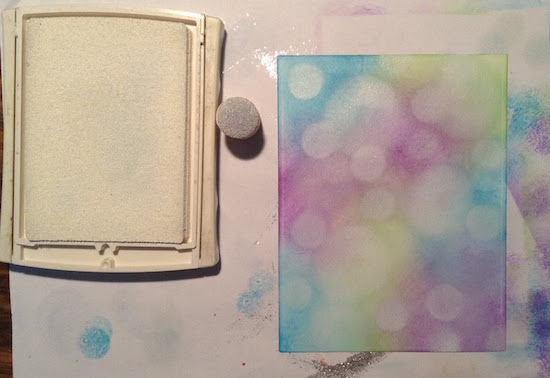
Once you get your inks blended how you want them, start adding the white. I used the sponge dauber to create different sized circles. For the smaller circles, I simply pressed the inked dauber directly down onto the paper, like a stamp. For the larger circles, I used the dauber in a circular motion to create various sized circles. Overlap them here and there and make some darker by adding more ink over top of the ink already there. The edges will soften as the ink dries. Now, be patient and let your panel dry (I know from experience that it will make the next step easier!)
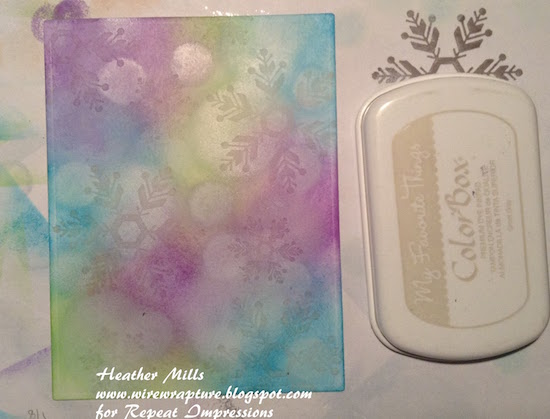
I used my light gray ink to stamp the large and small snowflakes onto the panel. I used my mini MISTI because I knew I would have to stamp each image several times since the ink is so light. I wanted them to be subtle which is why I chose the light ink, but I also wanted them to be seen.
After the panel dried completely, I turned it into my finished card. As you can see, as the inks dried (specially that white craft ink) everything softened and blended together perfectly! I am loving these non-traditional colors for Christmas!!
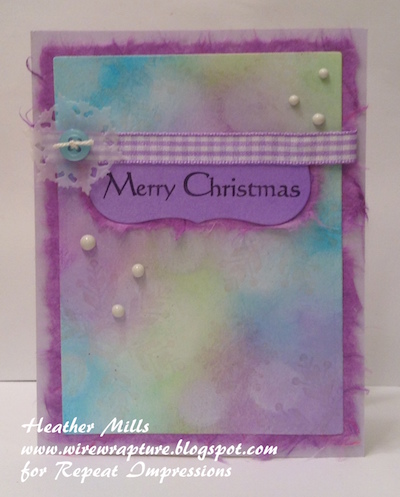
I finished it off with a bit of ribbon I’ve had forever, a vellum die cut snowflake topped with a recycled button, and some nuvo crystal drops. Thanks for checking out my Project of the Week!
~ Heather