Nov 082017
 

Happy Wednesday, everyone! I hope you’ve had a good week since I last posted. It’s been a memorable one for me, for sure! If you saw my post last week, you may recall that we were without power here after that crazy rain and wind storm moved through New England. Well after that things got even more interesting… I woke up last Wednesday morning to the carbon monoxide alarm in our basement going off. Thank goodness I’m a light sleeper! Long story short, our furnace then needed to be replaced so we’ve been without heat or hot water for the past week. But the good news is that after 6 1/2 days our power finally came back on this past weekend and our new furnace is being put in today. So things are looking up around here! :)

Today here at “The House” it’s time to kick off one of our fun Tic-Tac-Toe Challenges. I have created the Tic-Tac-Toe style board below using various stamping themes, elements, and embellishments. Then, similar to the game, you will create something based on picking any row of 3… either vertically, horizontally or diagonally. Fun, right?! And with so many great variables there’s really no reason why you can’t play along!

Tic-Tac-Toe Challenge N817

Check out all this spectacular inspiration the RI Rock Stars have created for you… such a great variety!
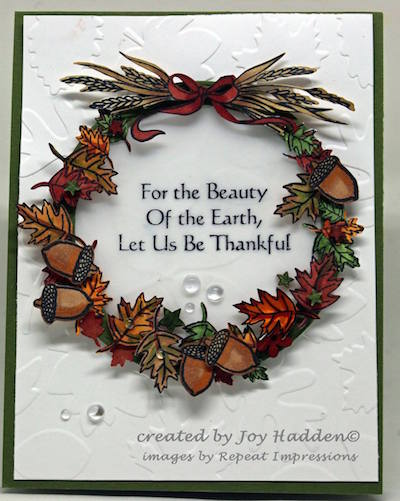
n817-jh
“Tic-Tac-Toe Challenge ~ N817” creation by Joy Hadden.
Visit Joy’s blog
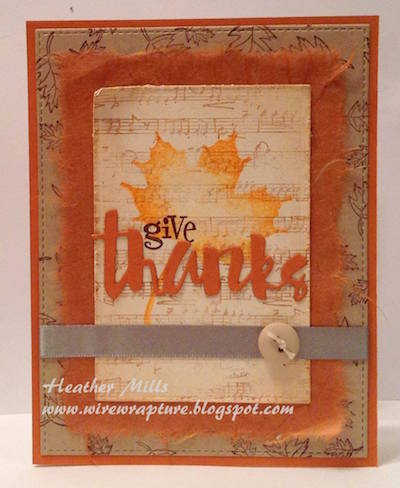
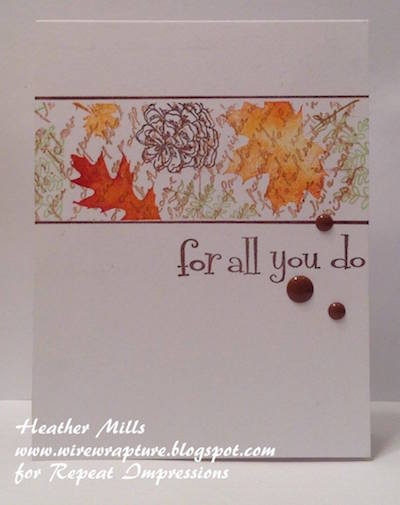
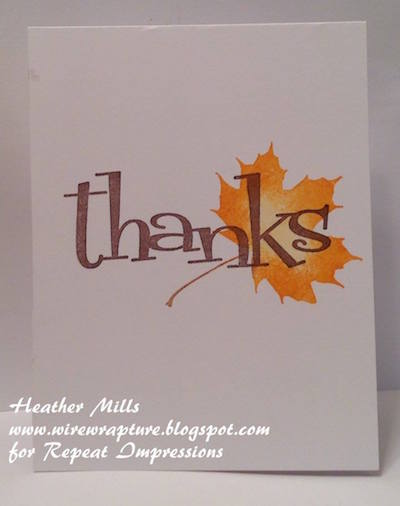
n817-hm
“Tic-Tac-Toe Challenge ~ N817” creation by Heather Mills.
Visit Heather’s blog
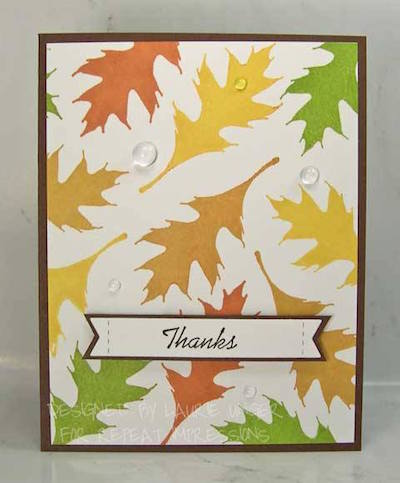
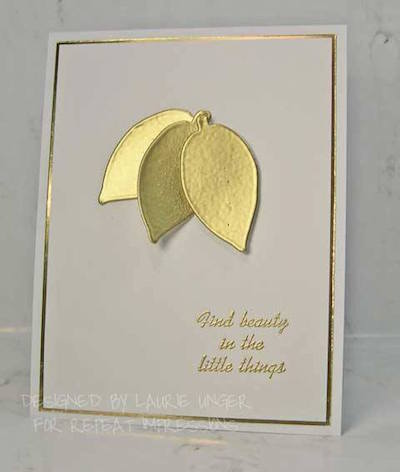
n817-lu
“Tic-Tac-Toe Challenge ~ N817” creation by Laurie Unger.
Visit Laurie’s blog
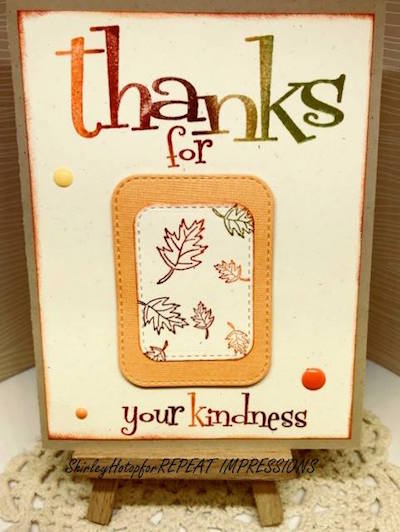
n817-sh
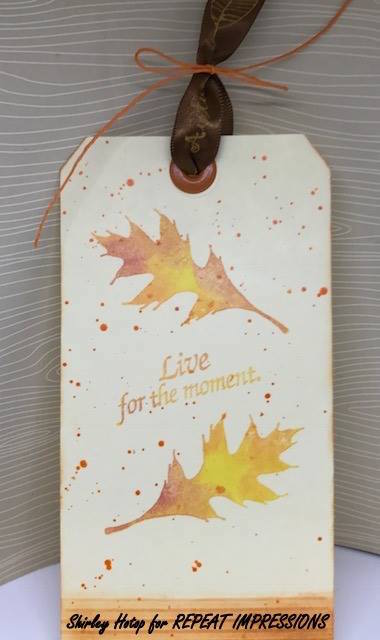
“Tic-Tac-Toe Challenge ~ N817” creation by Shirley Hotop.
Visit Shirley’s blog
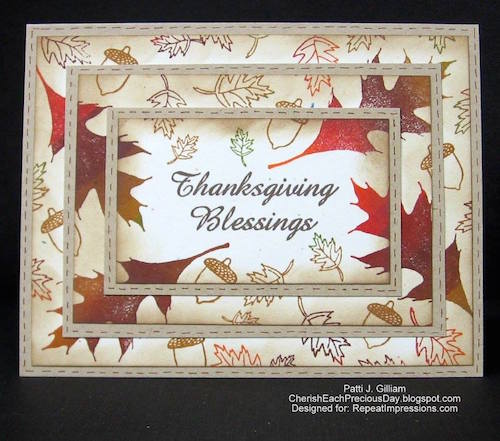
n817-pg
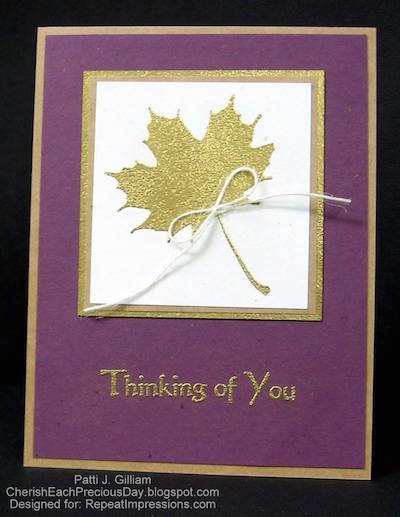
“Tic-Tac-Toe Challenge ~ N817” creation by Patti J. Gilliam.
Visit Patti J’s blog
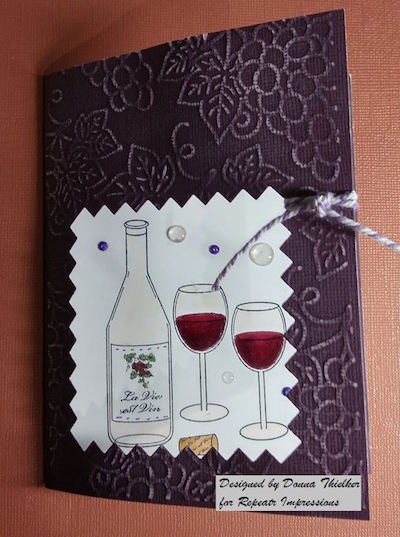
n817-dt
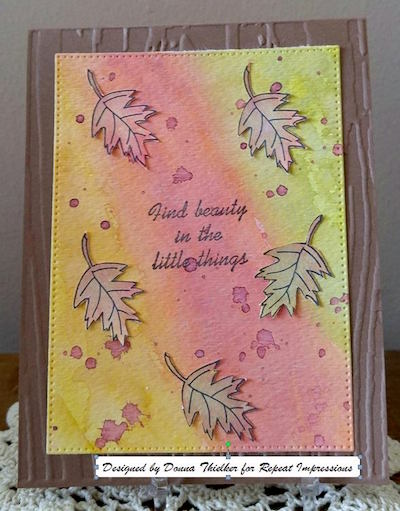
“Tic-Tac-Toe Challenge ~ N817” creation by Donna Thielker.
Visit Donna’s blog
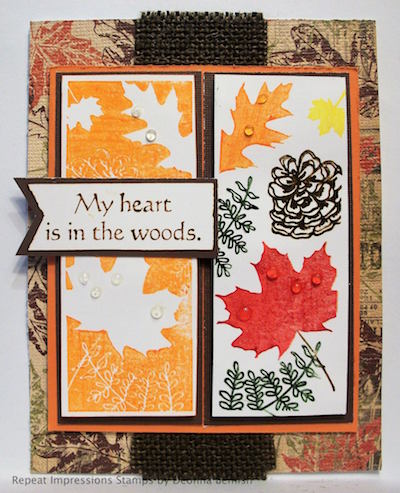
n817-db
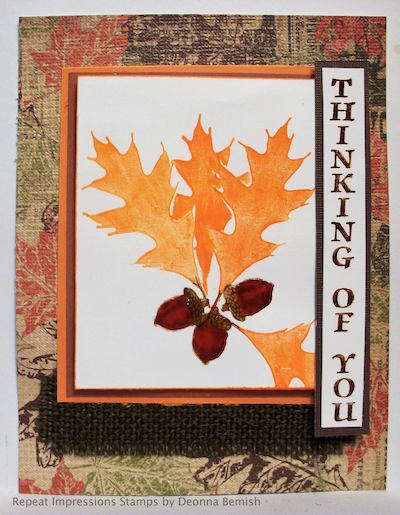
“Tic-Tac-Toe Challenge ~ N817” creation by Deonna Bemish.
Visit Deonna’s blog
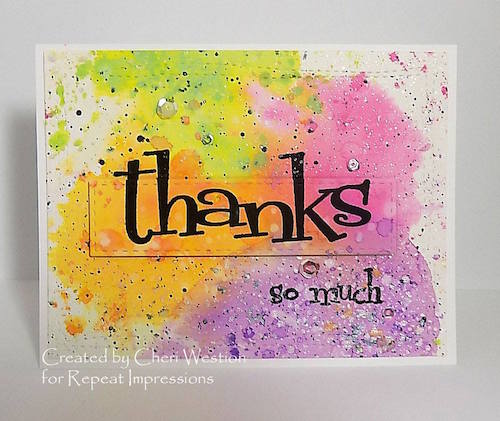
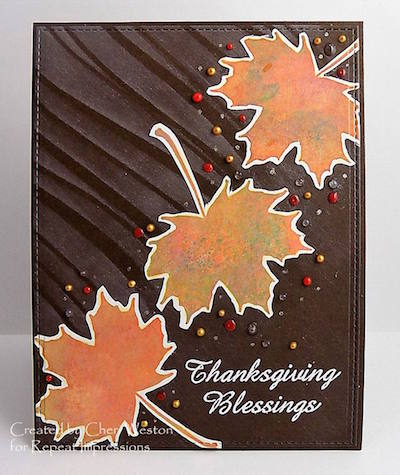
n817-cw
“Tic-Tac-Toe Challenge ~ N817” creation by Cheri Weston.
Visit Cheri’s blog

And now it’s your turn! The rules are really simple… Remember, your creation doesn’t have to be made with Repeat Impressions stamps, but if you would like to include our designs we would really love to see them! 😀 Plus you will get an additional entry in our random.org drawing for using our stamps in your submissions! Simply create something using this week’s Tic-Tac-Toe board, upload your card to your blog or Splitcoast gallery, then link it here to this post by clicking on the little blue button below.

Don’t forget… we’ve extended our submission dates for challenges again this month so you have plenty of extra time to play along. We will be accepting submissions to this Tic-Tac-Toe Challenge ~ N817 until 5pm EST on December 5th. All participants will be automatically entered into our random drawing. On November 15th we’ll start a new challenge… our Inspiration Palette Challenge, and so on with the different challenges through the end of the month. Then the first Wednesday in December we’ll announce our November winner. One lucky person will win a $25 Repeat Impressions Gift Certificate!

So what are you waiting for?! Why not play along with us and start stamping up a card now. We can’t wait to see your creations! When you are ready to share your card, please add the direct link to your entry using the link button below. And please be sure to provide a link back here and reference Repeat Impressions Tic-Tac-Toe Challenge ~ N817 in your blog or gallery posting.

Thank you so much for stopping by today. We hope you’ve found lots to inspire you and look forward to seeing your challenge creation linked here soon. And please be sure to drop by again on Monday when Rock Star, Laurie Unger will be hosting and sharing her Project of the Week with us.

Until the next time… happy stamping!

Wendy
Repeat Impressions
Nov 062017
 

Hey — Wendy, owner of Repeat Impressions let me do the Project of the Week for this week and I’m crazy about it. I’ll be doing some experimenting with it and here are my first attempts.

Ok - I love, love the new stitching dies - but Holy Toledo! they are expensive. I want a leaf stitching die and just the dies alone were $24.00. So I came up with this idea.

Here are the supplies you will need:
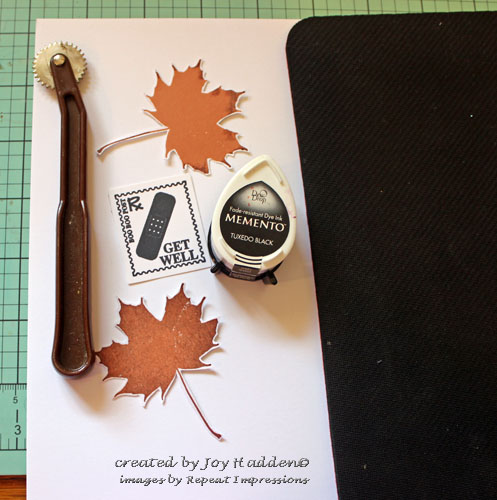
Tracing wheel (the kind you use for pattern marking)
Favorite image (stamped already)
A little black ink
An old mouse pad

potw11617-jh1

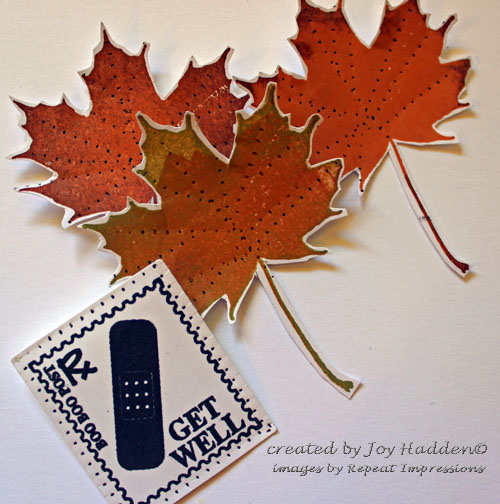
4904-F, Get Well Postoid stamp and 5127-K, Maple Leaf Silhouette stamp.

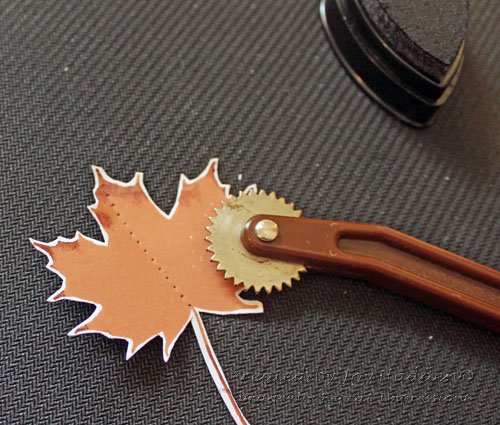
First gently ink up the wheel (just like you would do a brayer) - I used a little ink dew drop - because I didn’t know if it would cut the ink pad.

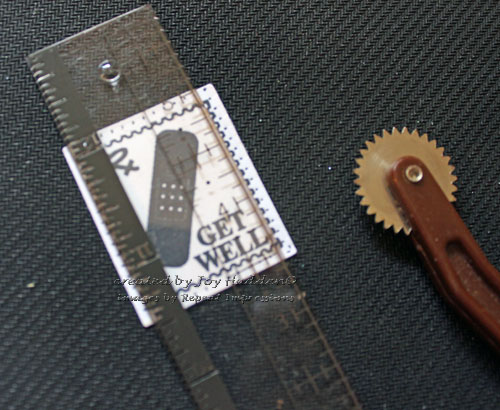
Here I used a ruler on top of the mouse pad to make sure I did it straight.

potw11617-jh2

Here I did it slowly using curves.

potw11617-jh3

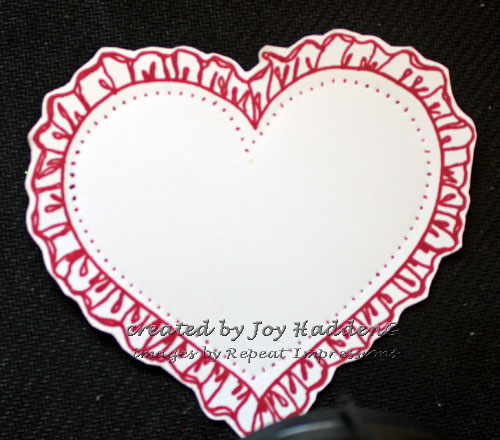
1216-O, Ruffled Heart Border stamp.

Here I did it using the leaves - this was my goal!

potw11617-jh4

Here are the leaves and small rectangle finished.

potw11617-jh5

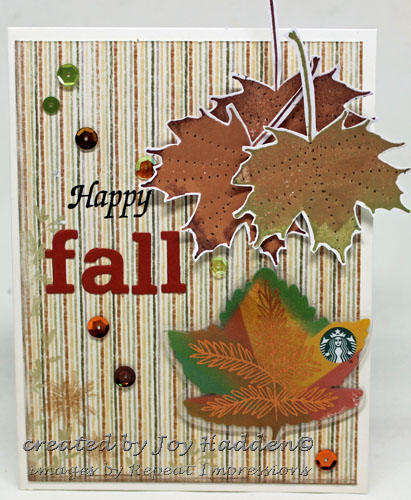
Here is the card I did using the technique.

potw11617-jh6

This also used the word “Happy” from the 3104-F, Happy Everything sentiment and some alphabet letters. I attached a Starbucks card.

Thanks for looking at my project - hope you give it a try.

~ Joy

Nov 012017
 

Happy November everyone! I hope you had a fun Halloween. I still can’t believe how quickly October flew by! It’s been an interesting few days here in Maine. Heavy rains and almost hurricane force winds caused flooding, brought down lots of trees, and caused widespread, record breaking power outages. We’ve been without power since Sunday night, but thank goodness we have a generator so we’ve been able to get by. Many people have not been as fortunate.

So thanks to our generator, today here at “The House” we’re kicking off a new month of challenges with one of our great Designer’s Choice Challenges. This time around RI Rock Star, Laurie Unger is hosting and challenging you all to create a card with a “Falling For You” theme which includes leaves, fall and autumn cards.

Here is the wonderful card that Laurie created to get everyone started.

dcc111-lu “DCC111” creation by Laurie Unger.
Visit Laurie’s blog

So a few days ago Laurie shared her creation with her fellow Rock Stars and asked them all to stamp up a leaves, fall or autumn themed card. Check out all the fantastic creations they came up with to inspire you this week!

dcc111-cw “DCC111” creation by Cheri Weston.
Visit Cheri’s blog

dcc111-hm1 “DCC111” creation by Heather Mills. (card front)
Visit Heather’s blog

dcc111-hm2 “DCC111” creation by Heather Mills. (inside)
Visit Heather’s blog

dcc111-db “DCC111” creation by Deonna Bemish.
Visit Deonna’s blog

dcc111-sh “DCC111” creation by Shirley Hotop.
Visit Shirley’s blog

dcc111-dt “DCC111” creation by Donna Thielker.
Visit Donna’s blog

dcc111-pg “DCC111” creation by Patti J. Gilliam.
Visit Patti J.’s blog

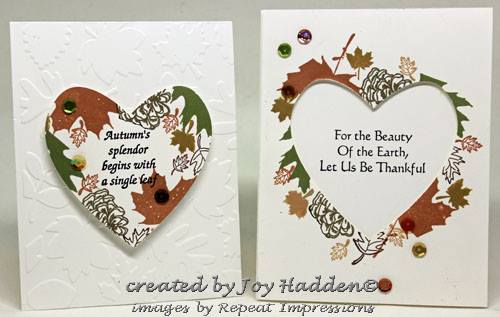
dcc111-jh “DCC111” creation by Joy Hadden.
Visit Joy’s blog

And now it’s your turn. Here are all the details…

1. Stamp up a leaves, fall or autumn themed card. And remember, your creation does not have to be made with Repeat Impressions stamps, but if you would like to include our designs we would reeeally love to see them! 😀 Plus, there’s an added bonus… you will get an additional entry in our random.org drawing for using our stamps in your submissions!

2. Post your DCC creation on your blog or online gallery and be sure to reference Repeat Impressions DCC111 ~ Falling For You. Then link it here with the inlinkz widget below. (Please provide a direct link to your post, not the entire blog.)

3. Submissions will be accepted until Tuesday, December 5th at 5PM EST.

4. On November 7th we will introduce a new challenge to play along with and after all our November challenges wrap up we’ll announce our winner for the month the first week in December. One lucky person will win a $25 Repeat Impressions Gift Certificate!

Today we’re also announcing the winner of our October challenges. A big thank you to all of you who participated. We loved checking out all your creations and really appreciated all your kind comments too! As usual, we let random.org select the lucky recipient of our $25 Gift Certificate. So without further ado… this time that person is… Steffi H. Congratulations, Steffi and happy shopping! Please leave a comment on this post and I will contact you with your certificate info.

Thanks so much for dropping by today. We hope you’ve found lots to inspire you and look forward to seeing your challenge card linked here very soon. And please be sure to stop by again on Monday when RI Rock Star, Joy Hadden will be hosting and sharing her Project of the Week with you. Until then… happy stamping!

Wendy
Repeat Impressions
Oct 302017
 

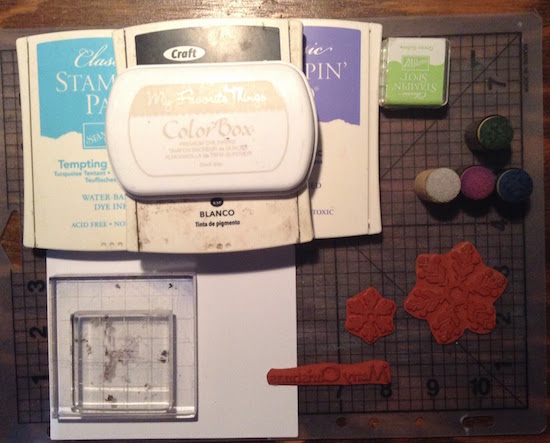
Hi, everyone! It’s my turn to share a Project of the Week here at The House That Stamps Built and I’m going to show you how to create a bokeh background with stamped images. It creates such a soft look and it’s pretty fun, especially if you don’t mind doing a lot of sponging. Here are the things you will need:

potw103017-hm1

• several coordinated ink colors: I used SU! Tempting Turquoise, Lovely Lilac and Green Galore dye inks plus MFT Gray Grout for image stamping
• white ink: I used SU! white craft ink
• ink daubers or sponges
• white card stock panel
• stamps: I used Repeat Impressions’ 8912-I “Snowflake Solid (lg)”, 8914-E “Snowflake Solid (small)” and 1141-F “Christmas”

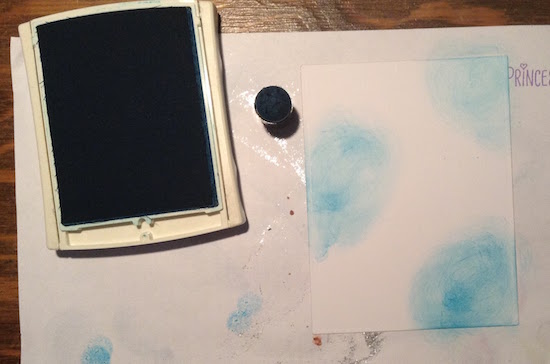
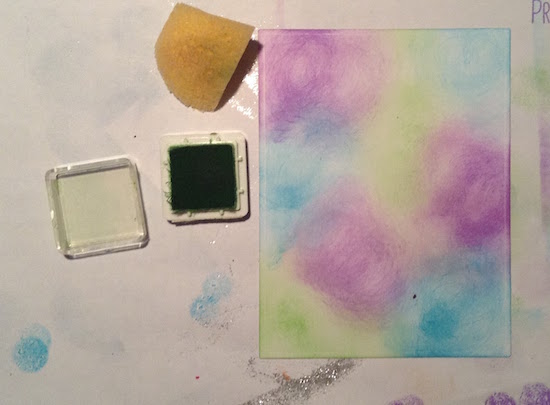
Start out with one of your ink colors; sponging it in several places on your panel. I chose Tempting Turquoise as it was my darkest color.

potw103017-hm2

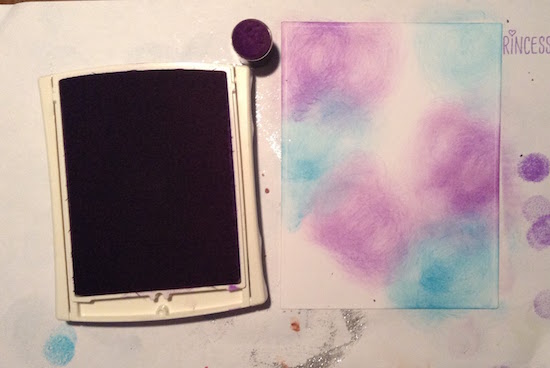
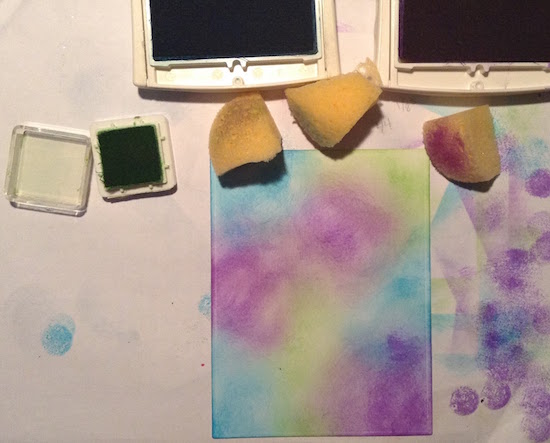
Sponge on your next color, overlapping in some areas.

potw103017-hm3

Sponge on your next color filling up the rest of the white space. It looks a little splotchy right now, due to the rough edges of my sponge daubers, but don’t worry, it will be fixed!

potw103017-hm4

I switched to sponge pieces and continued to sponge on the ink colors, darkening them, smoothing the color and blending all the colors together better.

potw103017-hm5

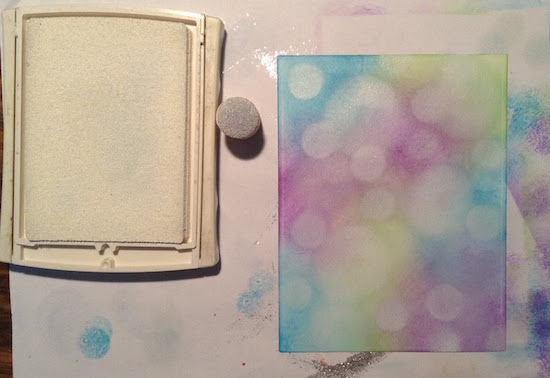
Once you get your inks blended how you want them, start adding the white. I used the sponge dauber to create different sized circles. For the smaller circles, I simply pressed the inked dauber directly down onto the paper, like a stamp. For the larger circles, I used the dauber in a circular motion to create various sized circles. Overlap them here and there and make some darker by adding more ink over top of the ink already there. The edges will soften as the ink dries. Now, be patient and let your panel dry (I know from experience that it will make the next step easier!)

potw103017-hm6

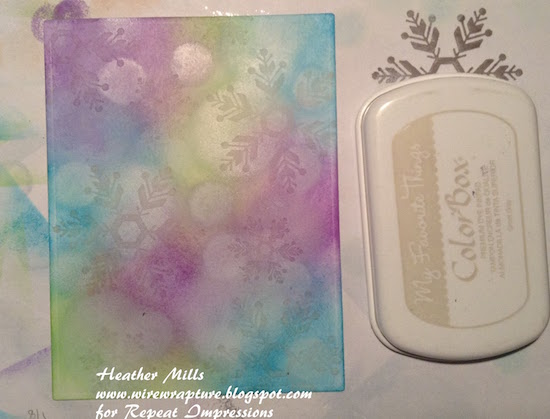
I used my light gray ink to stamp the large and small snowflakes onto the panel. I used my mini MISTI because I knew I would have to stamp each image several times since the ink is so light. I wanted them to be subtle which is why I chose the light ink, but I also wanted them to be seen.

potw103017-hm7

After the panel dried completely, I turned it into my finished card. As you can see, as the inks dried (specially that white craft ink) everything softened and blended together perfectly! I am loving these non-traditional colors for Christmas!!

potw103017-hm8

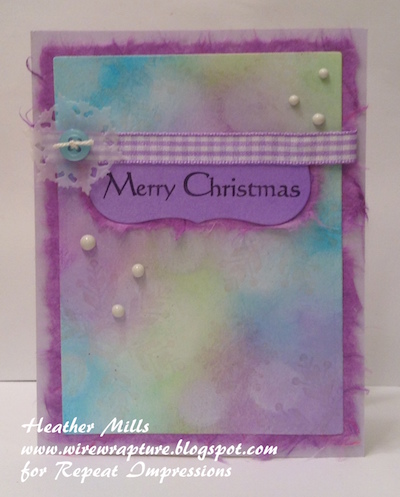
I finished it off with a bit of ribbon I’ve had forever, a vellum die cut snowflake topped with a recycled button, and some nuvo crystal drops. Thanks for checking out my Project of the Week!

~ Heather