Feb 112019
 

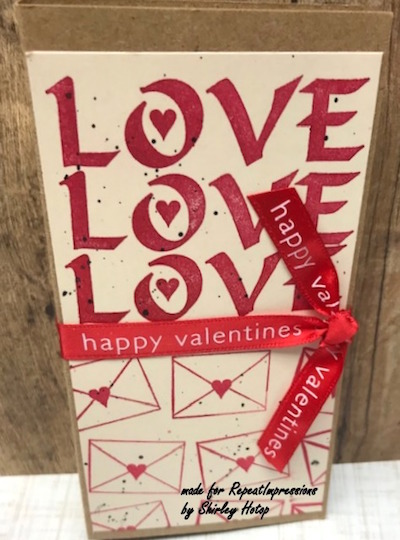
This week here at The House That Stamps Built, it is my turn to do a Pick of the Week. This quick and easy Valentine greeting is “full” of goodies and quick and easy to make. If you have some foil wrapped chocolate hearts then you can make a few of these before LOVE day. I will “reveal” what is inside at the end of my post.

First the supplies are everything that most of us have on hand.
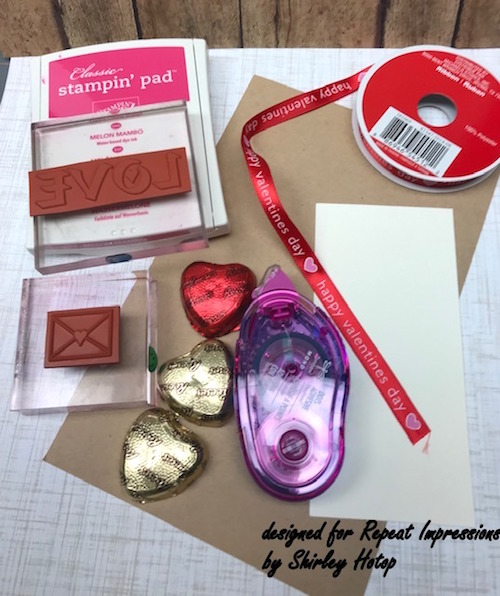
I chose two stamps to use with my project, 1204-I LOVE, and I thought the 1219-C Love Letter went very well with this project. As you can see the supplies are very basic. You will need a piece of kraft card stock measuring 6 1/4″ x 5 1/2″, score on the 6 1/4 inch side at 2 3/4″ and 3 1/2″, fold score lines both mountain folds. You will need a piece of coordinating card stock measuring 5″ x 2 5/8″ for you to stamp on. You will need a piece of ribbon about 12″ long, and oh 3 yummy chocolate hearts. These are Reese’s Peanut Butter hearts (my hubby’s favorite).
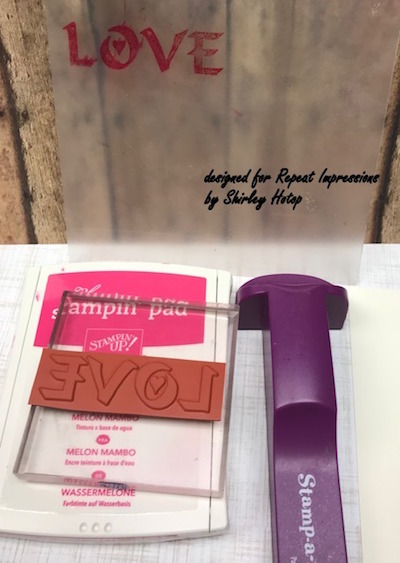
I dug around in my tool drawer and found my stamp position tool (yes I still use this tool.) I stamped it once on the acrylic piece that comes with this tool and then using that as my guide I stamped the LOVE a total of three times lining it up pretty close. I then decided where I wanted my ribbon and made just a small pencil mark and then random stamped the love letter on the bottom.
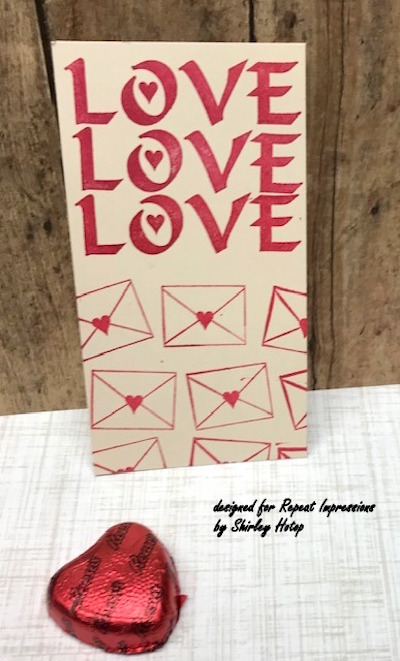
I added my ribbon with glue dots and added some black splatters - I like red, white, kraft and black combination.

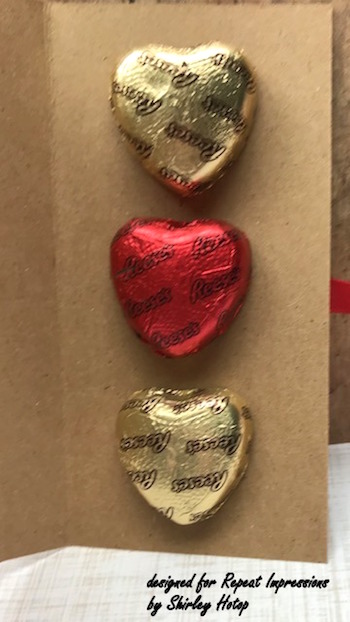
Oh I think I said I would show you what was on the inside well here is the card opened. I used some double sided foam tape to hold my chocolate hearts inside. I can assure you they won’t be there very long.
Why not grab some supplies and make a couple of these before Valentine Day. A trip to the store for chocolate hearts and you have a card and a giftie.

~ Shirley

For this week only (Feb. 10-17, 2019), get 20% Off the stamps used in Shirley’s creation above when you use the coupon code POTW21119
Dec 172018
 

This week my Pick of the Week, here at The House That Stamps Built, is just a few helpful hints that I use often when I make my cards.

P.S. this post may be a bit heavy in pictures. 

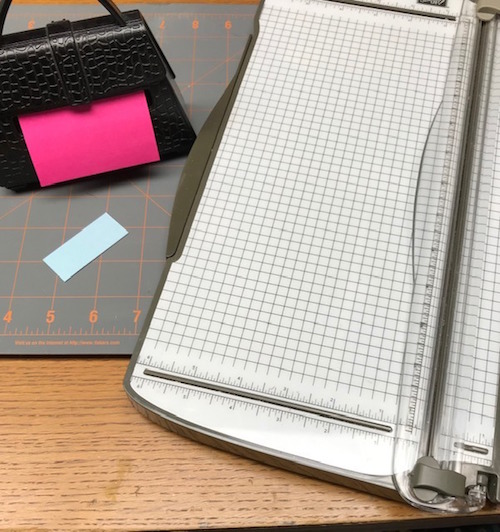
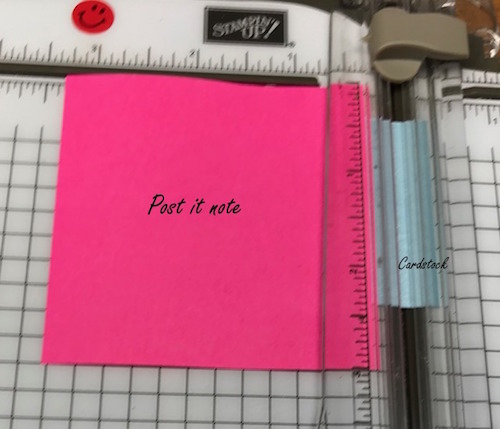
Do you ever have small pieces of card stock that you need to cut - like for a sentiment or a thin slice, put a post it note on it to use as your anchor and cut away with your trimmer.

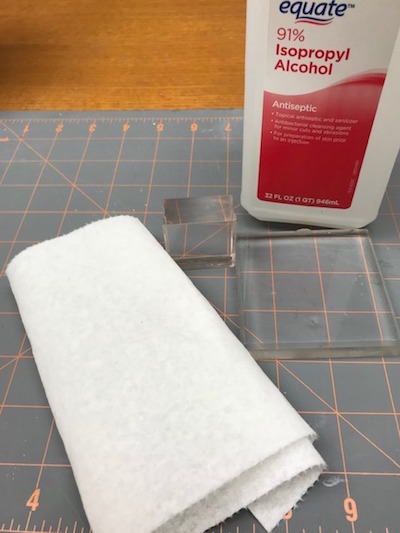
Clean your acrylic blocks with a paper towel and alcohol - or use an alcohol wipe if you have one. Clean and shiny and your stamps will stick much better to your clean block.

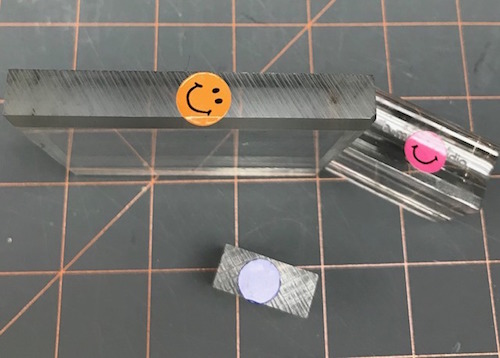
If you go to a crop, friends house or stamp club like I do mark your blocks, and other tools with a sticker such as I use a smiley face on all of my blocks and tools. Yes even ink pads.

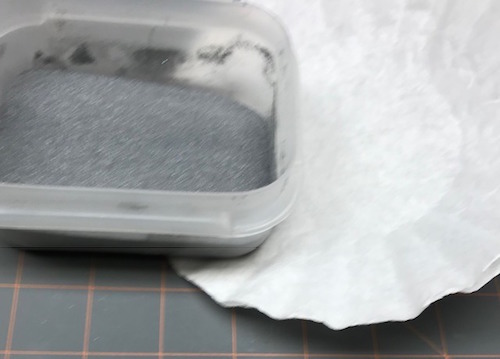
Do you try and pour your left over embossing powder back into that small bottle, using a folded piece of paper??? Well my embossing powder that I use often such as silver, gold, black etc. I pour in a large container with a nice tight fitting lid - then when I emboss my image I do it over a regular coffee filter, works like a charm.

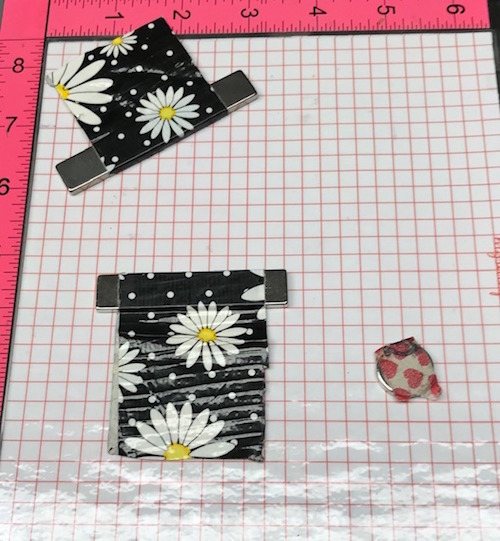
I am thinking that several designers use a stamp platform - especially to stamp multiples or to make sure you get a good image on your card stock. BUT - have your every gotten your bar/circle magnets stuck??? Or have them stuck together with a finger in the way? I use some pretty duck tape on my bar magnets with a nice long tail so I can handle them without any problem and on my circle one I use washi tape. Saves a lot of hassle getting the magnets apart.

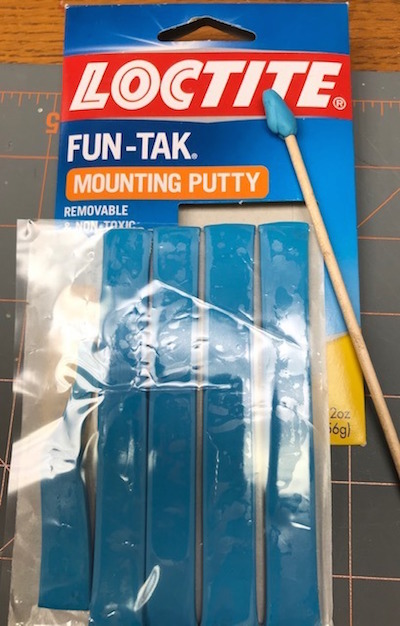
Make your own pick-up stick to grab those pesky little sequins or gems that are so hard to pick up especially if you have no fingernails. I used an orange stick (available in nail polish/tool section at the store), and Loctite mounting putty. When the sticky no longer picks up - just take it off and put on new putty. Saves a few $$$$.

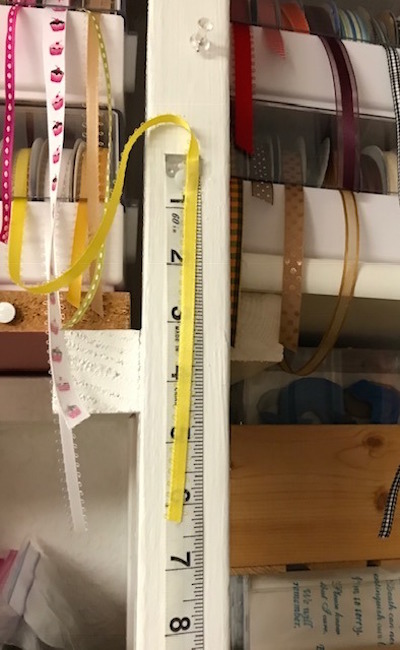
I am lucky to have plenty of shelves in my craft room - and I have several ribbon holders. I applied a tape measure to one of the cross bars so I could measure my ribbon instead of just guessing.

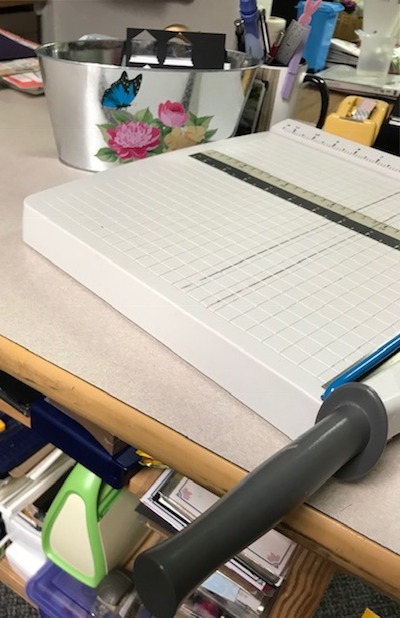
I keep a small trash container right next to my trimmer on my cutting desk so I can trim and throw away any scraps I am not going to keep. I found this cute aluminum can at Dollar Tree so you know how much it cost!!!

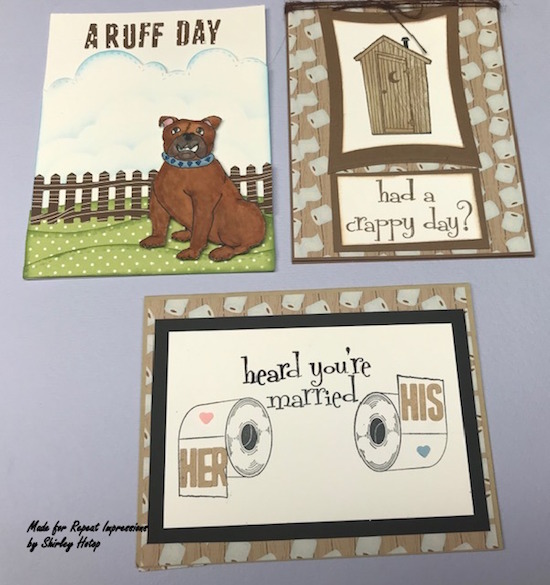
Below you will see three of my “favorite” cards - that I have made for challenges in the past. I love dogs (we have 3 of our own) so Ruff Day using 8101-L Bull Dog. Colored him with copics, fussy cut him and ready to go. My next selection I choose because of the multiple uses you can get from this set. I would recommend getting the whole plate P10600 Holy Crap which has more than 35 stamps in the collection. This way you can mix and match so many combinations to make a bit “edgy” card. I have had so much fun using this set. You can also order the stamps individually - in my “married” card I used 10632-I Toilet Tissue, 10609-F Married, 10602-E You’re, 10618-K Heard you’re taking the plunge, using only the word “heard”, and on the outhouse card I used 10634-I Outhouse and 10630-J Crappy Day.

I have given you quite a few little hints and suggestions for your paper crafting fun. Everything I used was stuff I had in my collection so didn’t have to buy anything.

~ Shirley

For this week only (Dec. 17-23, 2018), get 20% Off the stamps used in Shirley’s creations above when you use the coupon code POTW121718

Oct 222018
 

This is my week here at The House That Stamps Built to do my Pick of the Week which is a weekly feature of our design team.

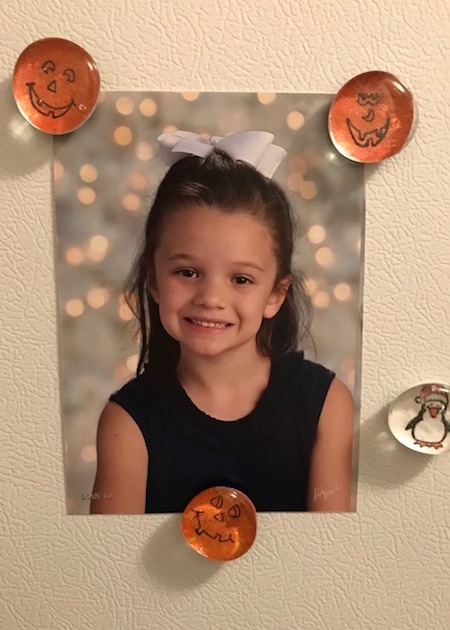
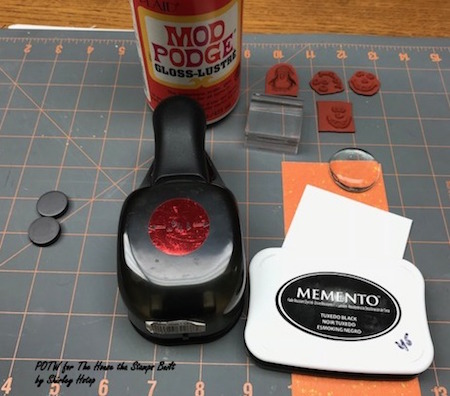
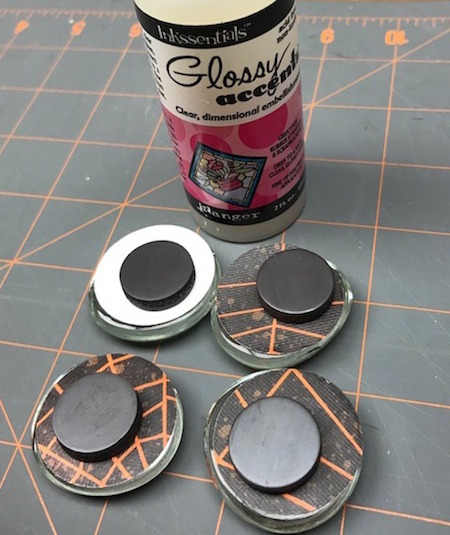
I have 3 great grands (little ones) and a senior buddy and a chemo buddy and I am always looking for cute inexpensive little gifties that I can put in a little padded envelope or include in a box that I might be sending to them. I used glass page pebbles - which I have had in my stash for a while but was at Dollar Tree last week and saw them there in the house deco aisle, as well as Hobby Lobby. They come in a few different sizes and for this project I used the larger size. I also used a scrap of orange thick cardstock, white thick cardstock, Memento black ink, Mod Podge, and an 1 1/4 inch circle punch.

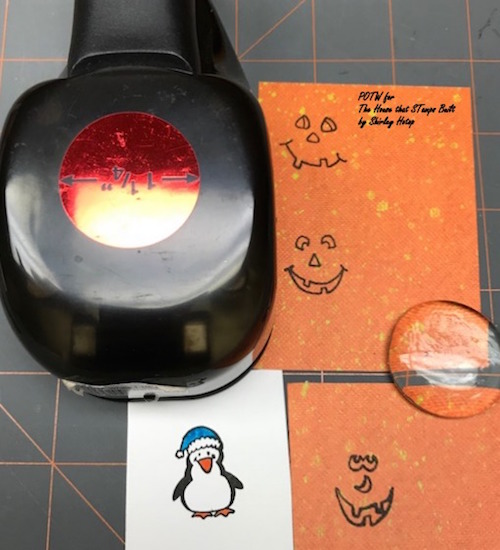
The stamps I used are: 2324-C Satisfied, 2327-C Thoughtful, 2328-C Happy and 2005-D Holiday Penguin.

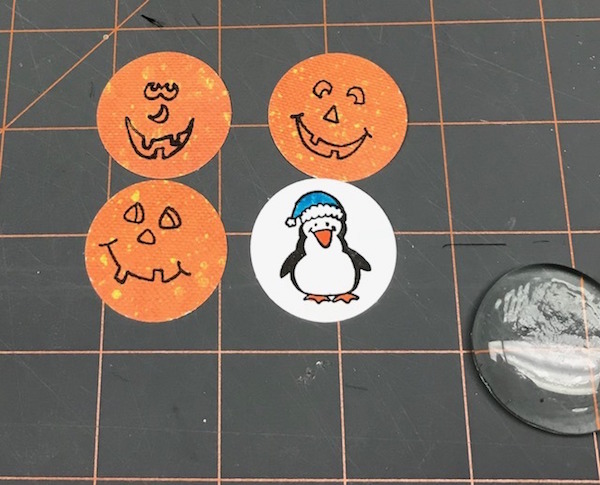
After stamping and Jack-O-Lantern faces on my orange/yellow designer paper and the penguin on white (colored his cute little hat), I centered each image and punched each out with the 1 1/4 inch circle punch as seen below.

Using an older paint brush I applied Mod Podge on each circle completely covering with a thin layer. I put my glass pebble on top and yes you do have a bit of wiggle room to adjust and get it in the center. Set aside to dry.

Using glossy accents or clear glue of your choice, apply a round magnet to the back of the glass pebble. Again set aside and let dry. I have tried the strip magnets that you just cut off to size and they are not strong enough to hold the magnet up.

You can use any smaller image as I did with the penguin for this project. Would be fun to get the kids involved in and makes a cute little “extra” to tuck inside your gift.

My grand daughter doesn’t really like for her kiddos to have a lot of candy so this is perfect in their Halloween/holiday package. One of the great grands (pictured above) is in kindergarten this year and loves to hang her art work on the refrigerator so this works perfect.

~ Shirley

For this week only (October 22-28, 2018), get 20% Off the stamps used in Shirley’s creations above when you use the coupon code POTW102218

Aug 272018
 

This is the last week in August - wow has the summer gone too fast!!! I’ve been wanting to get out my fall stamps - so since it was my turn to do POTW here at The House That Stamps Built , I decided to go with some fall leaves.

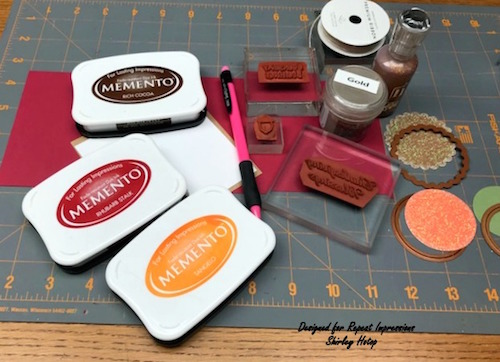
Supplies:
White cardstock cut 3 3/4″ x  3 3/4″
Kraft cardstock cut 4″ x 4″
Base card 4 1/4″ x 5 1/2″ in a color that goes well with the leaves
Scraps of glitter paper
Scraps of coordinating cardstock for embossing extra leaves
Circle dies
Gold embossing powder
Twine
Ink colors of your choice.

Stamps used:
6512-E Everyday Blessings, 3214-G Thanksgiving Blessings, 3311-C Acorn, 3312-E Maple Leaf and 3306-I Falling Leaves.

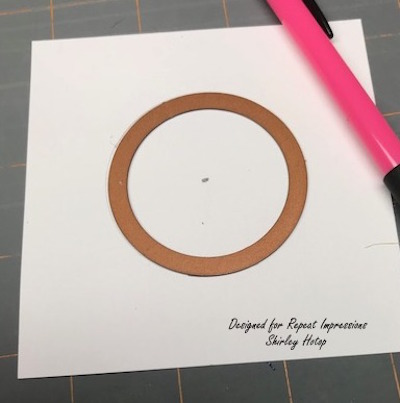
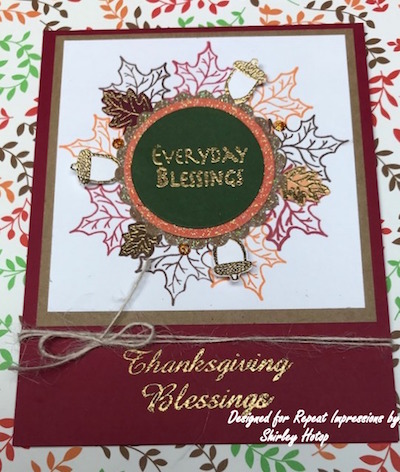
I have seen several template kits out there for circle wreaths, but I just drew my own circle using a die cut and a light pencil line (which you will later erase) - finding the center of the card stock first and then positioning the die. You could use any circle or a compass.

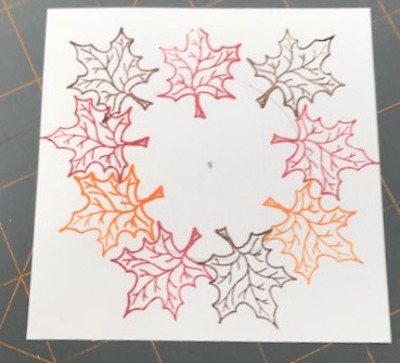
Next I started stamping my leaf stamp with my chosen first color - I stamped in multiples of three in each color - fairly evenly spaced for eye appeal. I stamped in threes using all three of my ink colors. Brown, orange and a darker red.

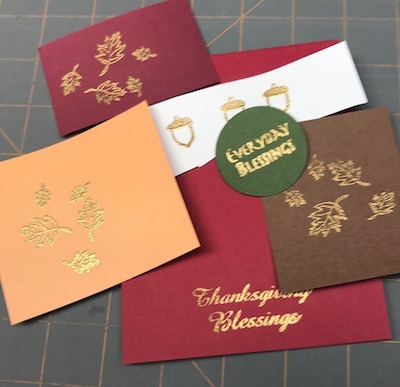
I then embossed additional leaves from Falling Leaves stamp as well as the Acorns using gold embossing powder. I then fussy cut out the leaves and acorns. I embossed my 1 1/4″ circle with Everyday Blessings as well as embossed Thanksgiving Blessings at the bottom of my base card. I erased the circle line with a soft eraser. Next I layered my circles two of which were cut from glitter paper/card stock.. After the circles are in place I fit in additional leaves from Falling Leaves and the Acorns where there was a bit of a gap or that were eye appealing. I used some tiny pop dots to pop up my acorns.

Here is the final card, with just a bit of neutral twine tied on the card. I am now ready to start seeing some fall colors in the woods behind our house. Give this a try - you can use a variety of stamps you already have from small flowers, twigs, leaves, and yes I even did one with feathers.

~ Shirley

For this week only (August 27 - Sept. 2, 2018), get 20% Off the stamps used in Shirley’s creation above when you use the coupon code POTW82718