Hello, Laurie here and it’s my turn to host the Project of the Week. This time around we are going to be revisiting an old favorite. The Criss Cross Card.
You will need the following supplies:
Stamps
Ink
(2) 4 ¼ x 11 pieces of cardstock in your choice of color
Patterned paper or your stamped design to decorate the outside with
(1) 3 ¾ x 5 ¼ cardstock for the insert – and any decorations
One 1 ½ x 12 for the belly band
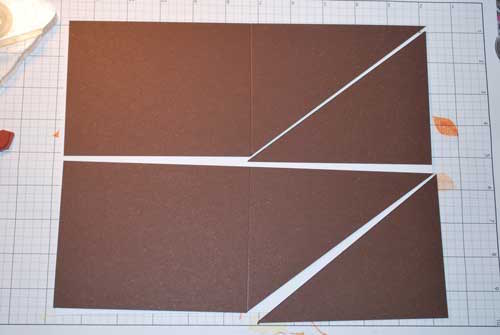
Cut your two pieces of cardstock at a diagonal, then adhere them together.
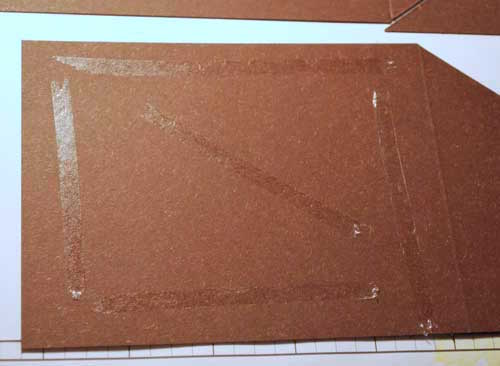
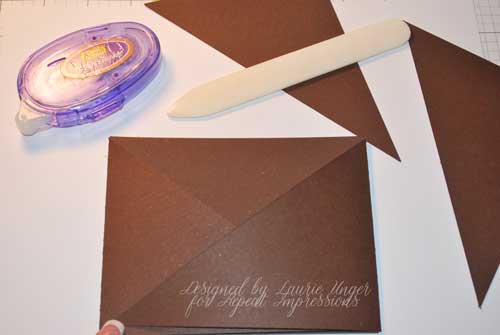
Stamp your outside layers.
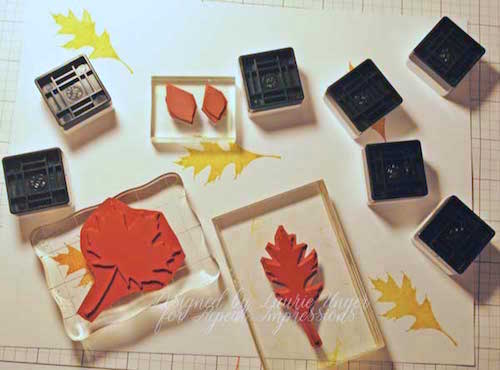
I randomly stamped a piece of 8 ½ x 11 sheet with leaf stamps in different fall colors and then cut it apart as follows.
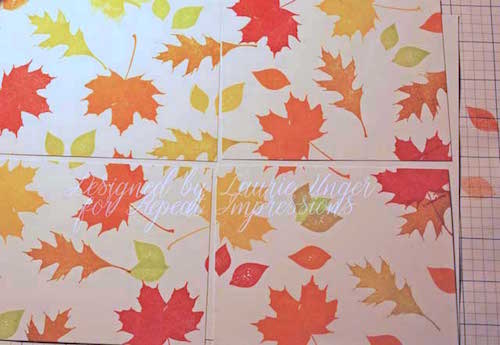
From these, I took the best of the lot and cut it down to work with the brown diagonals and the card insert.
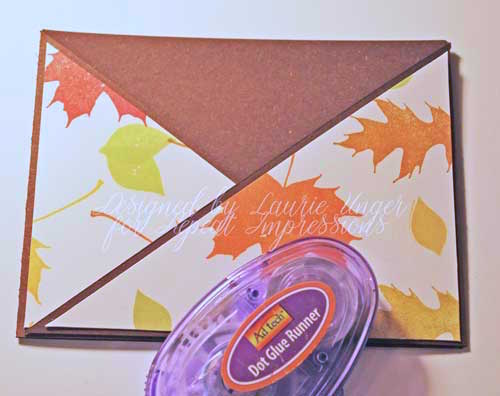
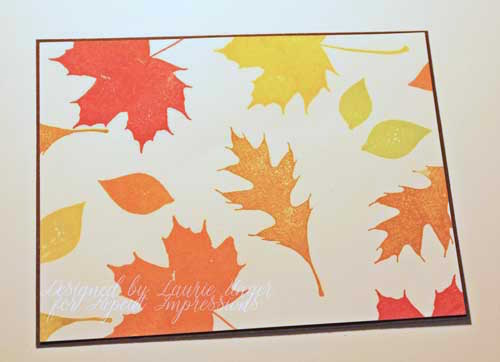
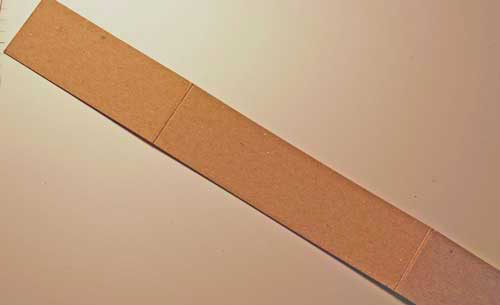
Here is the belly band, which will need to be scored at approximately 5 5/8 and 11 1/4 .
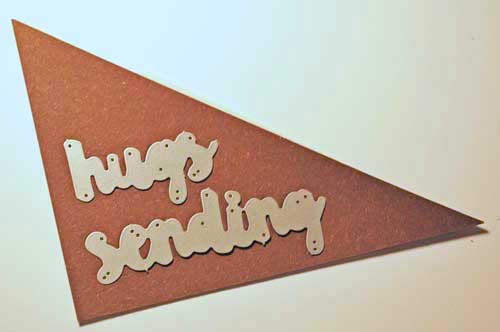
I used one of the spare diagonals to cut out the sentiment for the outside of the belly band and to create the pull mechanism for the insert.
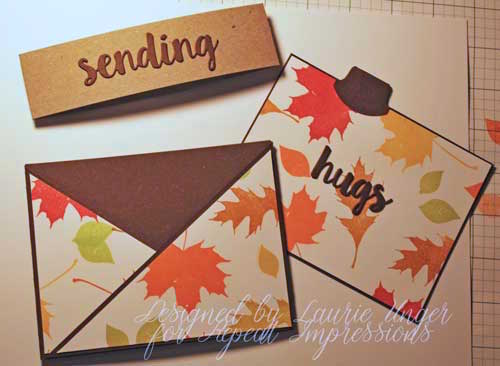
Here is what it looks like apart and then put together.
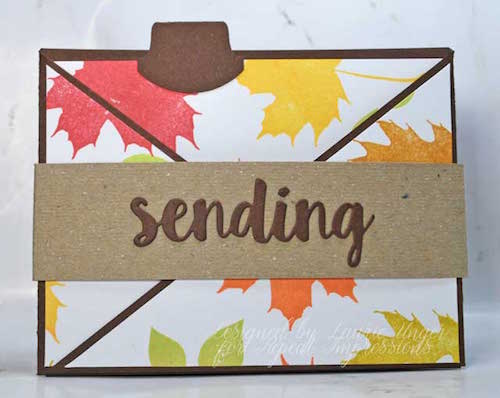
Thanks for stopping by today. I hope this inspires you to create this oldy but goody card design.
Great tutorial, Laurie! I haven’t made one of these in a long while…thanks for inspiring me to do so! Love the RI Stamps you used, and your colors are perfect!
Darling card and great tutorial!
Oh, so nice to revisit criss/cross cards. Gorgeous work on these, Laurie and as Patti J, I’m inspired to make some for Christmas card now.
Cute!! And fun! Love the little pull tab mechanism on the top!
Neat card! I’ve never made a criss-cross card.