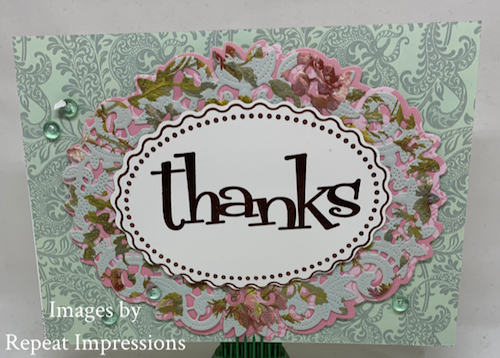
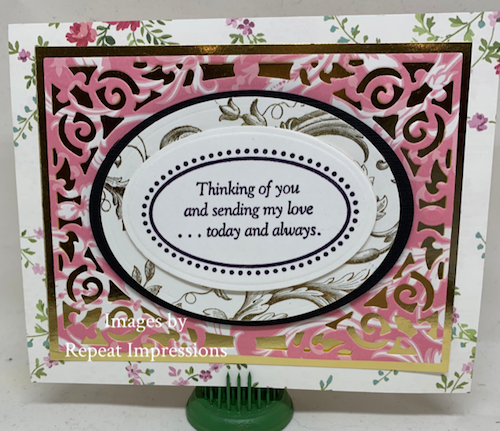
Happy Monday, everyone! Today is my turn to share a Pick of the Week with you. A few weeks ago, RI Rock Star, Esther Asbury created a fabulous card for one of our challenges and she used my Cheese Heart Mouse stamp as the focal image. I’d forgotten how cute he is and decided I just “had” to try to put him to good use myself.
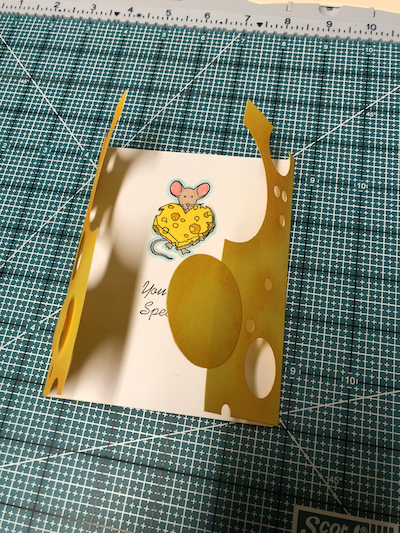
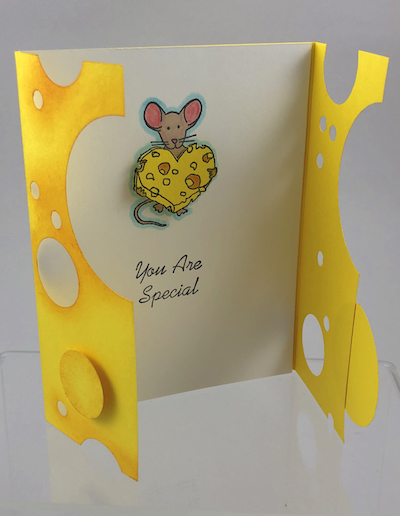
Knowing it would be my turn soon to create something for our Pick of the Week post, I had to put my thinking cap on. Needless to say I was coming up empty, until one sleepless night last week when a few ideas started rolling around in my head. Geez… Why they wait until 3am is beyond me, but at least the creative juices finally started flowing. So in the middle of the night I decided I’d bring back a simple oldie, but goodie… a gate fold style card. But with a bit of a twist… to go with my sweet Cheese Heart Mouse I became obsessed with the idea of making the gate flaps look like swiss cheese. Ha!
After a bit of tinkering with how to keep the card closed, everything else just seemed to fall into place as I had envisioned it. It’s a pretty simple card really, but I’m quite pleased with how it turned out considering I rarely do any stamping anymore these days. Here is my final result.
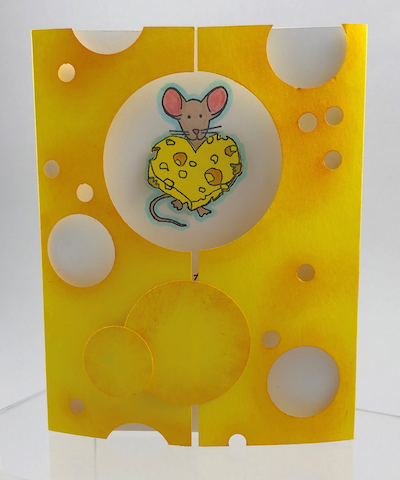
The supplies used are as follows:
Repeat Impressions stamps 4205-G, Cheese Heart Mouse and 8608-D, Special
8 1/2″ x 5 1/2″ yellow card stock, plus a scrap piece of the same
4 1/8″ x 5 1/2″ white card stock
Momento Tuxedo Black ink
Ranger Beach Ball Yellow ink
EK Success 2″ Circle Punch
McGill 1 11/16″ Circle Punch
Marvy 1″ Circle Punch
1/4″ round paper punch
Sponge or dauber
Markers
Dimensional tape
3M Double-sided tape
Scor-pal
Scissors
Start by cutting the card stocks to size. Then use the Scor-pal to score the yellow card stock for a gate fold card. The Scor-pal board is pre-marked for a gate fold which comes in very handy. But if you don’t have their scoring board then just position your card stock the wide way and measure in 2 1/8″ from both ends and score.
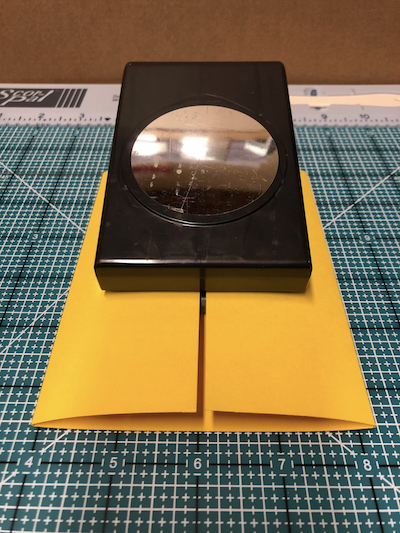
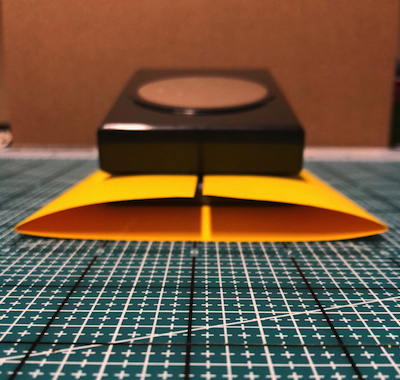
I wasn’t sure when I got this idea if the big punch would work as I had hoped, but it turned out just fine. So after scoring the card stock, fold it closed on the score marks and then slide both the flaps into the punch together (the base of the punch will actually be inside the closed card at this point). Just eyeball it for as close to centered as you can. Punch out the big circle that will create the frame for the mouse.
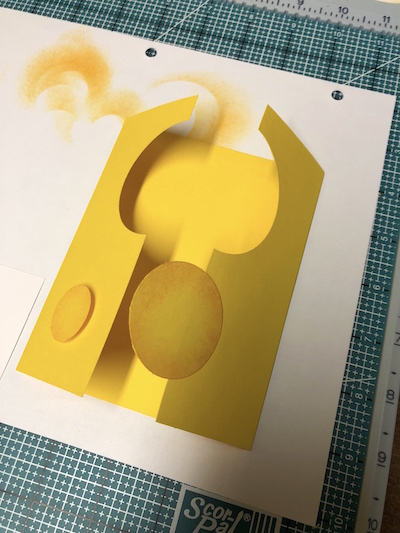
Now I used my scrap piece of yellow card stock to punch out 2 circles… one with the 1 11/16″ punch and one with the 1″ punch. Then I sponged yellow ink around the edges of both circles. These circles will be used as the closure for the card.
Apply a small piece of double-sided tape to the back of the larger circle, taking care to position the tape close to one edge. Affix the circle to the front of the right gate panel with a good portion of the circle extending beyond the edge of the gate.
Affix a small piece of dimensional tape to the back of the smaller circle. Fold the gates closed and affix the smaller circle to the left gate panel making sure that this circle overlaps the other one a bit. This is the “latch” that helps to keep the gate closed.
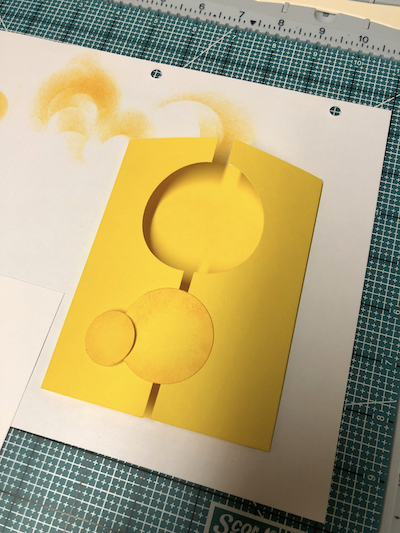
Now that we have the mechanics of the gate done, its time to have some fun and turn the rest of the gate panels into swiss cheese. Use the 1″ and 1/4″ punches and to create the look you like.
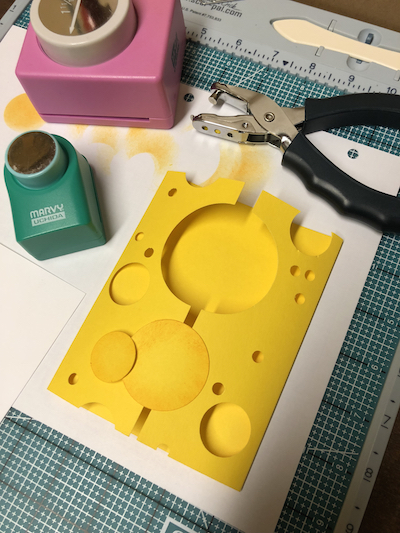
After you finish punching, open the card flat with the outside facing up. Put a piece of scrap paper under the yellow card stock. Using the yellow ink and a sponge or dauber, apply some ink around the circle cut outs to add a bit of dimension.
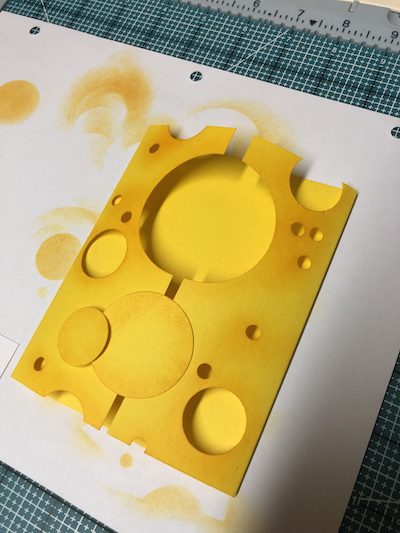
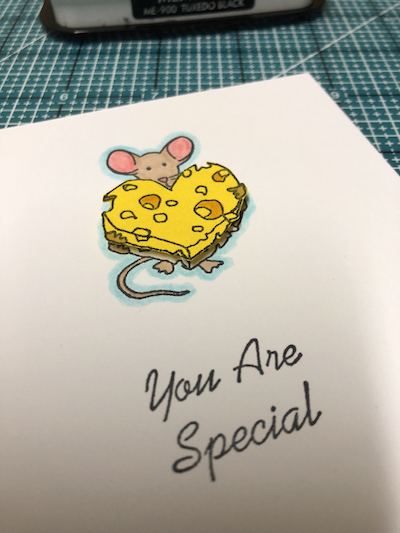
Fold the card back to closed and slide the white card stock panel inside. I recommend not affixing it to the card base yet in case you have an “oopsie”. With the white card stock in position, ink up the mouse with black ink and stamp it inside the circle. If you are pleased with the results then go ahead and stamp the sentiment an inch or so below the mouse. But if you mess up don’t despair, just flip the white card stock over and try again. Use markers to color the mouse.
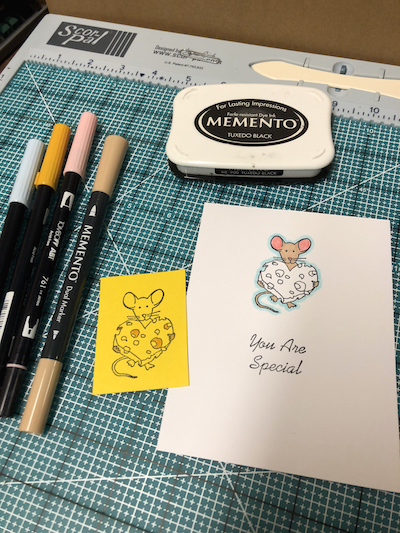
While you have the mouse stamp handy, ink it again and stamp it on a scrap of the yellow card stock. Color the mouse hands and add some highlights to the cheese. Use scissors and fussy cut out the mouse hands along with the cheese. Use a small piece of dimensional tape and affix this cheese on top of the cheese stamped on the white panel earlier.
Use a little double-sided tape and affix the white panel inside the yellow card base. Slide the larger yellow circle under the smaller one to close the card. It may want pop open at first, but by pressing it closed and letting it sit for a bit it will be just fine.
I hope you enjoyed my middle of the night brainstorming and might give this card a try. And remember, Pick of the Week stamps used are always available to you at a discount, but only for the week they are posted.
Thanks for stopping by and we hope you’ll join us for our next challenge starting on Wednesday.
Happy stamping… always!
~ Wendy
For this week only (Feb. 18-24, 2019), get 20% Off the stamps used in Wendy’s creation above when you use the coupon code POTW21819