Cut a strip of cardstock to 1 15/16″ x 10″.
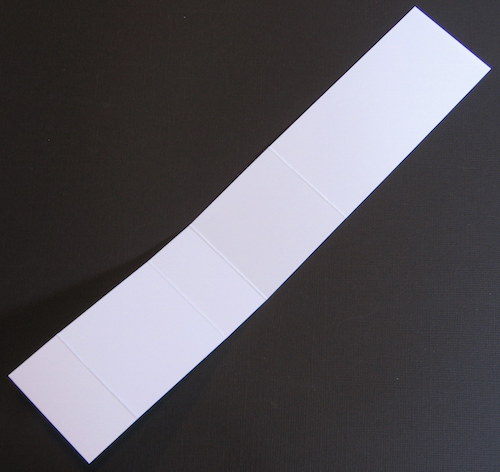
Score at 4″, 6″, 7″, and 9″
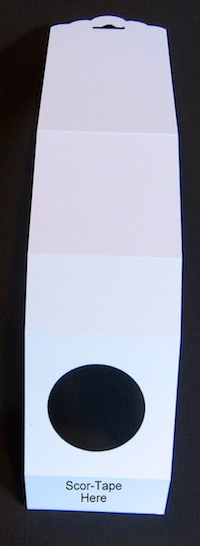
Burnish your score lines. Now your strip looks like this.
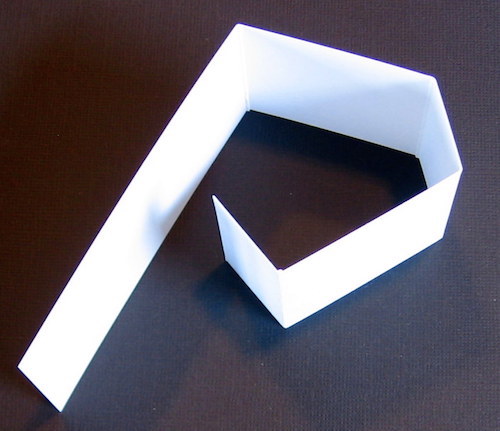
Before I went any further, I took a decorative punch to the top of my strip. This step is optional.
Add Scor-Tape, or adhesive of choice to the small tab, but do not remove the liner yet!
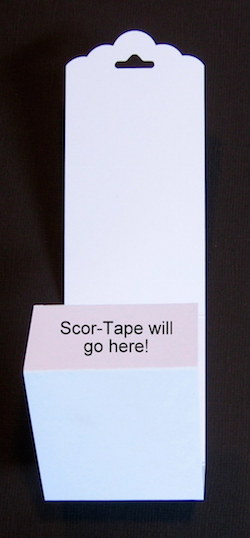
Punch a hole between the two score lines opposite the top of your strip.
I used a 1 1/4″ punch for this project.
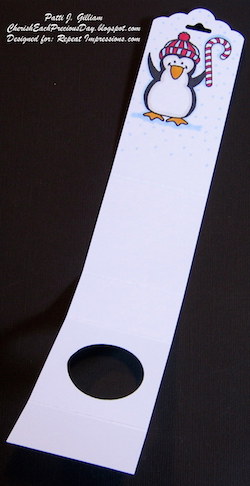
Begin decorating your strip. I stamped on what will be the ‘front’ side of my treat holder.
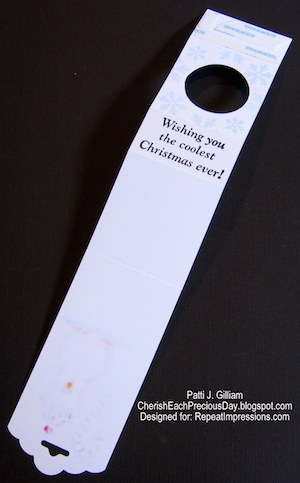
If you wish to decorate the ‘holder’, you will need to flip your strip over, and stamp on the opposite side. Be sure that you are stamping on the side with the adhesive, with that end at the top.
If you look closely, you can see where the penguin was stamped - the Copics bled through a bit.
Now, just remove the adhesive liner, and attach the flap to the front of your treat holder.
All that’s left to do is add candy and decorate!
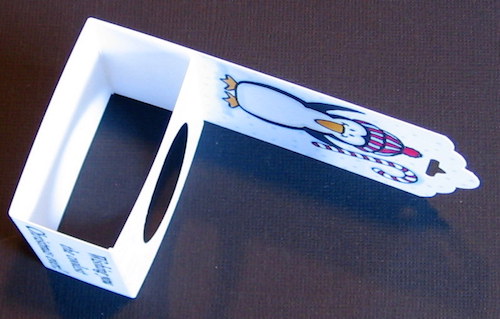
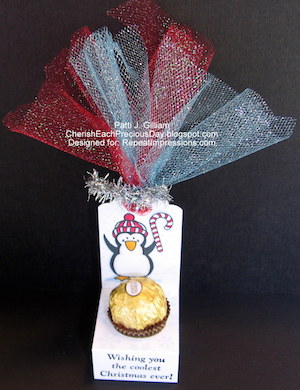
Here is the finished product.
You can change the dimensions of this holder, and add a votive candle, if you’d like!
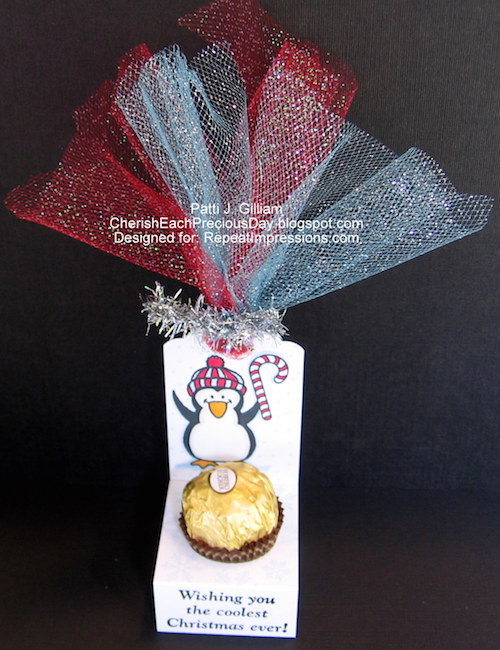
Here is your finished treat box - coolest ‘easy box’ ever, right?
Come back and let us know if you do - we’d love to see your finished projects!!!
3 Responses to “Project of the Week ~ Easy Treat Holder”
Sorry, the comment form is closed at this time.
How cute!! And perfect for a sweet little treat!
This is just adorable!
I just love this, Patti!!!