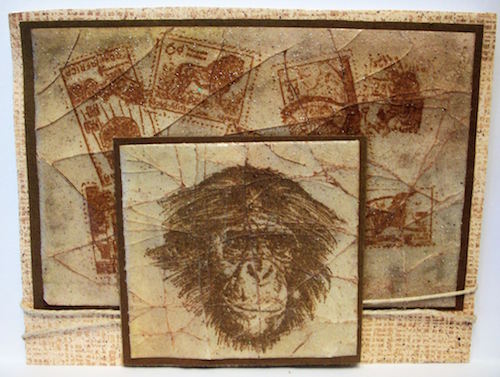
Hi everyone! Deonna here with a new Project of the Week. I want to show you how to make “Cracked Glass”. So gather your supplies and let’s get started.
Supplies:
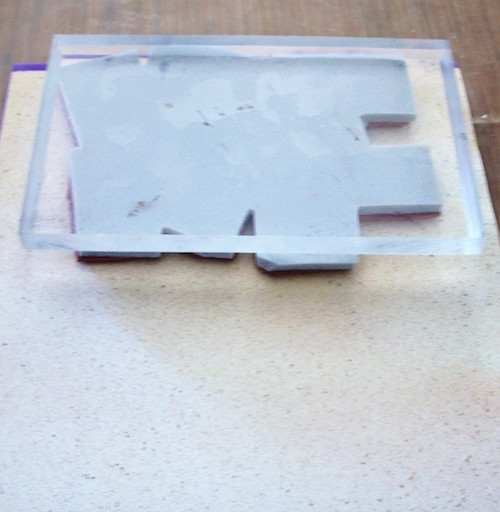
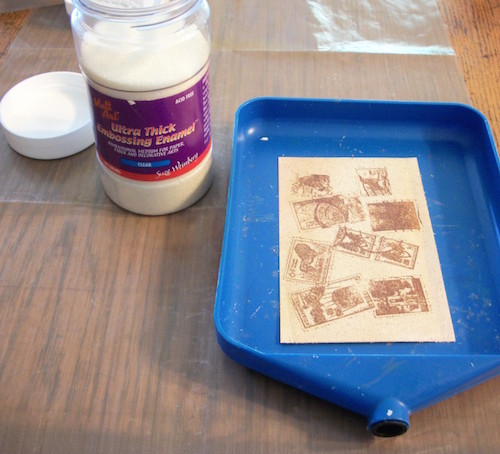
RI Stamps - Serengeti Collection - 5411-0 African Post Collage (lg) and 5306-J Chimp
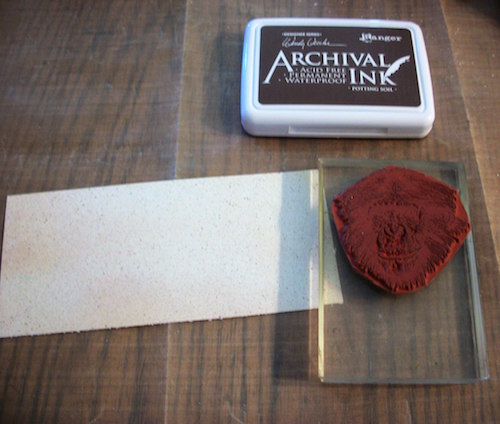
Archival ink in Coffee
Decorative paper of choice
White Cardstock
Perfect Medium ink or Versamark
Thick embossing powder
Powder tray
Vintage Photo Distress Stain
Sponge
Heat Tool
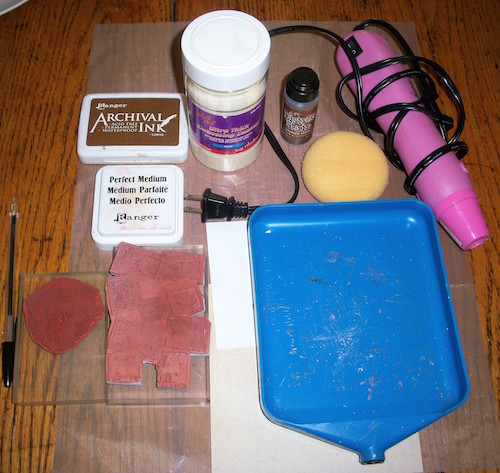
1. Take your Post Collage stamp, archival ink, decorative paper and stamp the image onto the decorative paper. Trim the paper down to the desired size or die cut it out. I just cut mine to 5″ x 3 1/4″.
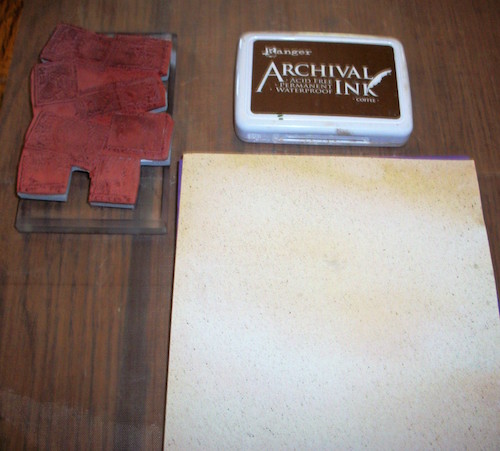
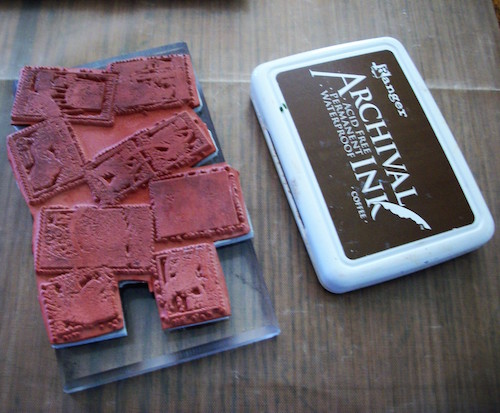
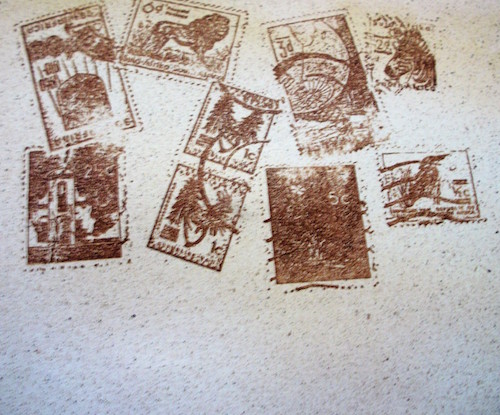
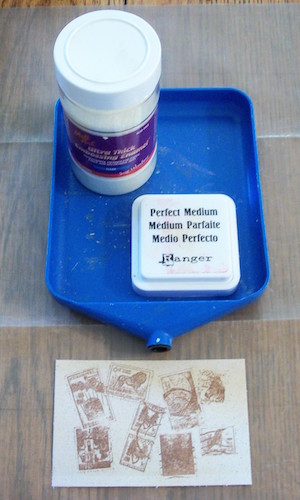
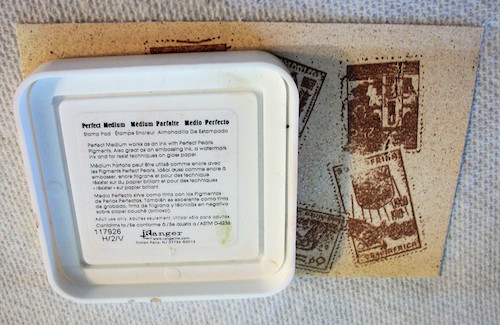
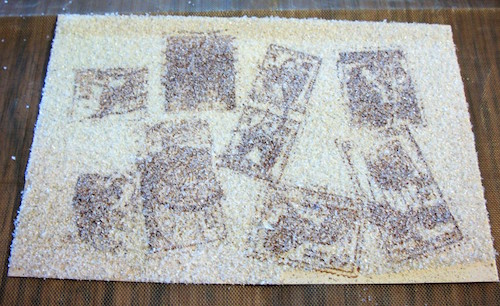
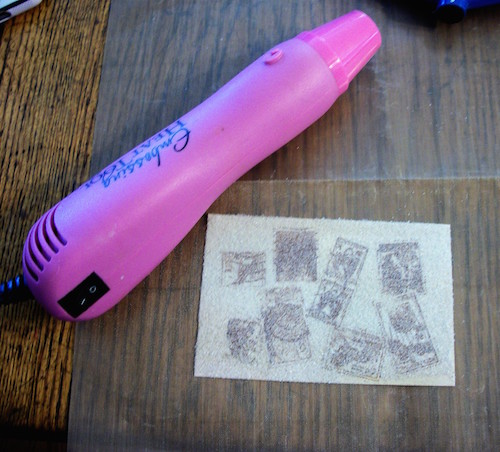
2. Gather your stamped image, versamark ink and thick embossing powder, heat safe mat, and powder tray. With the stamped side of your decorative paper facing up. Turn your versamark pad facing down and apply all over the stamped image. After inking, over the top of your powder tray pour your thick embossing powder onto the ink just applied to the decorative paper. Heat set the embossing powder. You’ll know that the powder is set once it all melts over the paper. Repeat the process another 1-2 times until the powder is melted and looks thick and shiny. Allow to cool.
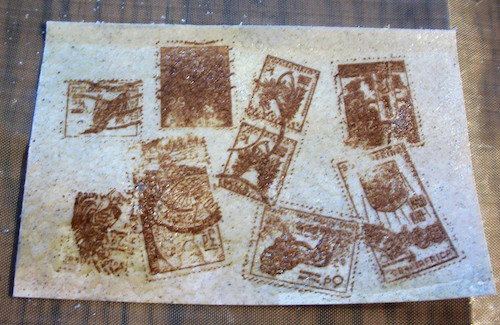
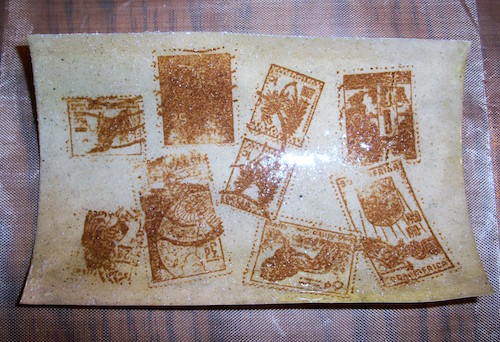
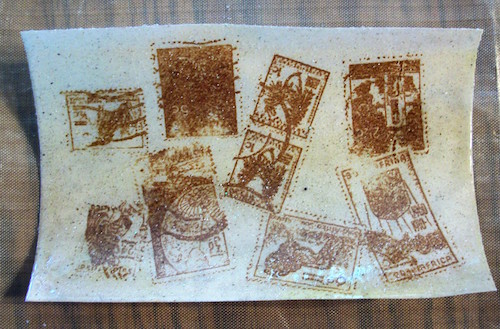
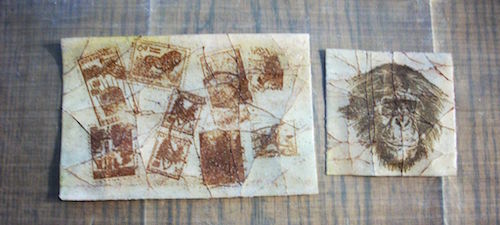
3. Bend the embossed paper all different directions to create cracks. Bend more for fine cracks, bend less for larger cracks.
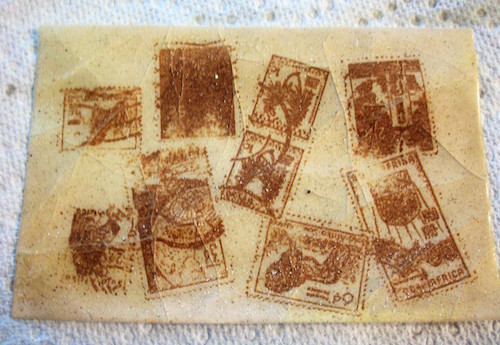
4. Take your Vintage Photo Distress Stain and rub all over the top of the image. This should allow the stain to seep into the cracks and give an “Antiqued” look. You can also sponge over the cracks to get more stain into them. Take a paper towel and remove the excess stain.
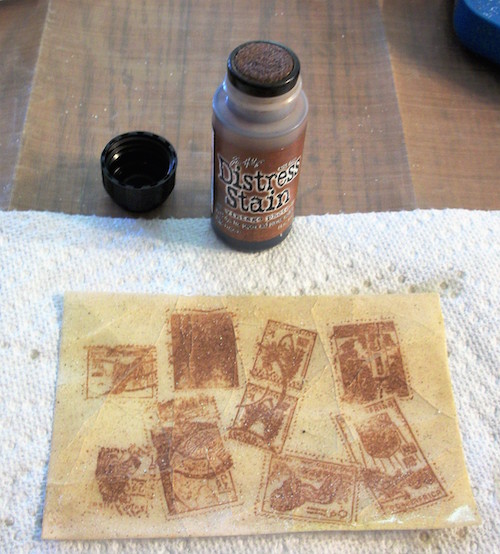
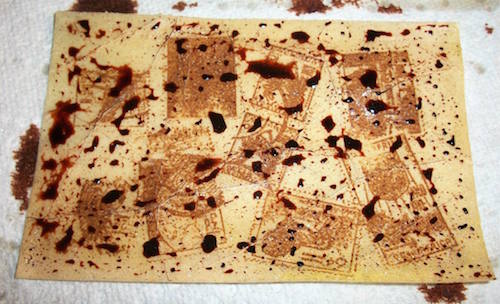
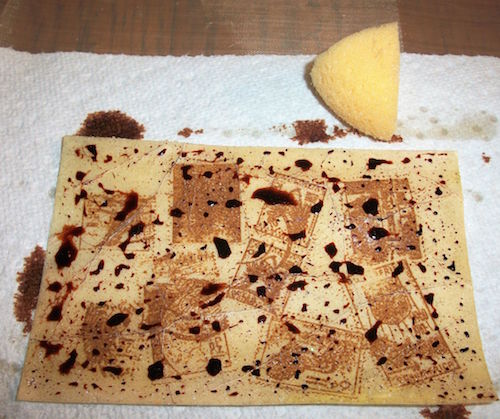
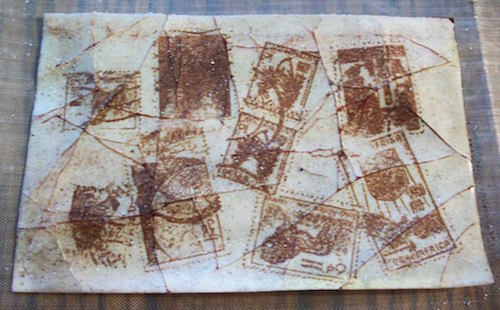
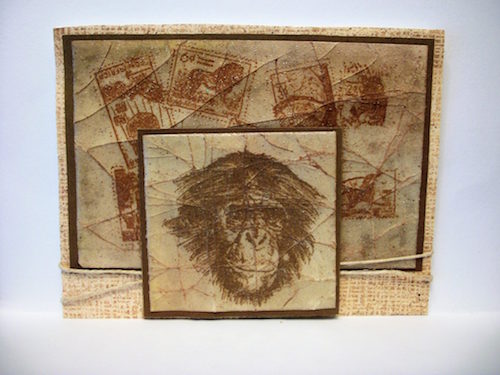
5. I then decided to repeat the whole process with the chimp stamp. Now we have the final project to create a card with.
3 Responses to “Project of the Week ~ Cracked Glass Technique”
Sorry, the comment form is closed at this time.
Very cool! I have actually done this technique before . . . once. I’ll definitely have to give it a try again. Thanks for the reminder.
Great tutorial and look.
One of my favorite techniques, Deonna! I love that you added the Distress Stains for depth. It really made a big impact.