Hello stampers! It’s my week for The House that Stamps Built Project of the Week! Today I’d like to bring you a Distress Crayon and Collage technique great to use for some of your fall projects.
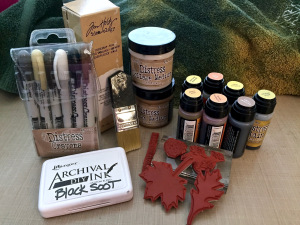
For this project the supplies I used are:
Distress Crayons
Distress Collage or Crazing Medium
Distress Brush
Distress Stains in Gathered Twigs, Crushed Olive, Mustard Seed, Rusty Hinge, Wild Honey and Squeezed Lemonade
Distress Sprayer
Die Cutting Machine, any
Card Base Die
Archival Inks in Sepia and Black Soot
Versamark
Gold Embossing Powder
Repeat Impressions Stamps of your choice, I used: Maple Leaf Silhouette 5127-K, Oak Leaf 5110-I, Falling Leaves 3306-I, and Pinecone 812-G. My sentiment is: Let Us 2826-H
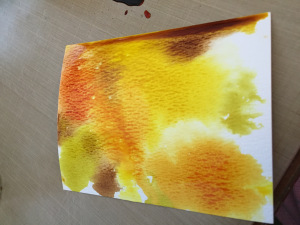
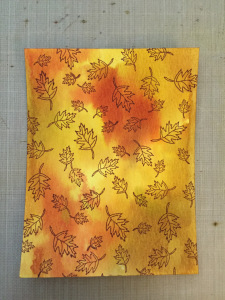
Let’s start with the card base. Grab some watercolor paper and apply several Distress stains (or sprays) to your nonstick surface. Then add a few spritzes of water to get the ink moving and dip your paper into the ink to soak up some lovely color. Did you know that Distress Sprays are exactly the same formula as the Distress Stains, just in a spray bottle?
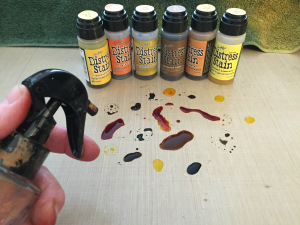
Dip your watercolor paper into the ink. Alter the way you dip by tapping or dragging. You can go back in a few times until you get the patterning you like. Then heat set.
Next, I did a little stamping with Repeat Impressions Falling Leaves using Sepia archival ink as we are going to apply more wet medium and need a waterproof ink.
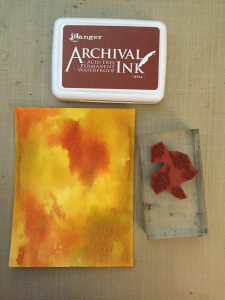
Now, lets stamp the Large Oak, Maple, and Pinecone stamps on the Tim Holtz Tissue Paper. I used black soot, which I made from the Distress Reinker and a DIY ink pad as they don’t sell a regular Black Soot pad. The Black Soot is a truer back while the Jet Black archival has a bit of a blue tint.
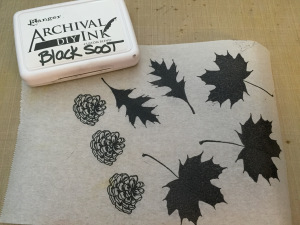
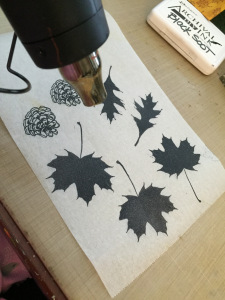
Once stamped, it’s very important you let dry or heat set.
Loosely cut out the images. There is no need to be very fussy.
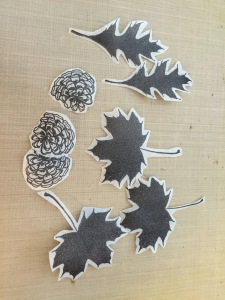
Compose your images the way you would like and begin adhering them to your background using the Distress Collage Medium. You can use either the standard collage medium, crazing, or vintage medium as it really doesn’t matter. You can also use regular matt medium of you don’t have the Distress line.
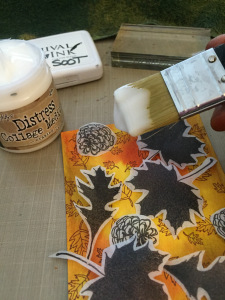
Once all is adhered I heat set again. It you used crazing and applied it thick enough, you’ll have little cracks which look really great with the Distress Crayons.
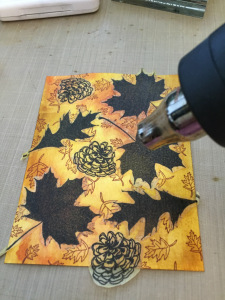
Now it’s time to add the Distress Crayons. I used Vintage Photo, Antique Linen, Mustard Seed, and Spiced Marmalade. To camouflage the edges, apply the distress crayon around the adhered stamped leaves and rub in with your finger. I added a little bit of Mustard Seed in the background as well as white as highlight.
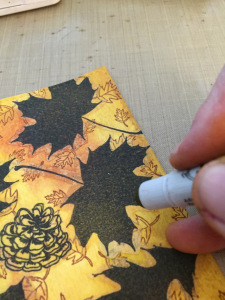
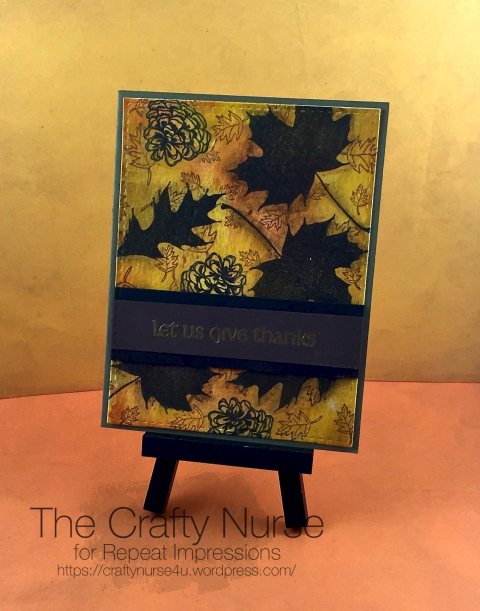
Here is the finished piece after the Distress Crayons. I think you can’t hardly see the edges of the collage pieces.
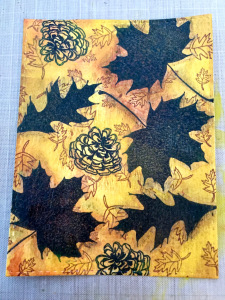
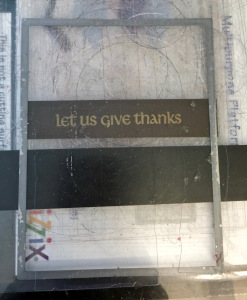
I stamped and embossed my sentiment. So that your sentiment lines up perfectly with your die cut card base, simply cut your sentiment with the same die you used on your card based and viola, a perfect fit.
I hope you’ll try some Distress Collage on your cards this week and we’d love to see you enter them in our weekly challenge here at The House That Stamps Built. Each time you do, you are entered in for a chance to win a $25.00 gift certificate.
I’ll leave you with my final project using the Distress Collage technique. Happy Crafting!!
The Crafty Nurse
4 Responses to “Project of the Week ~ Distress Crayon and Collage Technique”
Sorry, the comment form is closed at this time.
Beautiful card, Kathy, and I loved your tutorial - great job!!!
Beautiful - love all the beautiful fall colors as well as the fall leaves. I have my old watercolor crayons but none of the new distress ones “yet”.
Gorgeous!! I don’t have ANY of the supplies, but it definitely makes me want to give it a try anyway. : ) Love the final product.
I just fell in love with this, Kathy. I have have some of the things you used here, but I think I can give it a go with whatever I have in my supplies….anyway, I’m going to try. Thanks for sharing this.