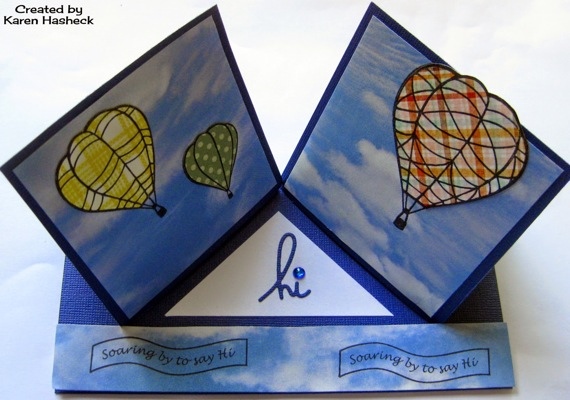
Happy Monday everyone! Karen here and it is my turn to share a Project of the Week with you. I will be showing you how to make a Double Easel Card and throwing in some tips on making paper piecing easier as well. I started with a 7 x 7 inch navy blue card, scored in half. The front half of the card is cut with a paper cutter at the 3 1/2 inch mark up to the score line (also 3 1/2 inch line horizontally.) Then fold the top sides down diagonally from the outside corner the the center. Here are a couple pictures of what that will look like:
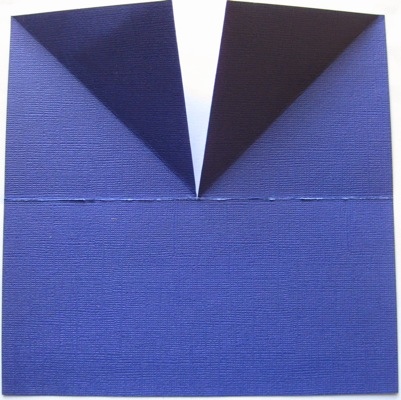
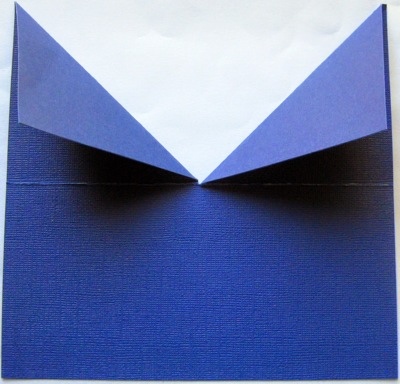
The lower part of the triangles will be where the front squares are attached and what stands up to make the double easel. Now the fun part - decorating the card. I started with some old cloud designer paper from my stash, and stamped the hot air balloons from RI’s Big Boy Toys Collection, then stamped them again on several colorful dp scraps. I love to paper piece and one tip I learned way back was to apply two sided tape BEFORE cutting out the element you are paper piecing. Once it is cut out, it sticks easily without having to add more adhesive at this point. This works especially well when the object has delicate or small parts, but I do this even on objects such as these hot air balloons.
I applied the hot air balloon pieces to 3 1/2 inch squares of navy blue and attached them to the bottom only of the folded triangles. I stamped “Soaring by to say Hi” twice on a 7 x 1 inch cloud piece and attached that with pop dots to raise and hold up the two easels. I cut a 2 1/2 inch white square in half diagonally to create a triangle, and added a die cut “hi” (Paper Smooches) and a gem to complete this double easel hello card.
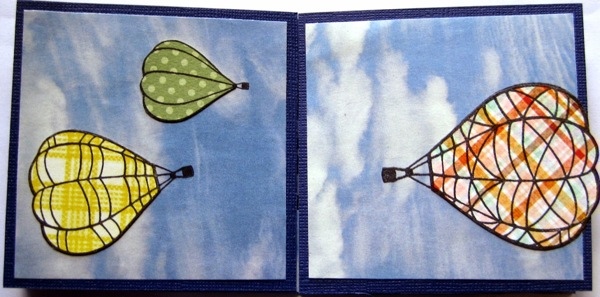
The card lays flat to mail as you can see from this photo. I love trying new folds and hope this has inspired you to try something new too.
Karen
Sorry, the comment form is closed at this time.