Today is my day to share a Project of the Week for The House That Stamps Built. Do any of you have a pile of scraps that look like this?
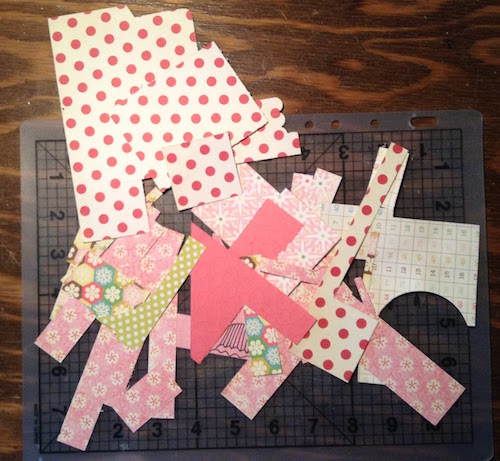
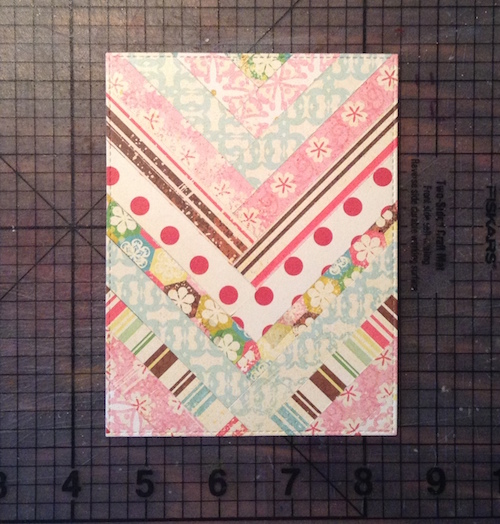
Well, I do, so my project focuses on using up some of those scraps. I start by cutting pairs of 1/2 inch strips, making sure I have at least two of each pattern. I cut a base of scrap cardstock a little bit bigger than an A2 size panel. As you can see, it doesn’t even have to be a full square. Then I butt two strips together and adhere them on the backside with a strip of tape, so they stay together.
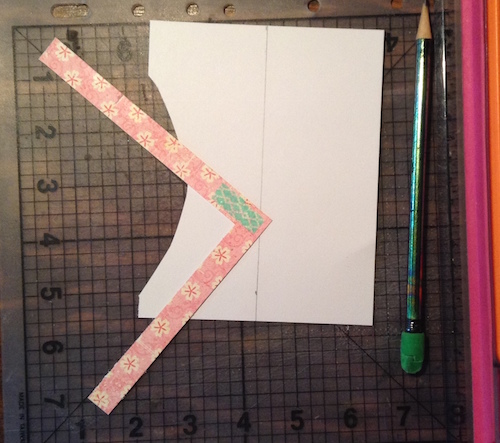
I use spray adhesive on my base panel, but you could probably use your favorite adhesive. The hardest part is lining up the center piece, but once you’ve got that the rest is really easy. I just lay the next two coordinating pieces right in the “v” (or around the “v” when doing the lower portion).
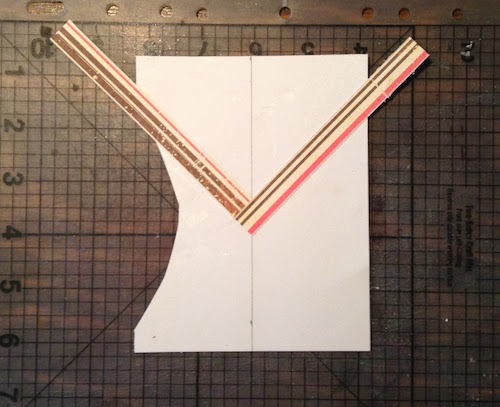
After I have filled up the base card with strips, I use a stitched rectangle die to trim it down to fit on an A2 card.
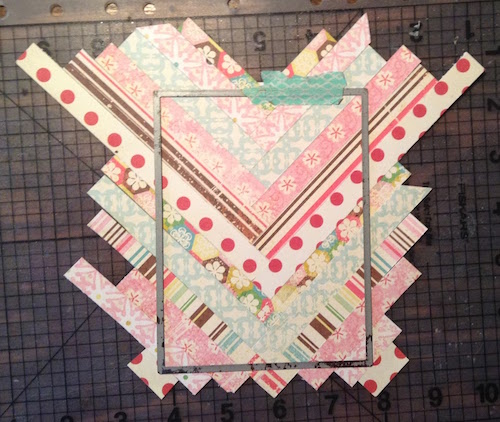
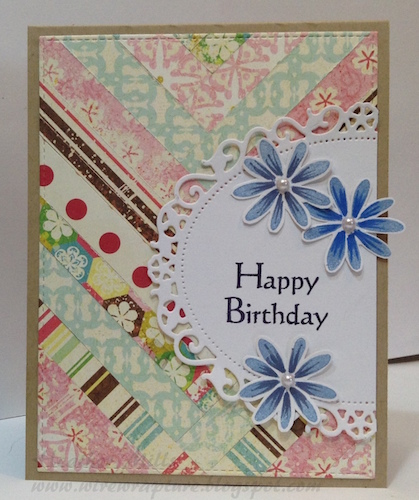
And here’s what it looks like:
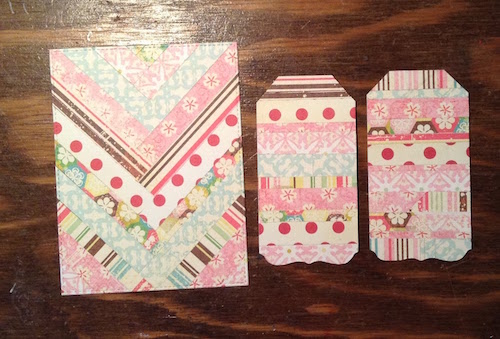
I like to make tags using the small strips. I just line them up horizontally instead of in the “v” pattern. I use the same process as the card; I cut my tag shape first, apply spray adhesive and layer the paper strips. Then I trim the ends off with my scissors to match the shape of the tag.
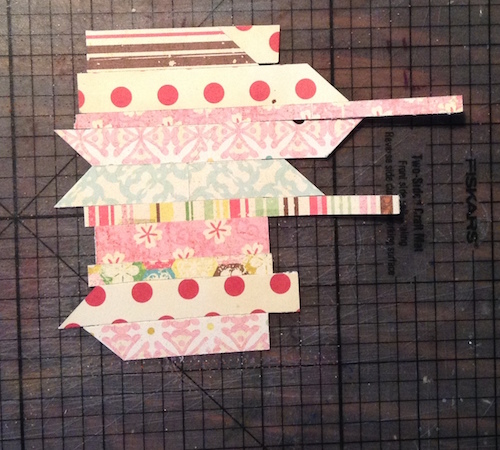
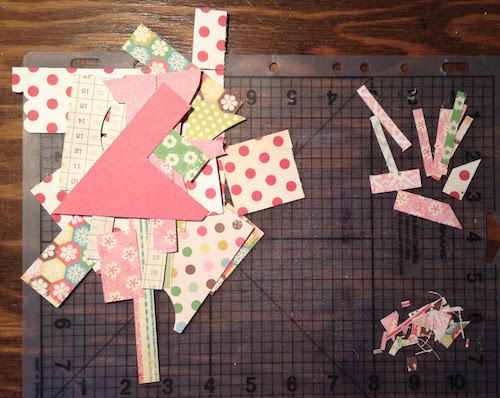
And this is what my scrap pile looks like afterwards. The pile in the lower right are scraps even I will consider too small to save. The upper right will probably be made into another tag eventually, and then I have some larger scraps to keep working on.
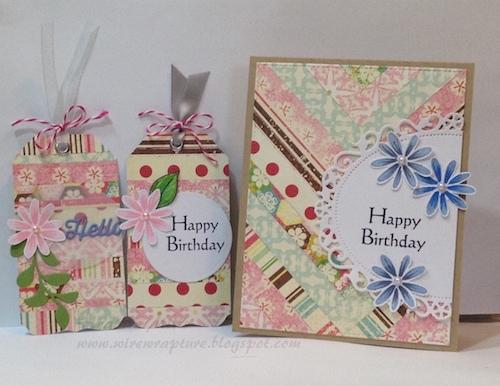
Here are the card panel and the two tags.
And here they are all finished up. Gorgeous, huh?
I raided my bits and pieces stash for almost all of the additional pieces. The floral oval and two of the blue flowers where in the stash; I did have to stamp a third to finish it off.
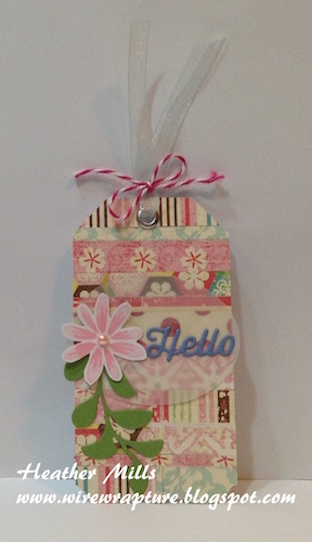
The ribbon, vellum oval, die cut sentiment, flower and leaf sprig were all in the stash.
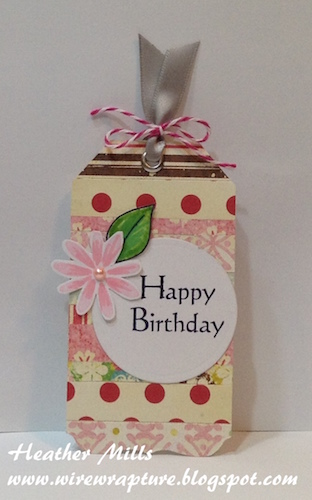
The ribbon, circle, flower and leaf were all in the stash. So not only did I use up some paper scraps, I also used up a bunch of items that had been made for previous projects and just didn’t get used.
Supplies:
Card:
Stamps: Repeat Impressions: “Daisy Solid, sm” and “Happy Birthday”
Dies: MFT “Blueprints 13” stitched rectangle; Spellbinders “Floral Ovals”
Tag 1:
Stamps: Repeat Impressions: “Daisy Solid, sm”
Dies: MFT “Blueprints 13” tag; Spellbinders “Classic Ovals, large”; Verve “Sprightly Sprigs”; MFT “Smartphone” hello
Tag 2:
Stamps: Repeat Impressions: “Daisy Solid, sm“, “Leaf Outline, lg” and “Happy Birthday”
Dies: MFT “Blueprints 13” tag; Spellbinders “Classic Circles, large”
~ Heather
4 Responses to “Project of the Week ~ Using Up Scraps”
Sorry, the comment form is closed at this time.
Awesome technique and the end product is absolutely beautiful. Thanks for sharing with us.
I’m loving this technique and will have to try it!!! 🙂 Hugs…Janie
This is really impressive, great way to not only use scraps but to create amazing cards and tags!
What a great way to use our scraps! Your background is wonderful, and those tags would be so pretty hanging on a gift bag! Thanks for the inspiration, dear friend!