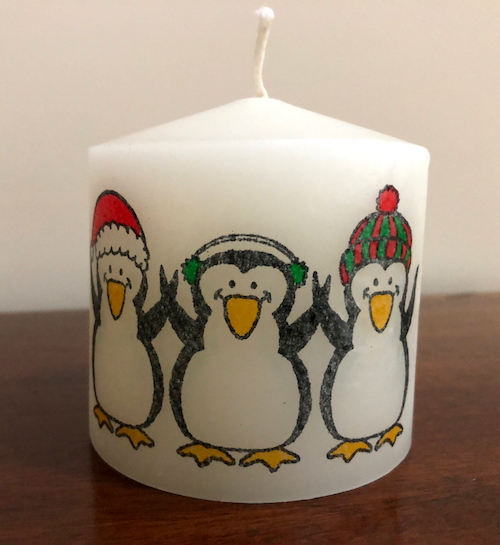
Happy Monday, everyone! Today is my turn to share a Pick of the Week with you. Since it’s getting to be the time of year when my thoughts start turning to the holidays, I decided to share one of my favorite ways to use my stamps for something other than card making… adding stamped images to candles. This is an oldie, but goody technique and candles can be great for holiday gift giving or to decorate your own home.
These samples are for Christmas, but stamped candles could also be decorated for other holidays and special occasions like weddings, anniversaries and birthdays. Use this technique on pillars, tapers and votives. Make a set of themed candles and tie them together with a pretty ribbon before wrapping as gifts.
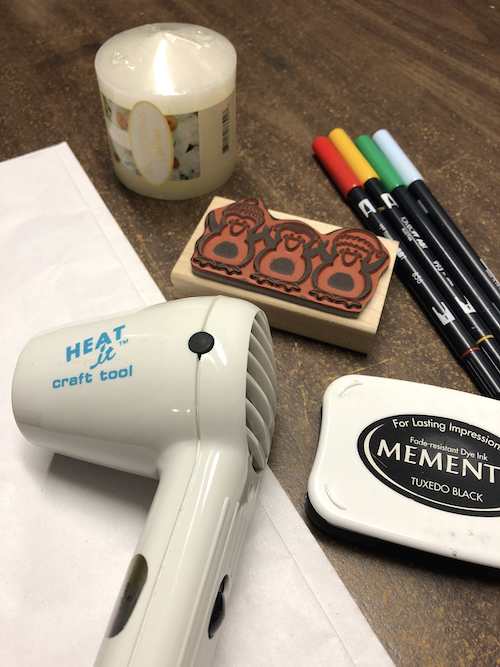
Supplies:
Repeat Impressions stamp 8806-N, Penguin Trio
White candle
White tissue paper
Black permanent ink
Markers
Scissors
Heat gun
Wax paper
Instructions:
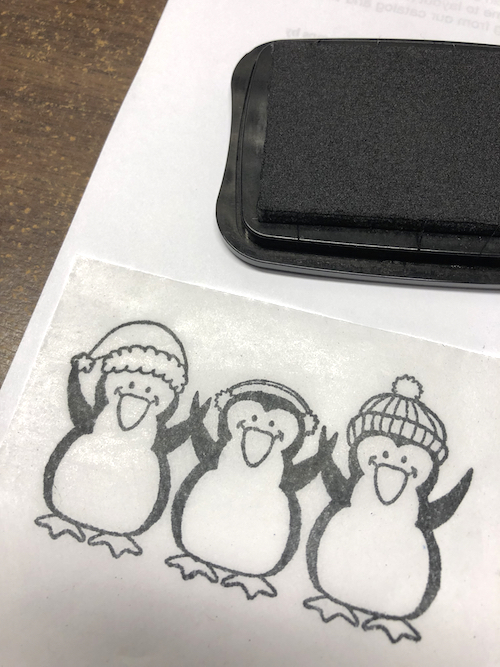
1) Gently stamp images on tissue paper and color with markers as desired. I stamped the Penguin Trio twice so that they would encircle the candle. (Tip: Be sure to have some scrap paper under the tissue paper as there will usually be a little bleed through.)
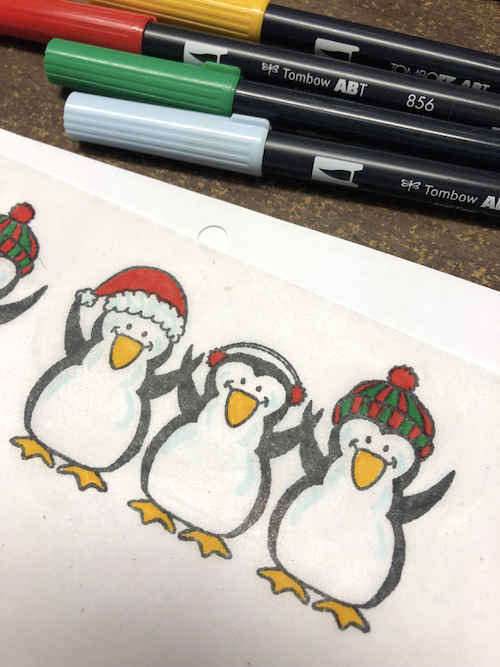
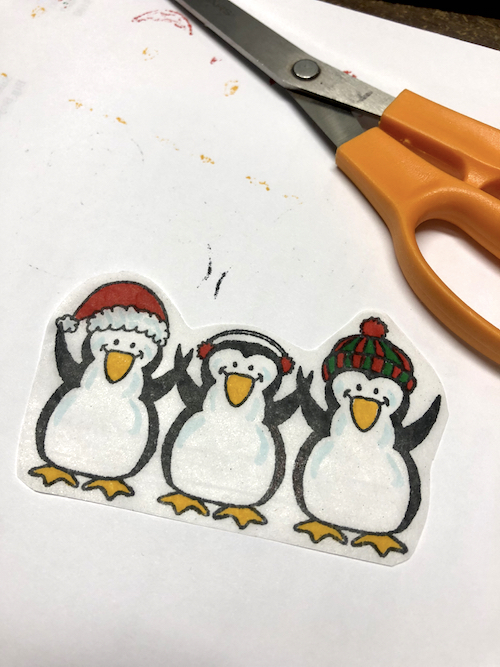
2) Cut out your stamped image loosely following the contour of your image and trimming fairly close to edges of the design.
3) Cut a length of wax paper large enough to cover your stamped image and long enough to wrap all the way around the candle and still have plenty of excess length.
4) Lay the stamped and colored tissue image on the candle in your desired position. Lay the strip of wax paper over the stamped tissue and candle. Wrap the wax paper around the candle smoothly, pull tight and hold together at the back.
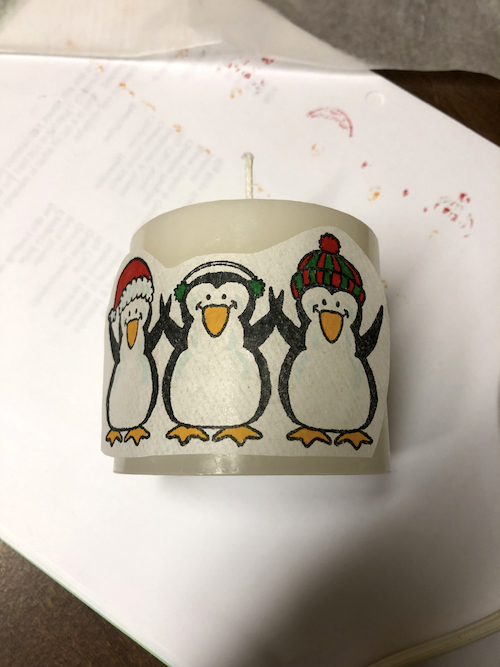
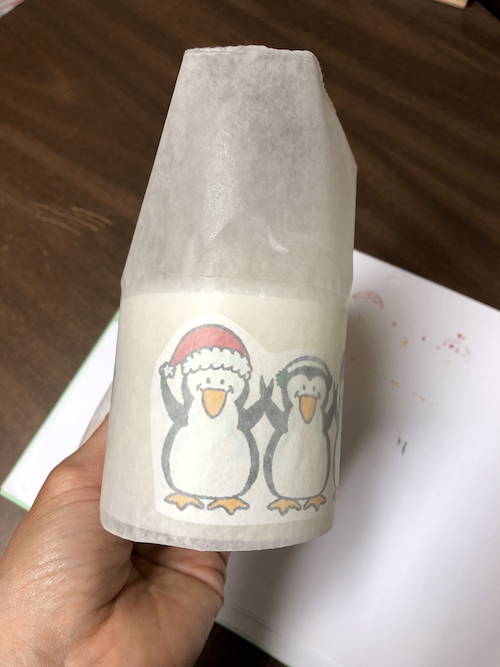
5) Use the heat gun to adhere the tissue to the candle. Take care to aim the heat gun at the stamped tissue and away from your fingers. Do not aim the heat gun too long in one spot or your candle may begin to melt and run. Heat the tissue until the stamped image appears through the wax paper and looks bright and shiny. As soon as all the edges of the tissue paper have blended into the candle, quickly peel off the wax paper.
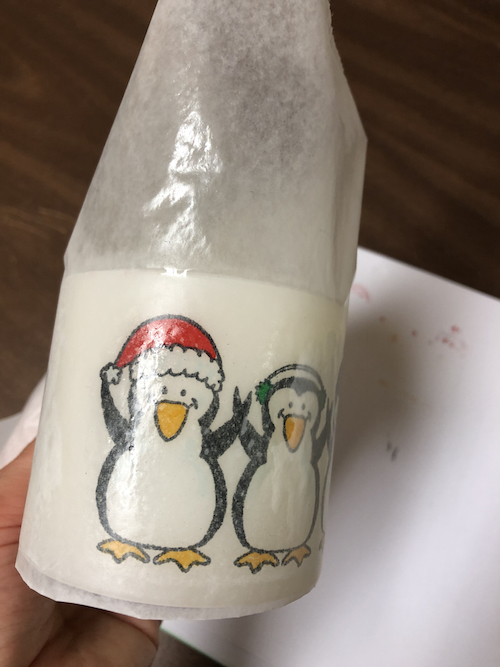
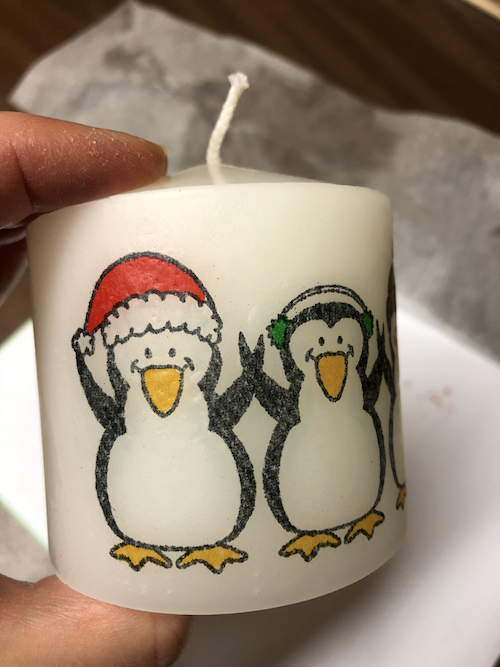
6) Wave the heat gun briefly over the stamped tissue image once again if necessary to blend away any remaining signs of the tissue paper edges. (Note: If you are adding multiple images to your candle then repeat the steps above for each image added.)
And voila… super cute candle and so easy!
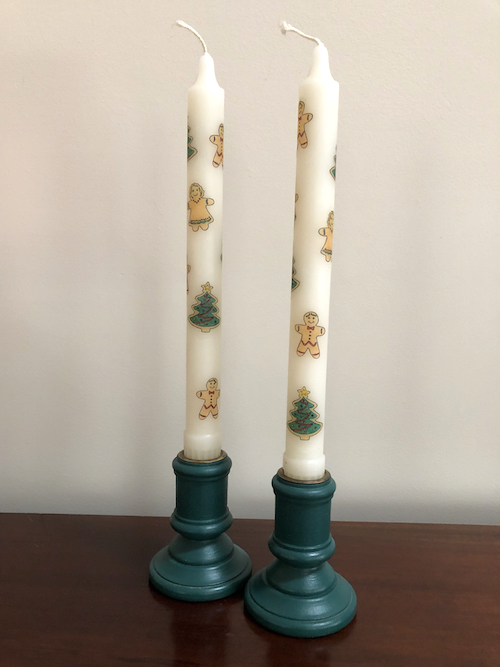
Here is a pair of taper candles I created using the same technique. The Repeat Impressions stamps I used were…
1011-D, Gingerbread Boy
1018-D, Gingerbread Girl
1021-D, Gingerbread Tree
And here’s a closer look.
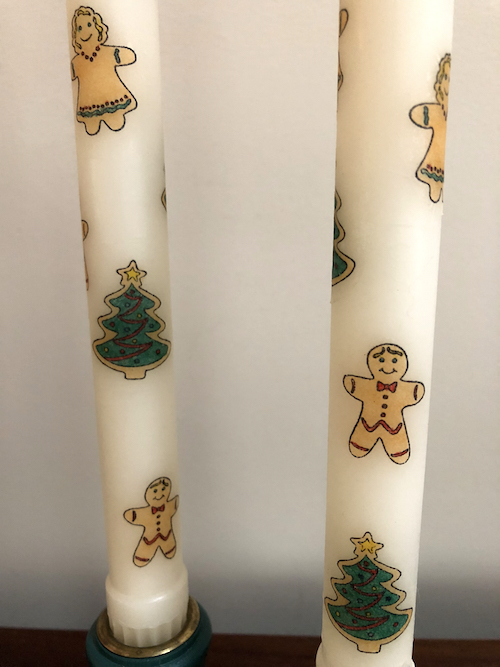
TIPS: When designing candles with multiple images you should apply one image at a time. The wrap around wax paper used to hold the image in place may be used several times over. Discard the sheet when it begins to get a waxy build-up or you may end up peeling off your stamped image. Take extra care not to burn yourself when working with taper or votive candles. You may also use the heat gun to melt unstamped areas of the candle and press embellishments like charms or beads into the softened wax.
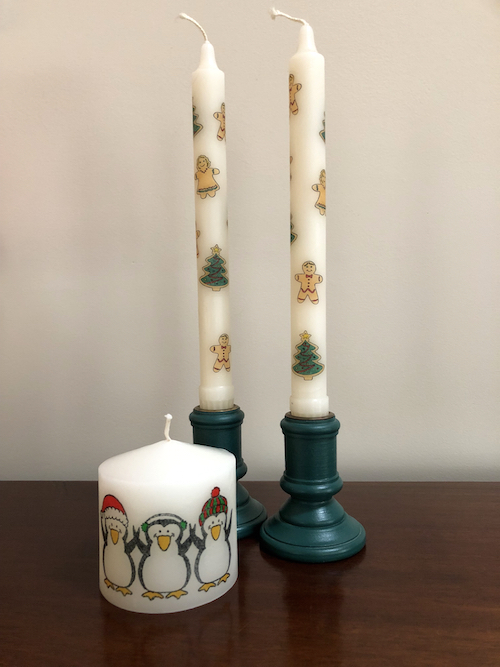
If you are looking for something fun and a little different from your usual card making, then I hope you will give this technique a try.
Thanks for visiting and have a great day!
~ Wendy
Repeat Impressions
For this week only (Oct. 29 - Nov. 4, 2018), get 20% Off the stamps used in my creations above when you use the coupon code POTW102918
5 Responses to “Pick of the Week ~ Adding Stamped Images to Candles”
Sorry, the comment form is closed at this time.
Great project! Love the candles…have to give a try.
Wendy, I love your candles! This is one of those techniques I never remember to use…thanks for the inspiration to do so! Hope you are well, miss you SO much!
I love the candles you created with this fun technique….especially those adorable tapers!!
This has always been on my list of things to try. I’ve even bought a couple candles and they are just sitting on the shelf . . . waiting. I love your taper candles; they’re so cute!
These are beautiful and great tutorial!