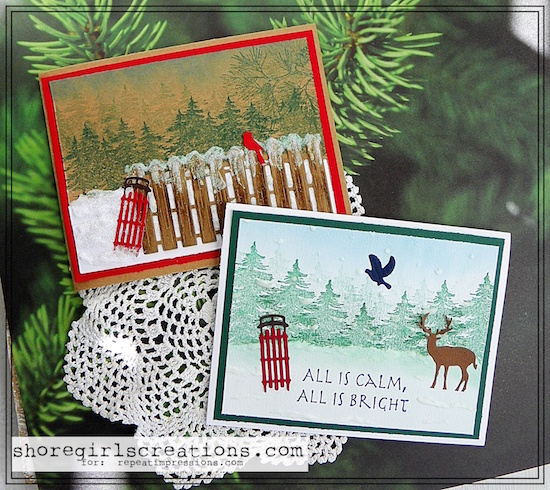
Hello friends, Esther here with two winter cards that showcase two fun techniques.
The first technique is creating a forest with just one tree stamp. The second is an old recipe for making your own puffy snow with just two ingredients!
Let’s get started….
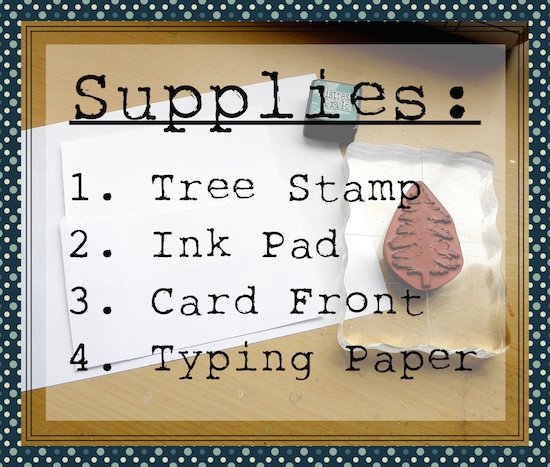
We’ll start with making a forest of trees (of varying heights) with just one tree stamp.
First off you’ll need to gather your supplies: Card front, thin paper, tree stamp, ink pad
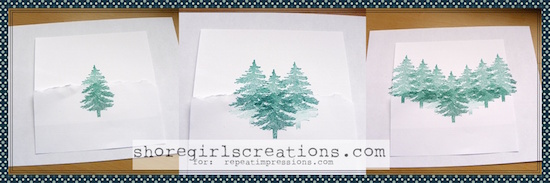
1. Tear your thin sheet of paper in a jagged line and lay it across your card front midway down so as to mask off the lower portion of your card
2. Ink up you tree stamp and stamp just the top portion above the torn paper line in the center of your card front
3. Repeat step two only this time stamp a larger portion of the tree above the torn paper line on either side of your already stamped tree
4. Repeat step three until you have a tree line across your card front
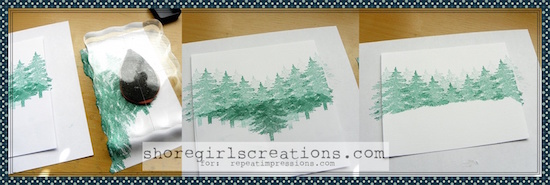
Now let’s create depth and dimension to our forest…..
1. Ink up your tree stamp, stamp it off on a piece of scrap paper then stamp it above your already stamped tree line
(This creates a very light, shadowy tree adds a 3d look to your forest)
2. Repeat step five till you’ve created a sufficient amount of depth to your forest
Now let’s make some puffy snow to add to our winter scene…
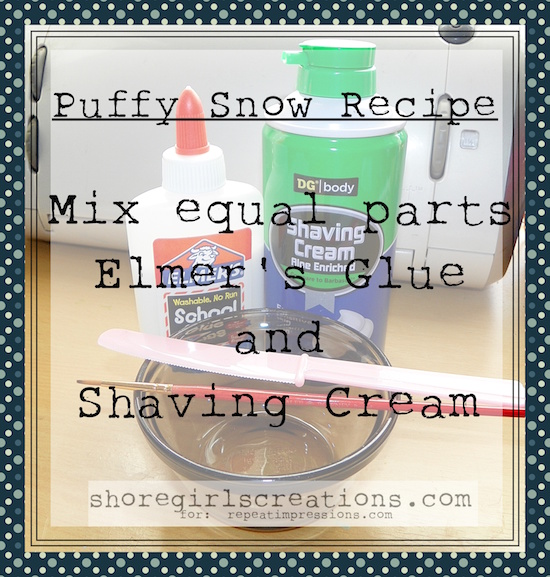
The only two supplies you’ll need are:
1. Elmer’s glue
2. Shaving Cream
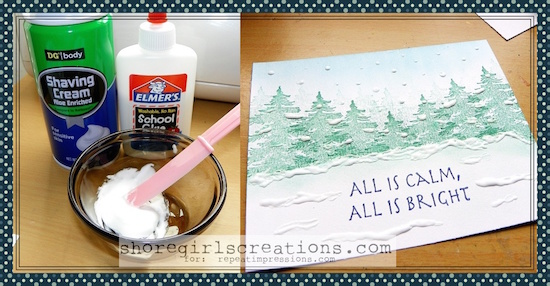
Directions: Mix together equal parts of glue and shaving cream till thick
Using a thin paint brush apply to your card front and allow to dry
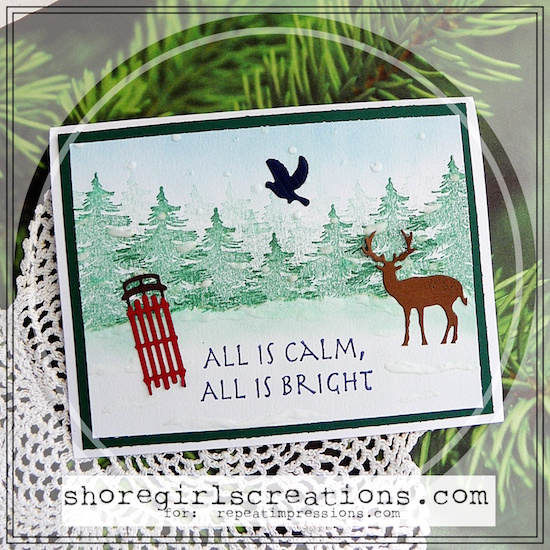
As you can see, I went a little light with the snow on the first card, but I also wanted to see what it would look like if I put it on heavy.
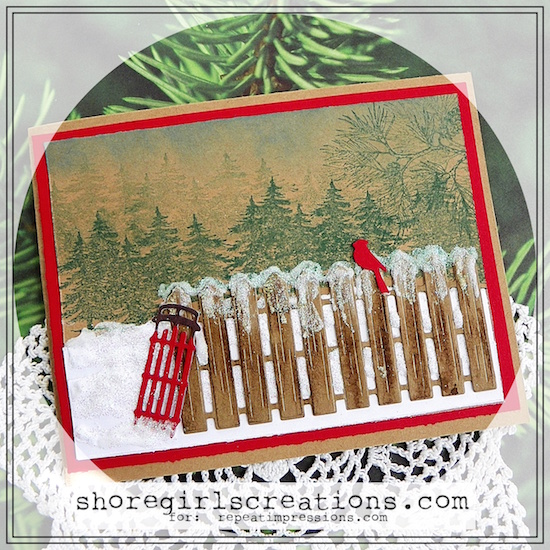
To do that, I created a second card that not only includes puffy snow, but also has white glitter sprinkled over it (while wet) for a sparkle effect.
I created the forest scene by stamping the large pine forest stamp across the card front and then stamping it off and re-stamping behind the first layer.
I’d love to see any cards you create with these two fun techniques, so be sure to come by the blog and link them up to our “Anything Goes” challenge next week!
Here are the supplies I used on these fun winter cards:
Dies: Miniature Sled (Memory Box), Deer Die (Unknown), Animal Crackers (Cuttlebug), Farm Fence (Honeybee Stamps), bird from Birch Tree dies (Impression Obsession)
Ink: Pine Needles/Salty Ocean/Broken China/Chipped Sapphire/Mermaid Lagoon/Ground Espresso Distress Ink (Ranger)
Misc: Shaving Cream, Elmer’s Glue, White Glitter
Repeat Impressions Stamps:
2220-G, All Is Calm
2719-K, Lg Pine Tree
2709-I, Large Pine Forest
2708-M, Pine Branch
For this week only (Nov. 19-25, 2018), get 20% Off the stamps used in Esther’s creations above when you use the coupon code POTW111918
5 Responses to “Pick of the Week ~ Puffy Paint Forest”
Sorry, the comment form is closed at this time.
Absolutely fabulous cards, Esther! I’d never heard of the snow concoction before, but what an awesome technique.
Gorgeous, I love both scenes, love the way you stamped the background and I like the extra snow added to the card on the second!
Fabulous cards and tutorial, can’t wait to try out puffy snow!
Beautiful!! Great forests and I love the puffy snow! Going to have to remember that and give it a try.
Thank you for the recipe idea for snow.