Merry Christmas!!! Today is Project of the Week day here at The House That Stamps Built blog, and it’s my week to share a project with you. Raise your hand if you have one of those Giant packs of Mulberry paper that were so popular in the mid-2000s. Raise it really high if you still have TONS of it left! My hand is raised as high as I can get it, so I’m going to show you how you can use some of it up.
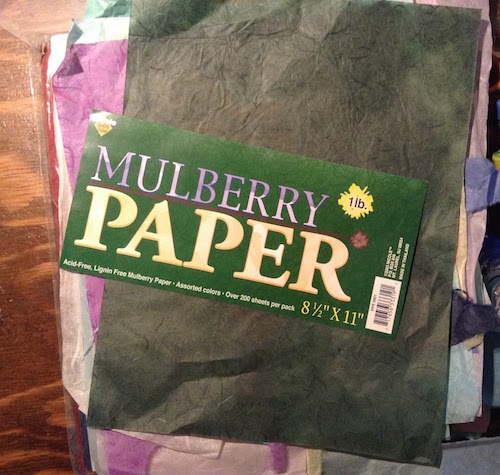
I learned this technique from Bonnie Garby and now I use it all the time. It really adds great texture and softness and uses some of that mulberry paper. Here’s what you need:
-mulberry paper
-dies and/or straight edge
-fine paint brush and water or I used my SU! blender pens (an aqua brush would also work)
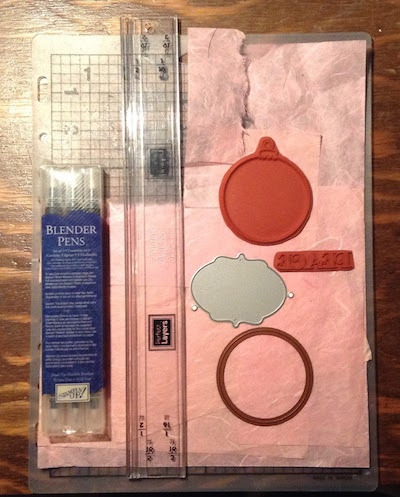
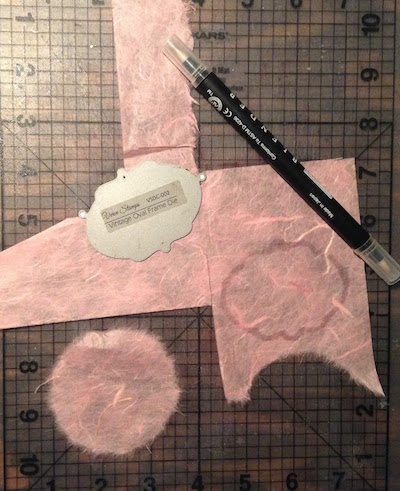
Lay your die on the mulberry paper, making sure you leave some room around the edges as it is hard to tear if you don’t have much paper to grab onto.
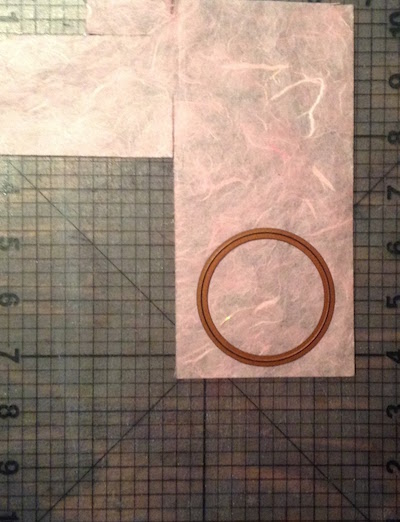
Use your wet paintbrush (or blender pen/aqua brush) to trace around the edge of the die. Go over it several times to make sure it is damp.
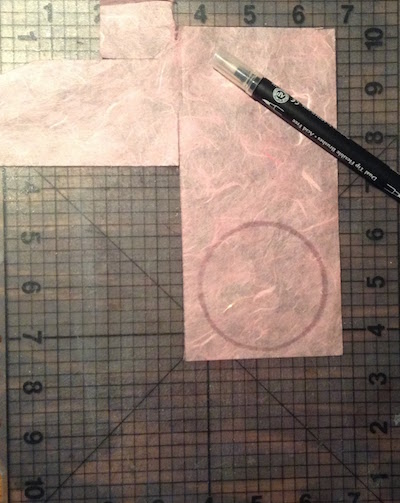
Then gently tear around the water line. It tears quite easily and the tear stays along the wet line for the most part. But, the softness of the torn edges hides any place where it might tear off the line a little bit. In the photo below, you can see my torn circle and the tracing around my label die. This was the first time I had tried this with such a sharp point on the die, but you will see later it still worked perfectly.
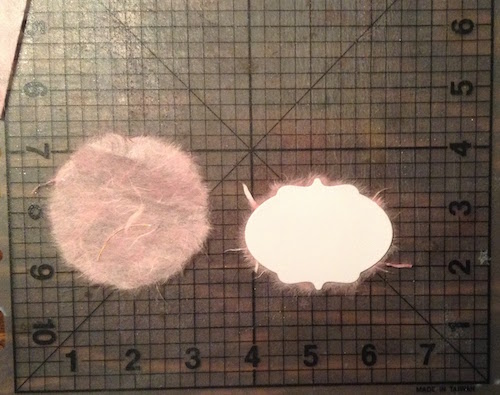
As you can see below, this left a narrow border around the label. I ended up cutting those wild fibers a little bit before I adhered everything.
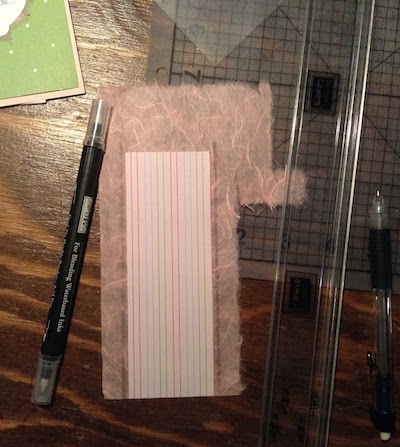
To do a straight edge for a panel mat, use your ruler, or I use my perfect layer tool to draw a straight line with your wet paintbrush/blender pen. This part is even easier as the straight lines tear really nicely!
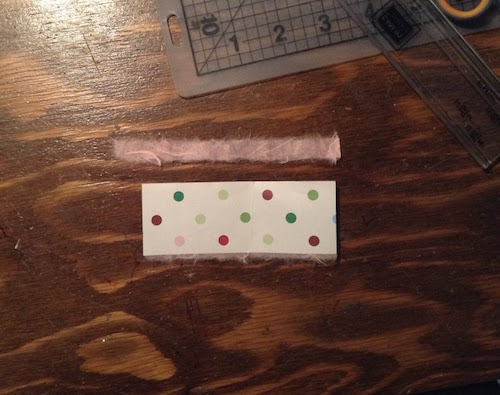
And while I was creating this project, I discovered a great way to use those little torn strips left over from tearing a mat-you can adhere them to the back of another panel and no one will ever know they were scraps!
And here is the finished card:
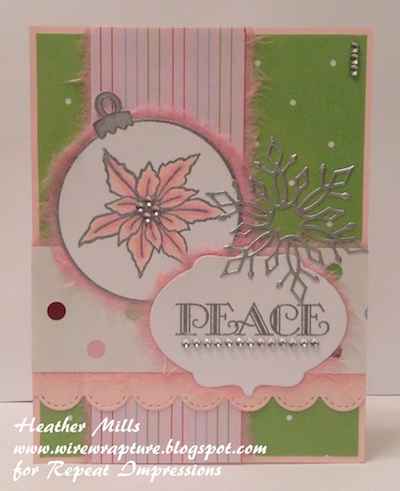
I love the softness of the mulberry layers; it adds so much interest. The white label die cut was in my bits and pieces stash and the multi-colored dotted paper and the silver snowflake were cut from scraps as were all the mulberry layers. I heat embossed the ornament image, poinsettia, and the peace sentiment with silver embossing powder and colored in the ornament topper with a silver sharpie. Love how it turned out!
~ Heather
5 Responses to “Project of the Week ~ Mulberry Paper”
Sorry, the comment form is closed at this time.
a lovely project, I have a lot of mulberry paper ‘somewhere’
Also, could someone please tell me where the November winners are posted, thank you
I love the idea of using a die shape for the mulberry paper. Thanks for sharing that. I have used mulberry paper fairly regularly over the past decade and I don’t have as much left over as I wish I had. It can be hard to find when you want to replenish your supply. 😀
Hi Glennis… Thank you for your kind comment. I guessed you must have missed it, but as stated in our blog sidebar, the monthly winner is announced the first Wednesday of the following month. So November’s winner was announced on 12/6 in our Glitter Challenge post. And the winner for December will be announced in our Jan 3rd post. 🙂
Great project, I really to bring out my mulberry paper, it always looks so soft and fabulous on your cards, thanks for the inspiration!
Love this, Heather! I have some mulberry paper but not much…I do love this look and how you achieved it with the dies.